Engine Compartment Prep
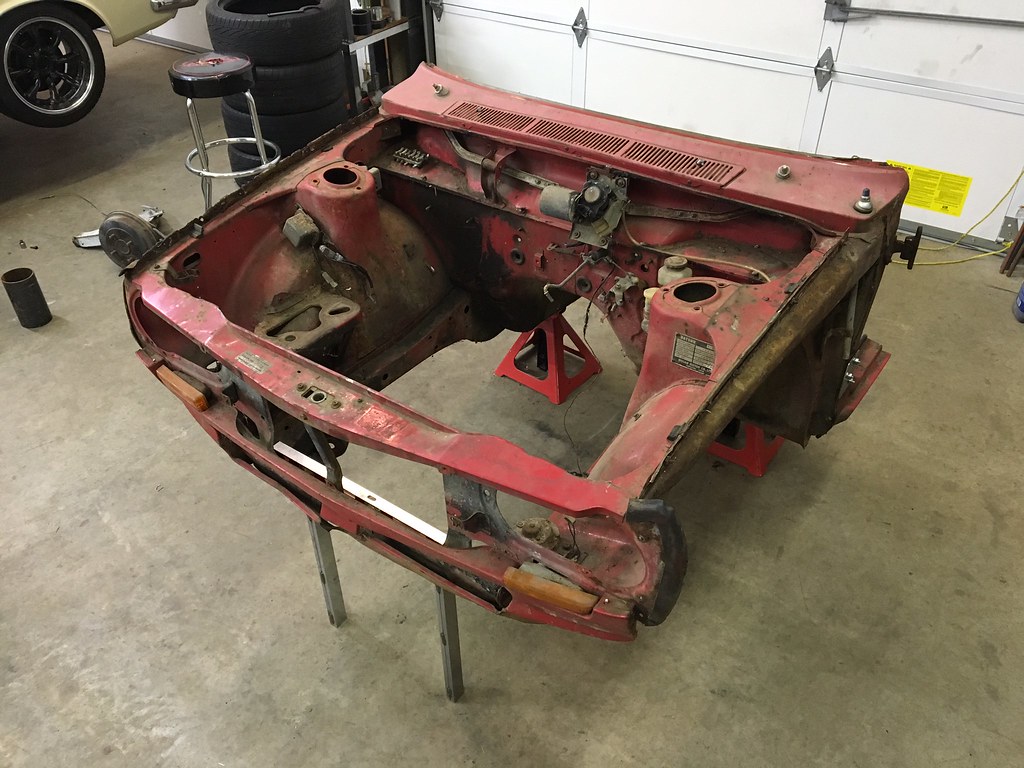
While the SR was being freshened up, the engine compartment was also addressed. Since we were adding more power, we also wanted to make the car stop better too-- so a set of 280ZX front struts were obtained, so we could take advantage of their larger brakes. We would also clean up the engine compartment getting rid of things like the stock voltage regulator, and unused relays. At the same time we would also rebuild the heater core, and deal with a few other issues.
Engine compartment before:
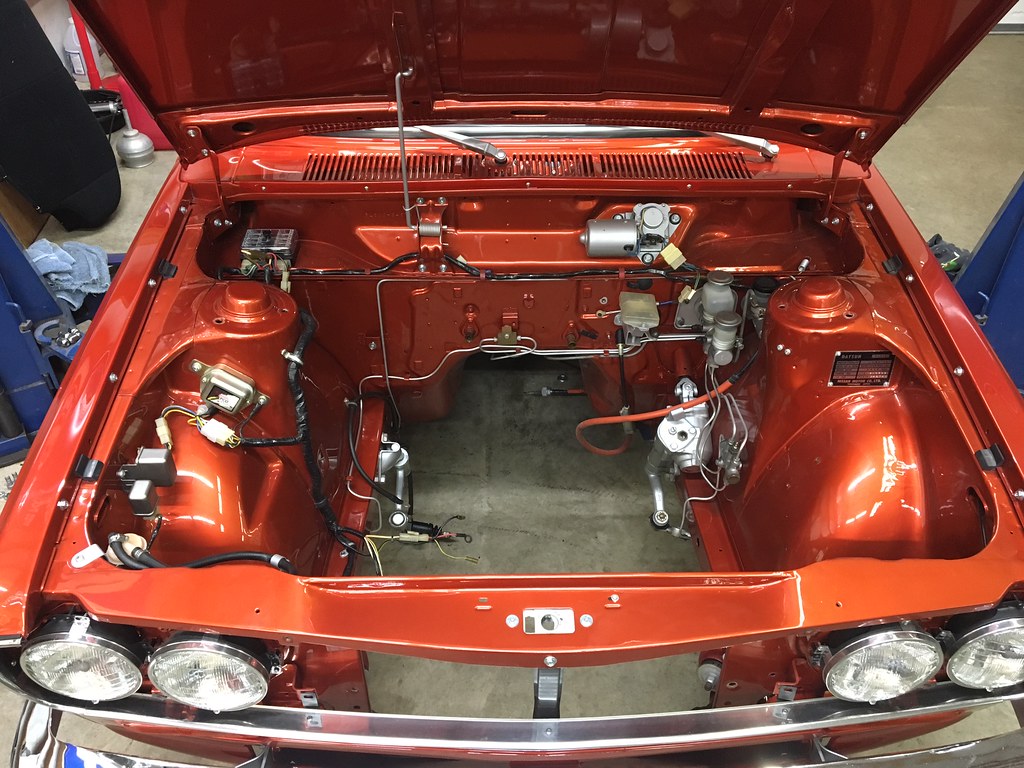
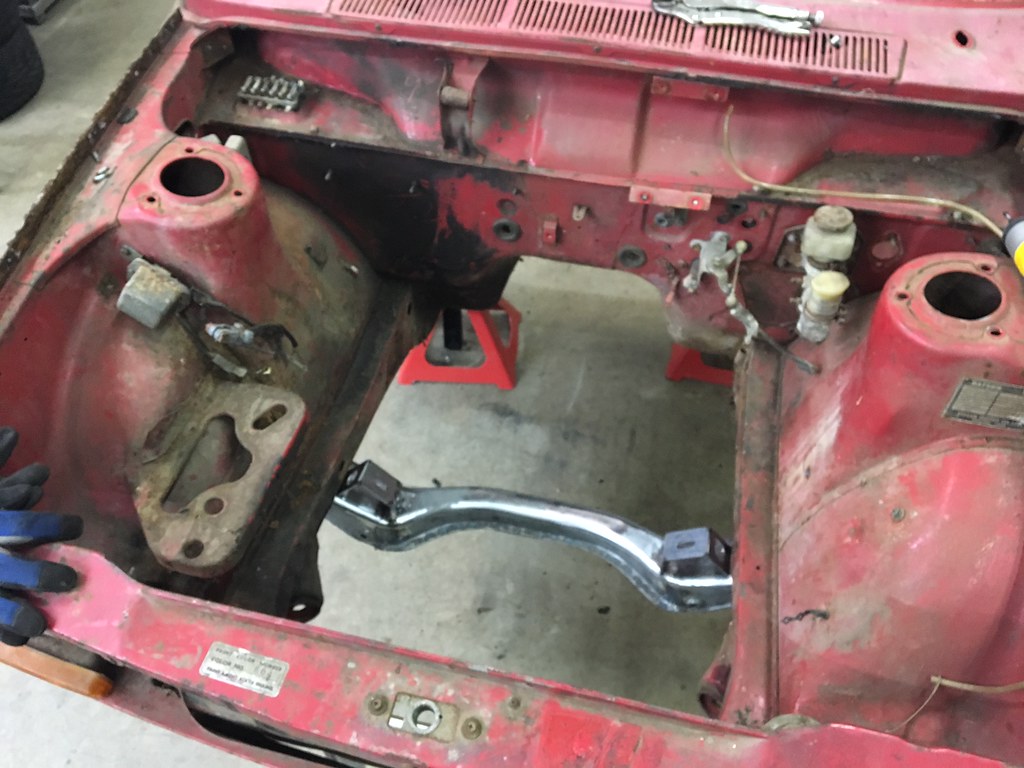
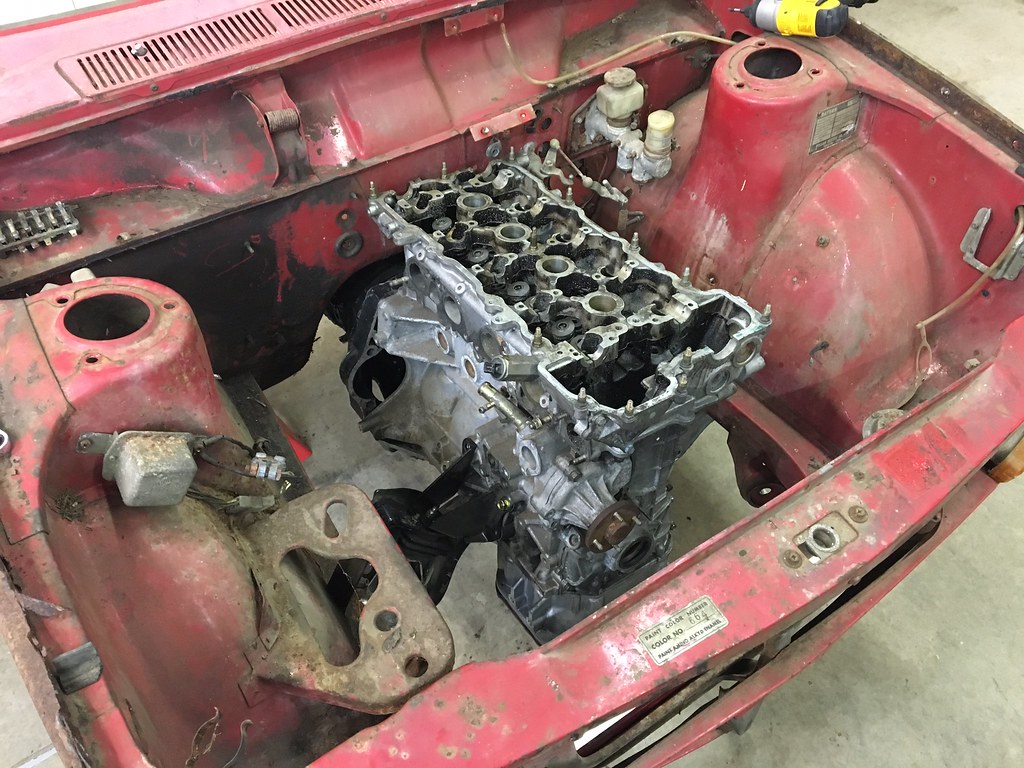
Now that I had a clean canvas to work, with we could start working on systems.
Brakes
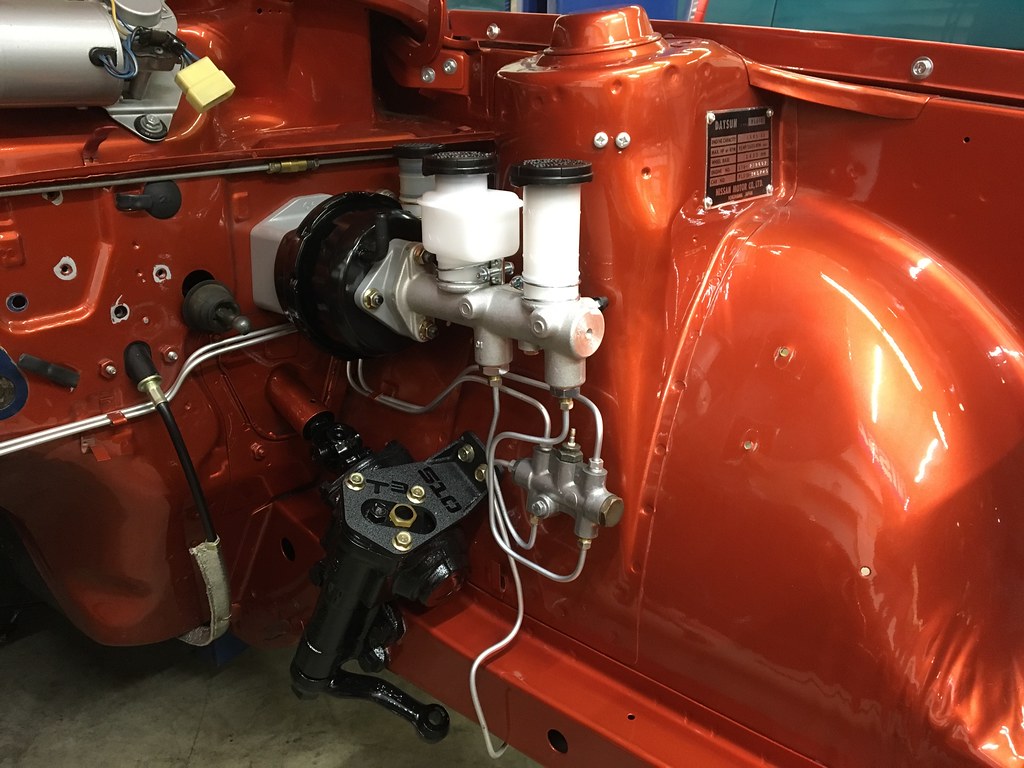
With the 280ZX front strut upgrade, I also updated the master cylinder to a 7/8" unit, and added a B210 power booster (thanks Jordan!):
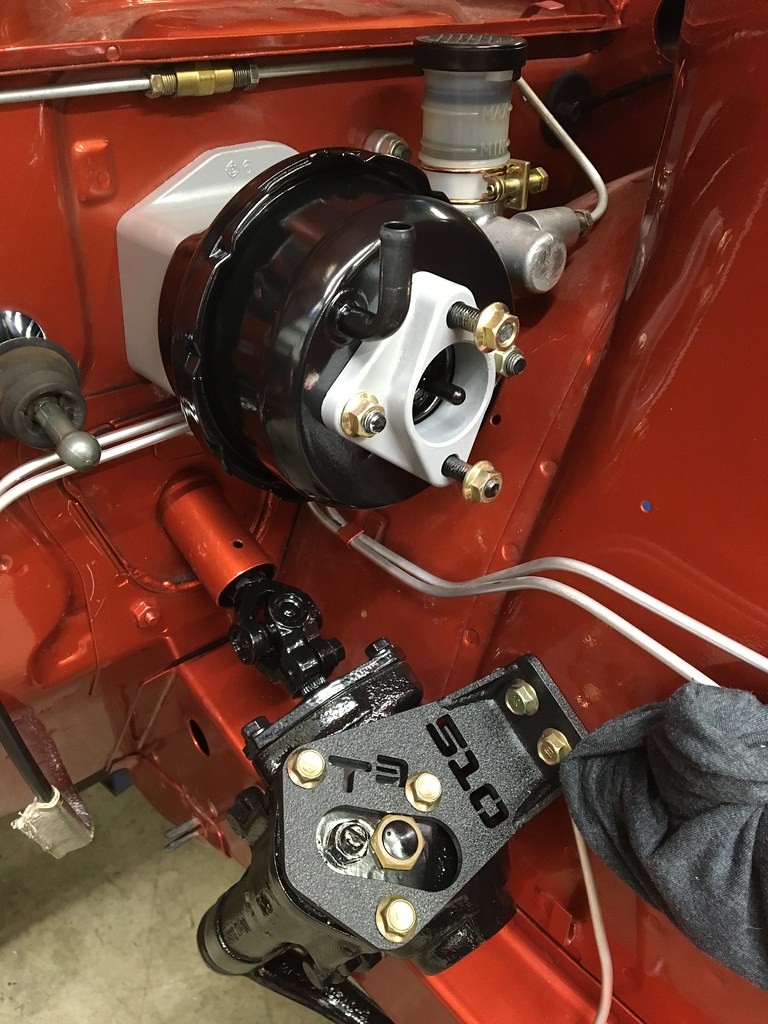
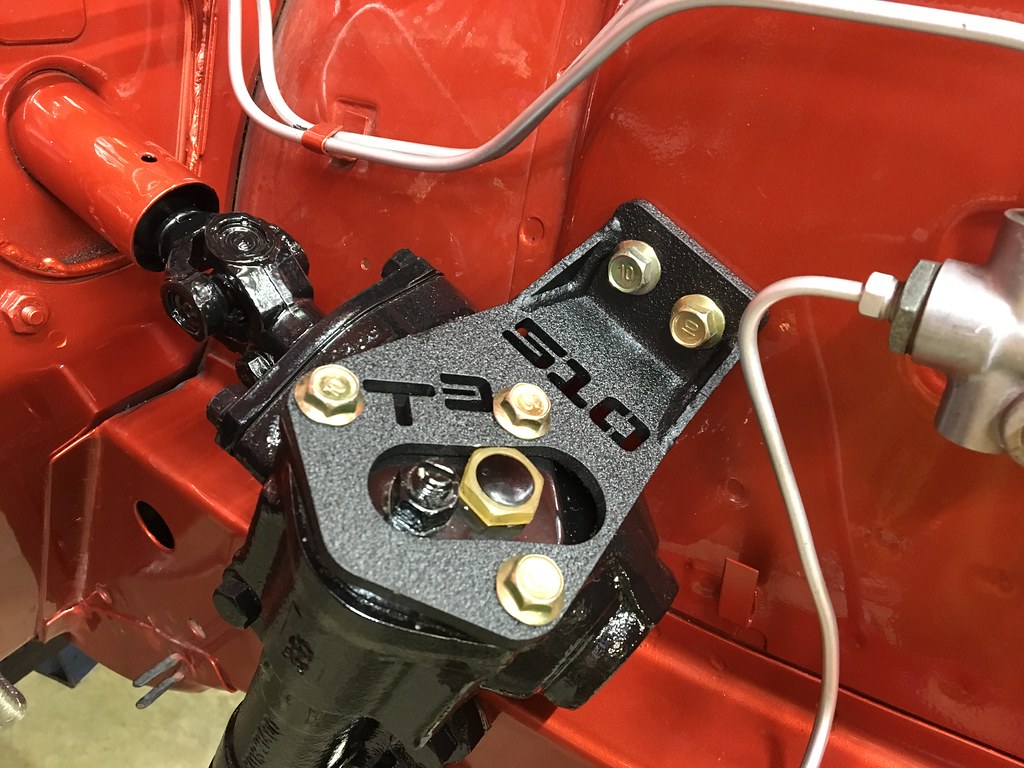
The steering box was also repainted from silver to black and a T3 steering box brace was also added.
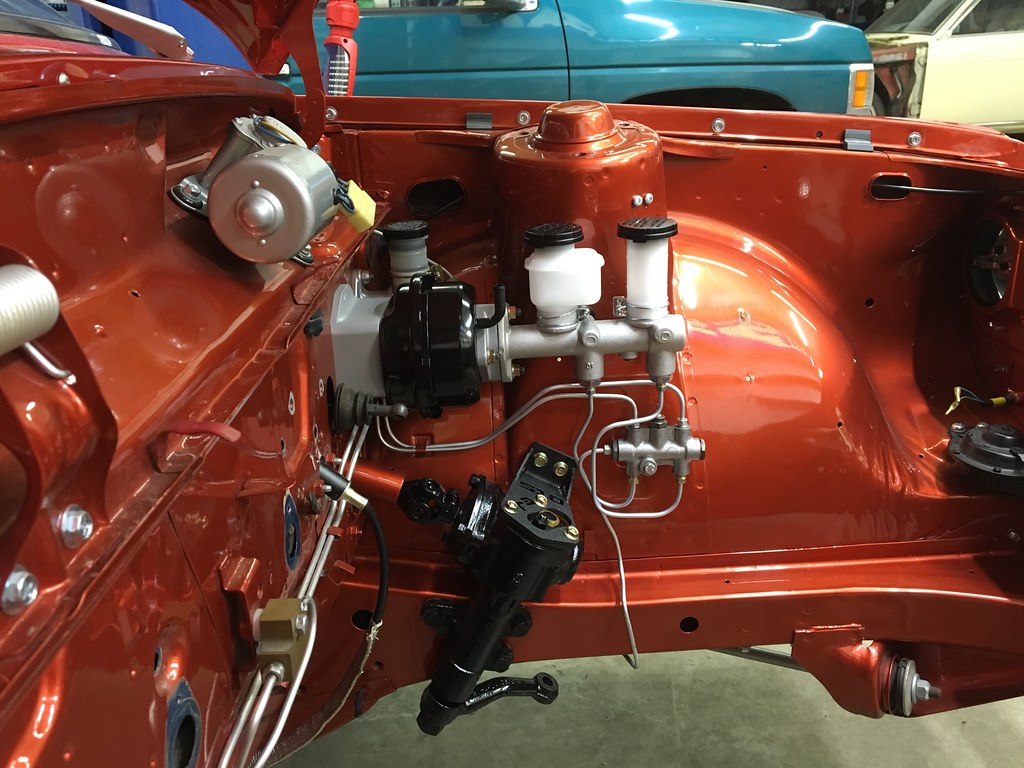
With those installed, the master cylinder could be mounted, and new brake lines made down to the slide valve:
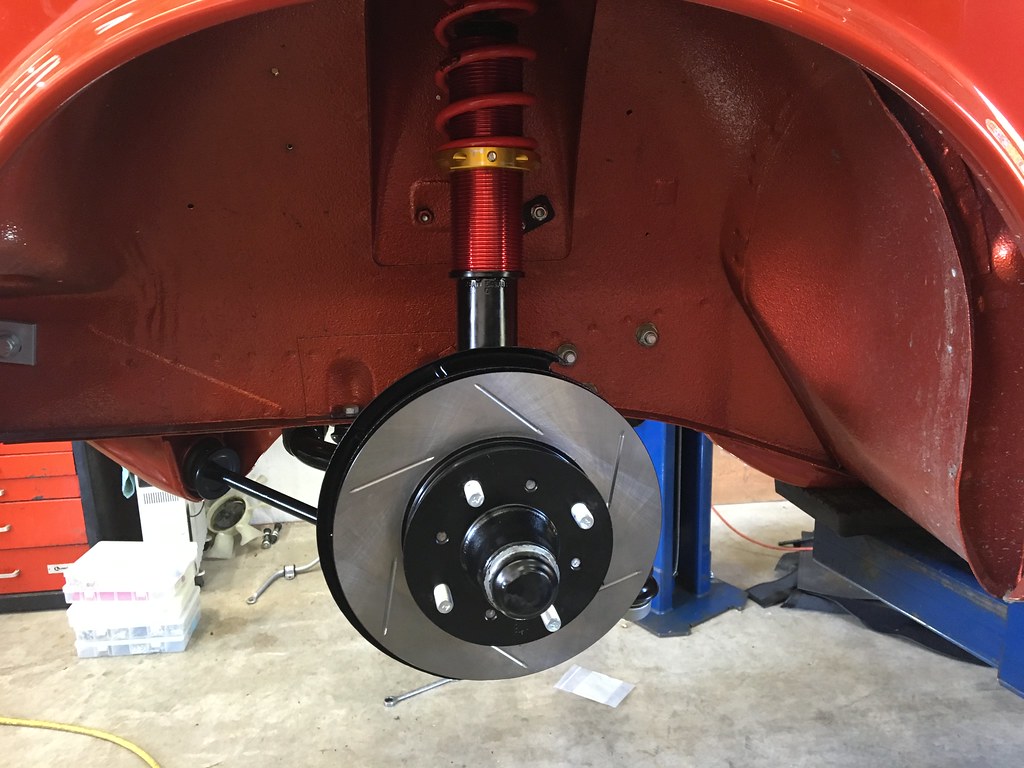
The 280ZX coil over conversion was mounted in the car, and we could consider that part of the conversion done:
 Fuel System
Since the SR20DE is a fuel injected engine, we would need an EFI rated fuel pump and lines to support the system. I really like in-tank fuel pumps, and many times we will do a 300ZX in-tank fuel pump conversion into the stock 510 fuel tank. But this project threw a wrench in the works as it had a beautifully painted gas tank in the car.

I certainly did not want to have to repaint a fuel tank, and I had been reading about a very interesting new in-tank fuel pump that is a bolt in made by Aeromotive.
https://www.aeromotiveinc.com/product/p ... el-system/
The Phantom 200 Stealth Fuel system is a bolt in system that has a foam catch can, and can be installed into a 510 fuel tank in about an hour. Here's how we did it.
The 510 fuel tank is divided into 3-sections-- one section where the fuel enters the tank, the center section (where the fuel sender lives) and the third baffled section to the left. We put the in-tank fuel pumps into that section as it does no interfere with anything else.
A word of caution here--
modifying and welding fuel tanks can be VERY DANGEROUS be sure to clean out the tank as much as possible and let the tank vent as long as possible before attempting any modifications-- if you are not comfortable with this kind of work, then leave it to the experts.
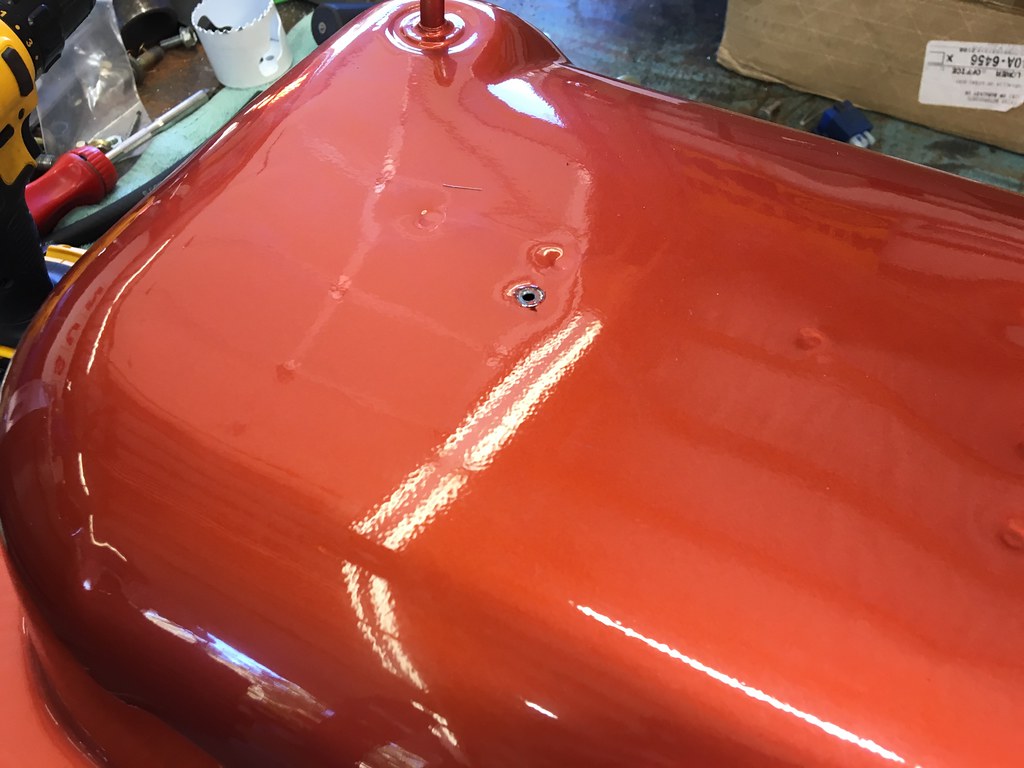
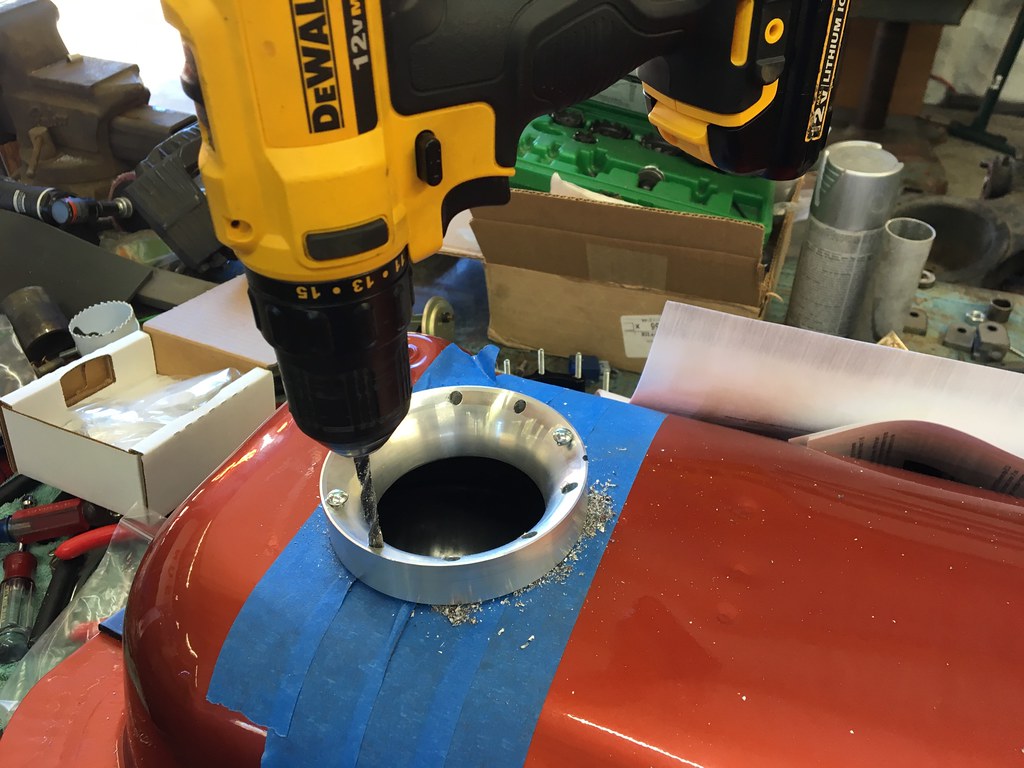
A location hole was drilled into the top of the tank-- basically centering the pump on the level portion on the top of the tank:
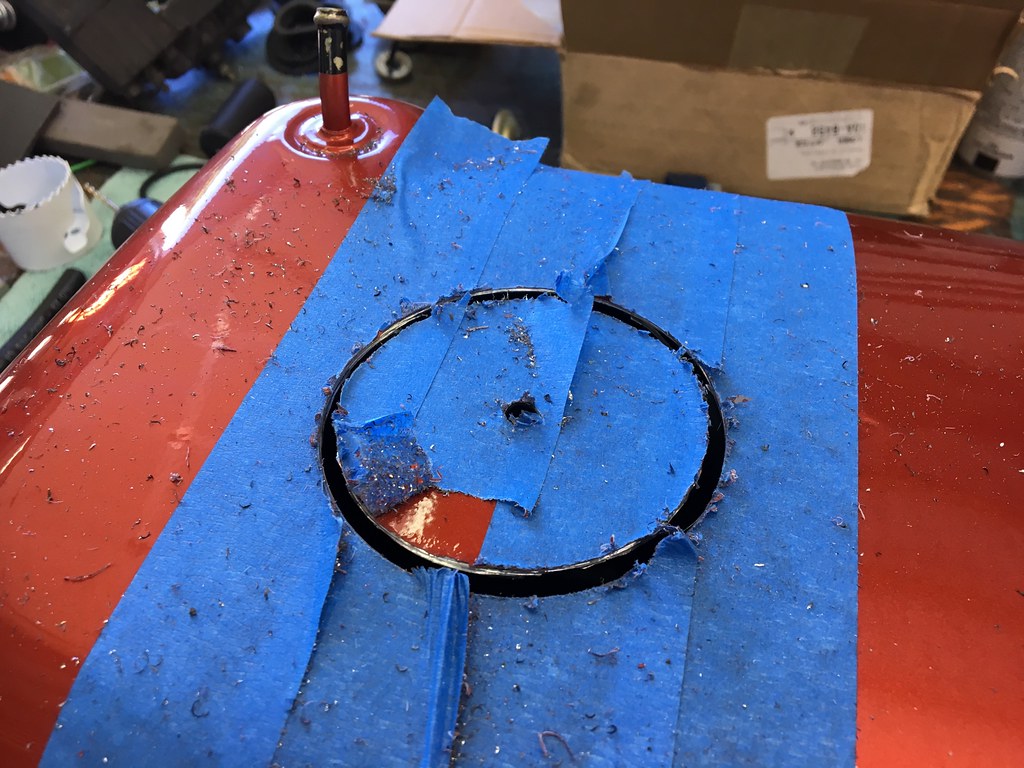
The tank was then taped up with painters tape to prevent any scratches and the appropriate sized hole saw was used to cut the top skin of the tank:
Cut slowly and use a sharp hole saw and the procedure is pretty easy.
Once that is cut, you will need to use some shears to cut away the internal baffle (it is T shaped).
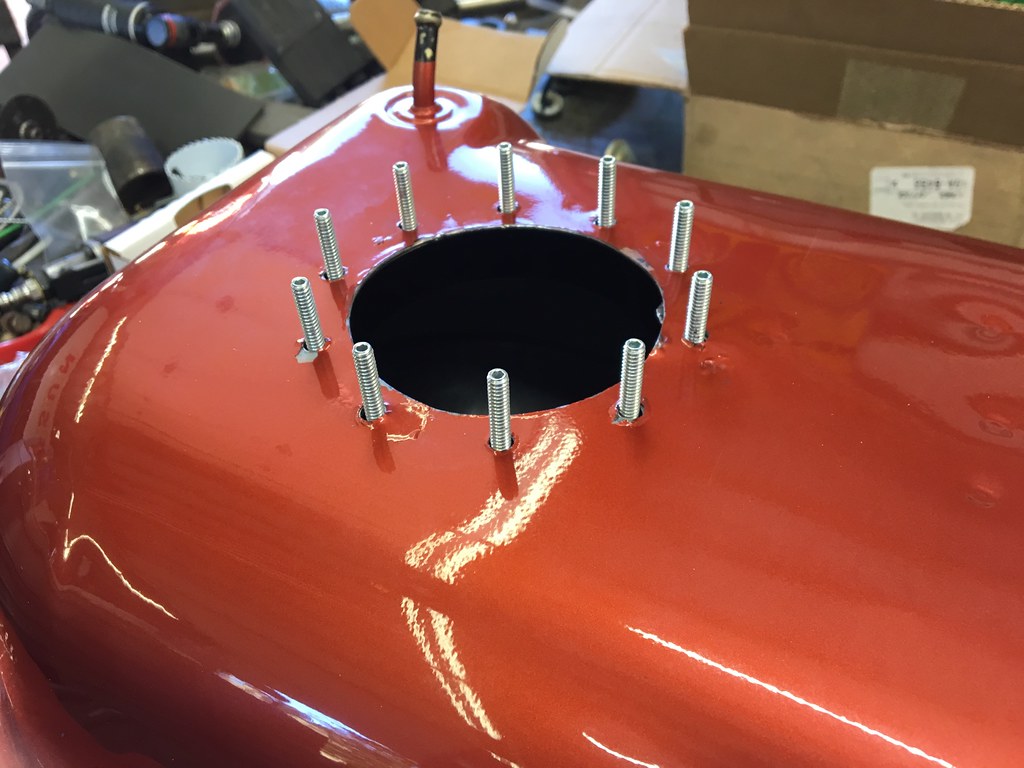
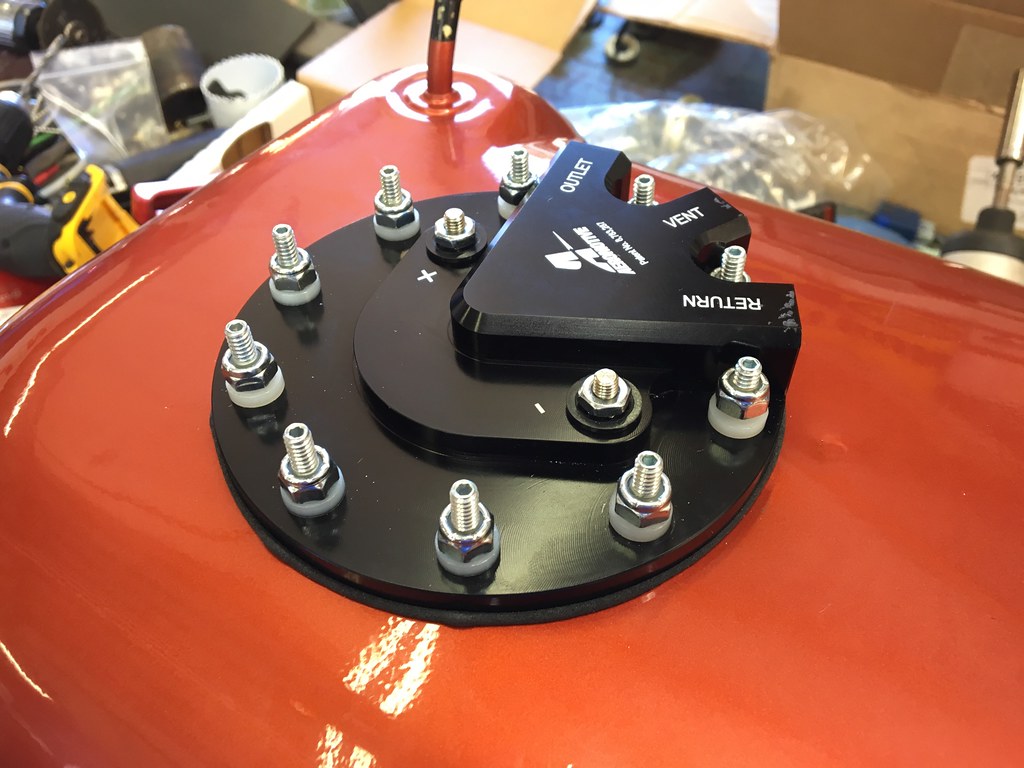
Aeropmotive provides a drill jig to accurately drill the 10 holes in the top of the tank for the mounting ring:
Then the C-shaped mounting ring can be installed into the pump:
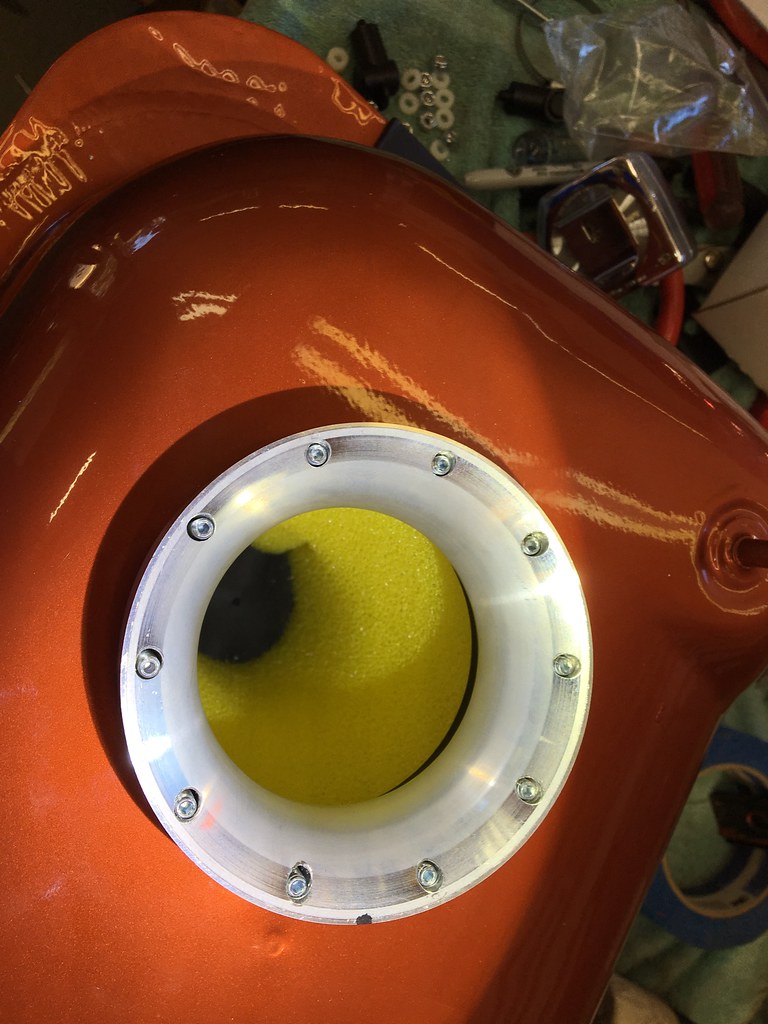
The mounting JIG is then reinstalled so you can install the foam "catch-can" which must be cut down to the height of the fuel tank:
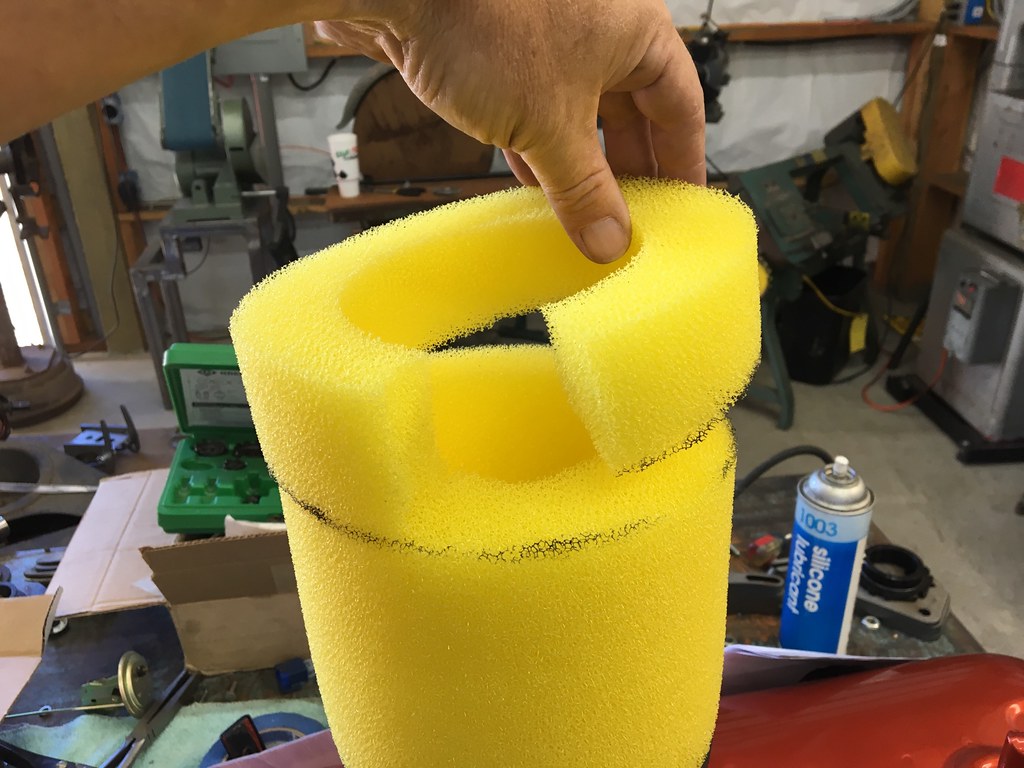
Since it is foam, you can squeeze it together and slide it thru the JIG and down into the tank-- it then expands into the inside of the tank:
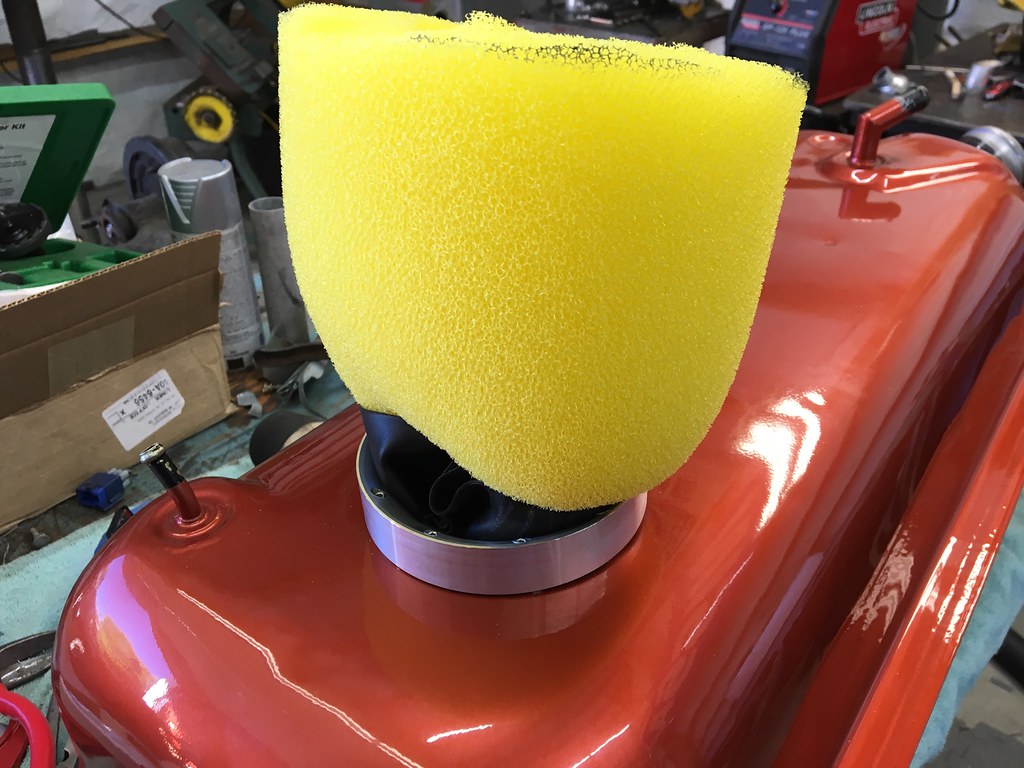
The fuel pump assembly was then shortened to match the height of the stock 510 tank:
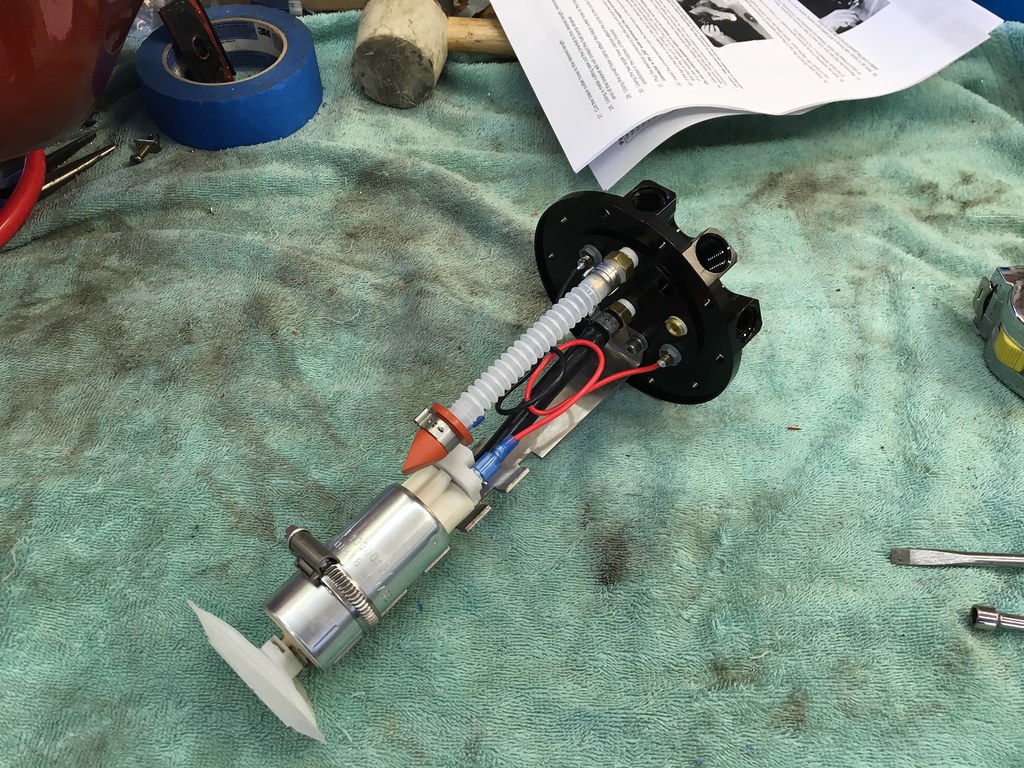
The foam sealing ring was then installed, and then the fuel pump, and the assembly was tightened down making a fuel-proof seal:
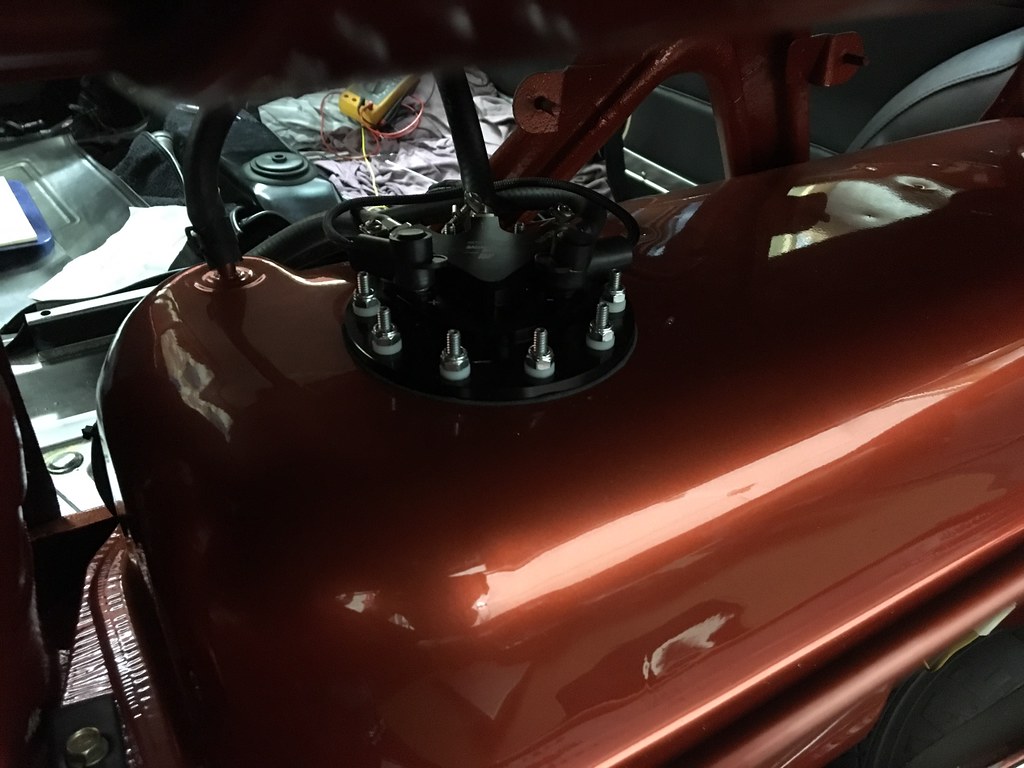
And installed in the car:
 Fuel Lines:
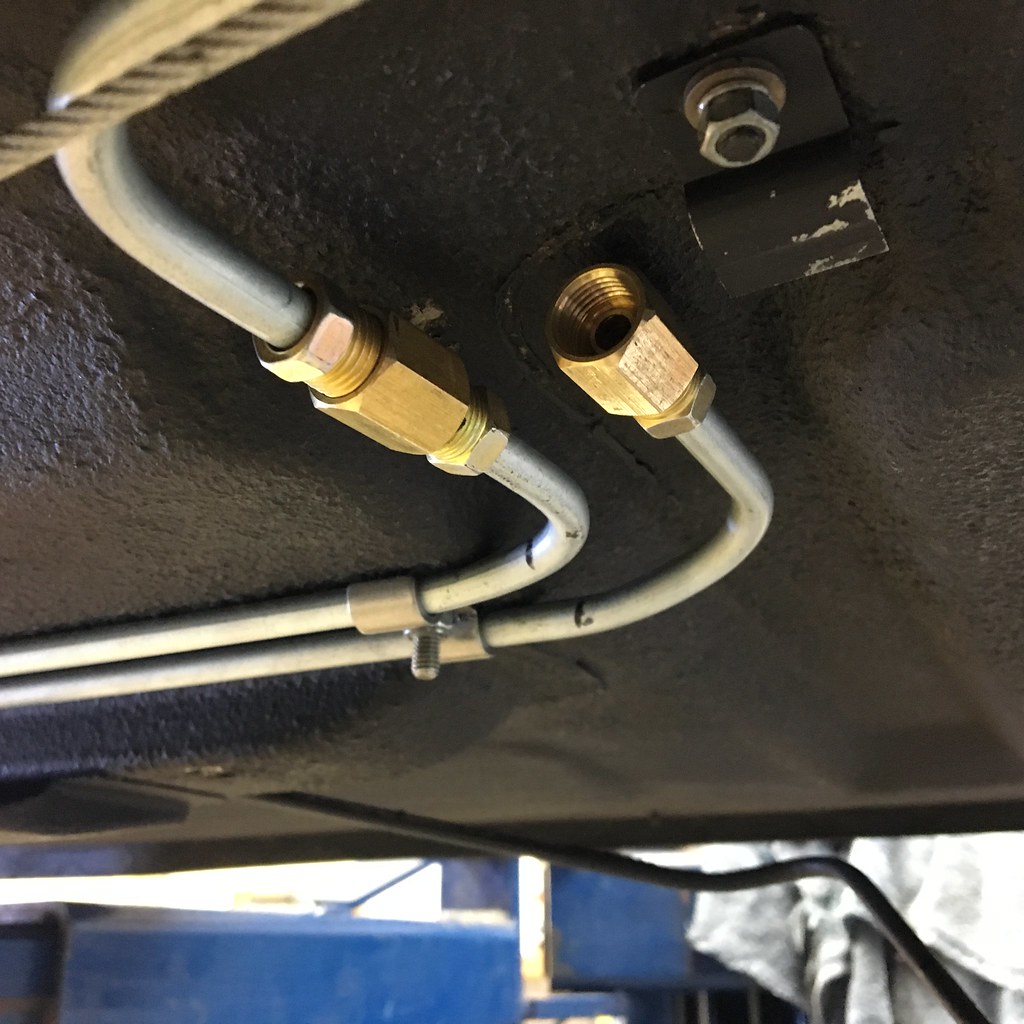
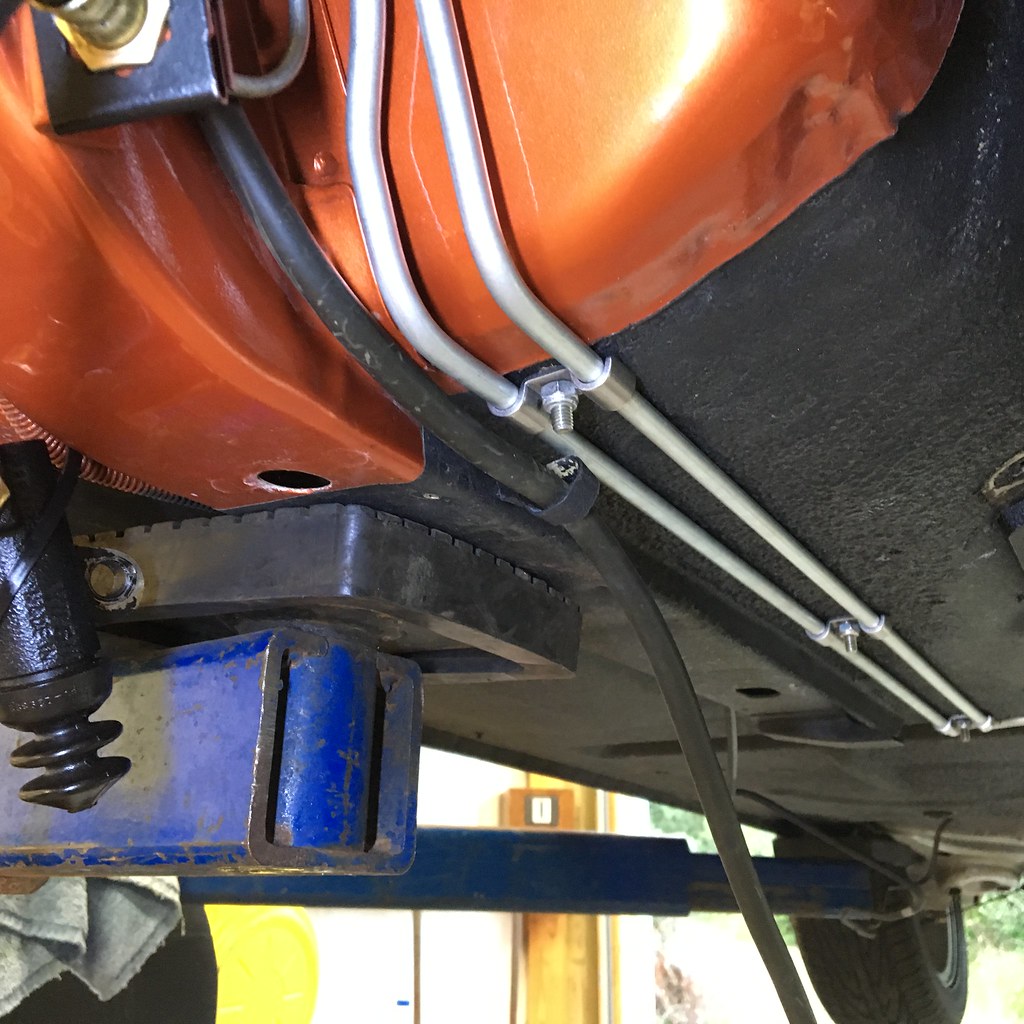
Since the EFI system uses a return line, I decided to rebuild both the feed and return hard lines.
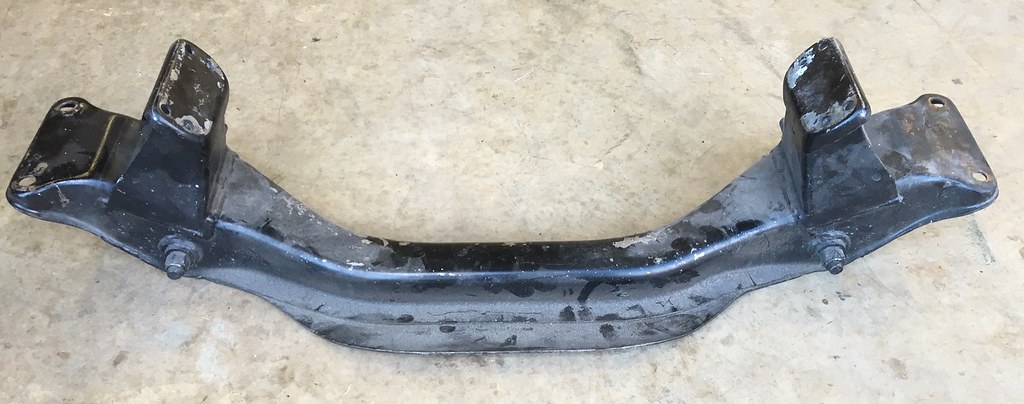
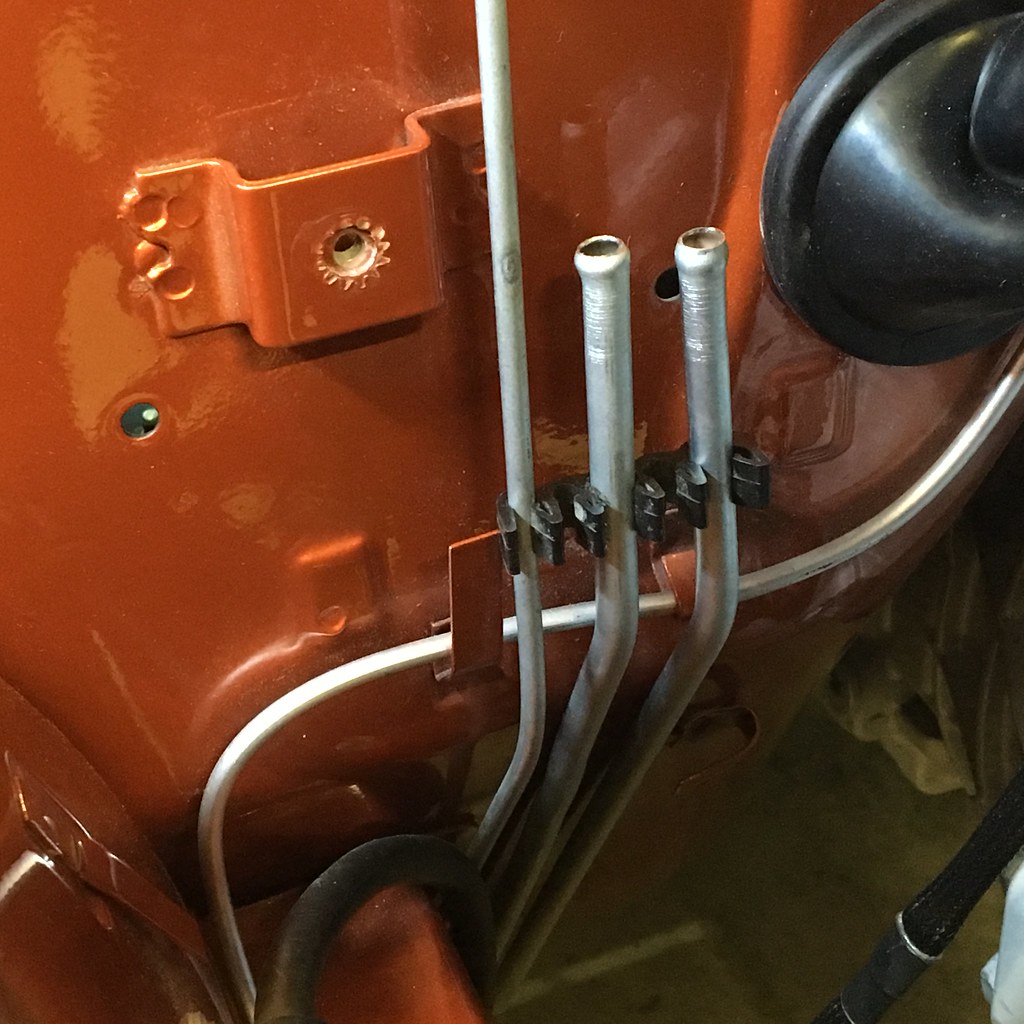
From the stock grommet over the top of the rear crossmember:
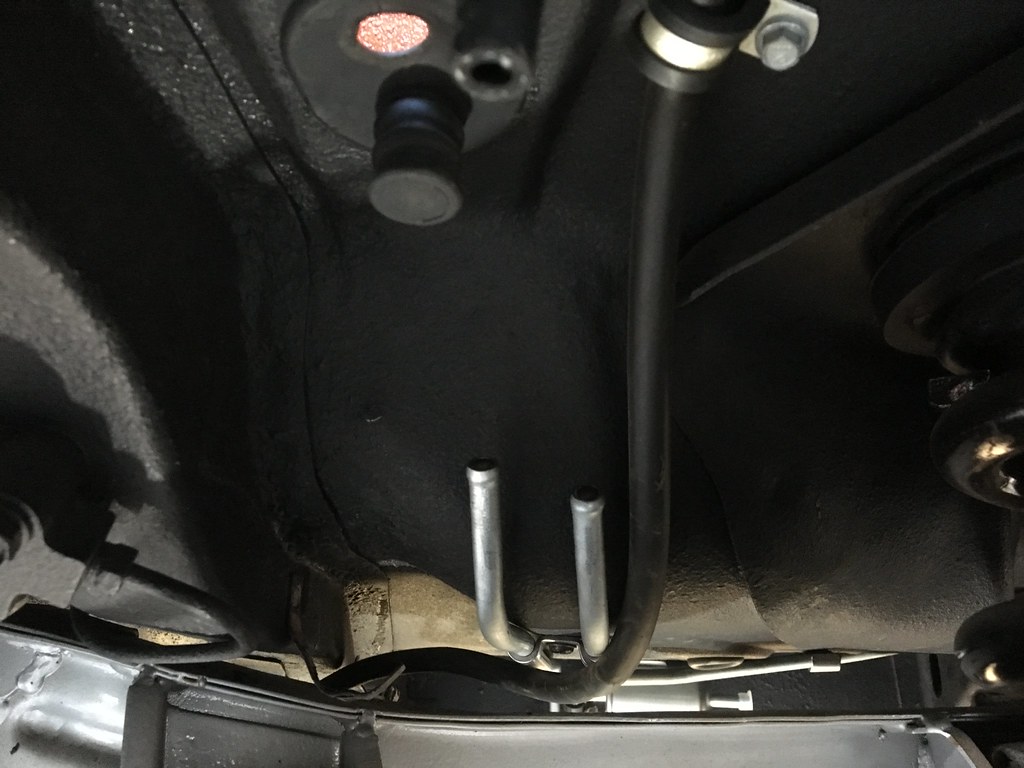
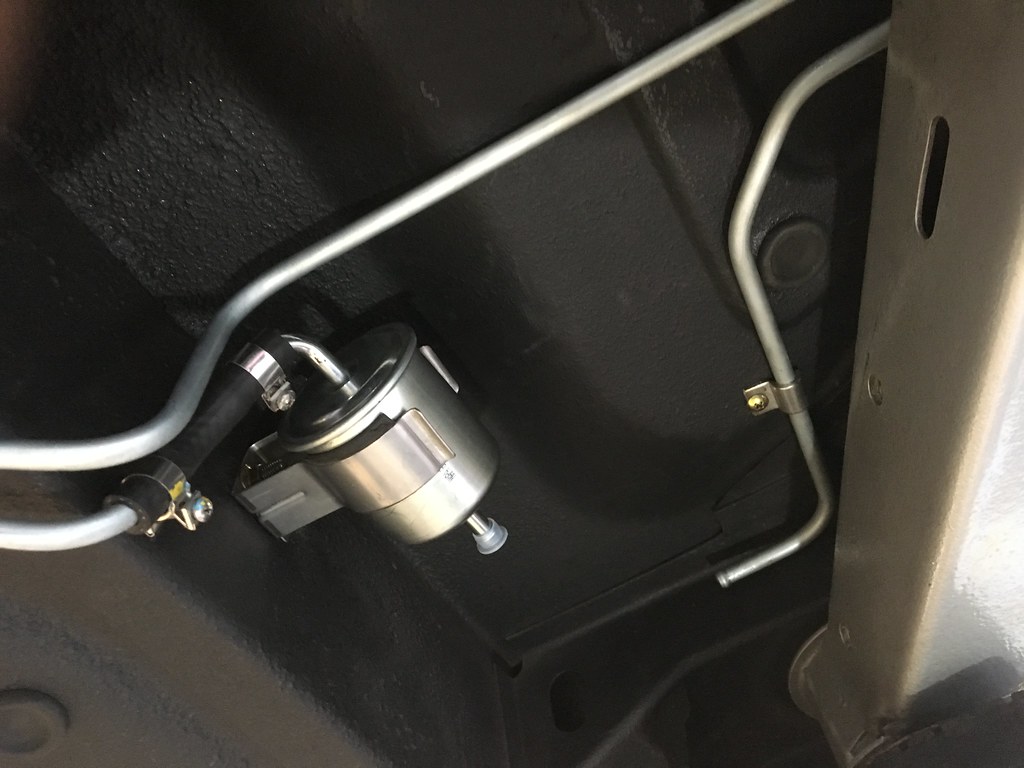
To a standard Nissan EFI rated fuel filter (these only need to be changed every 30,000 miles):
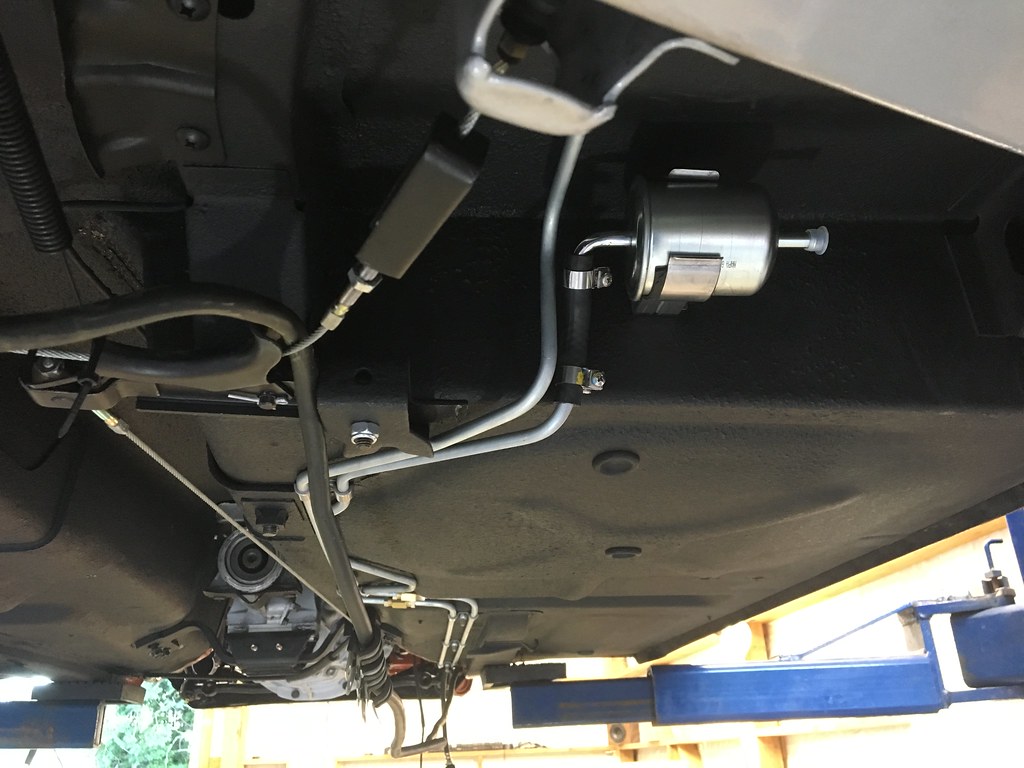
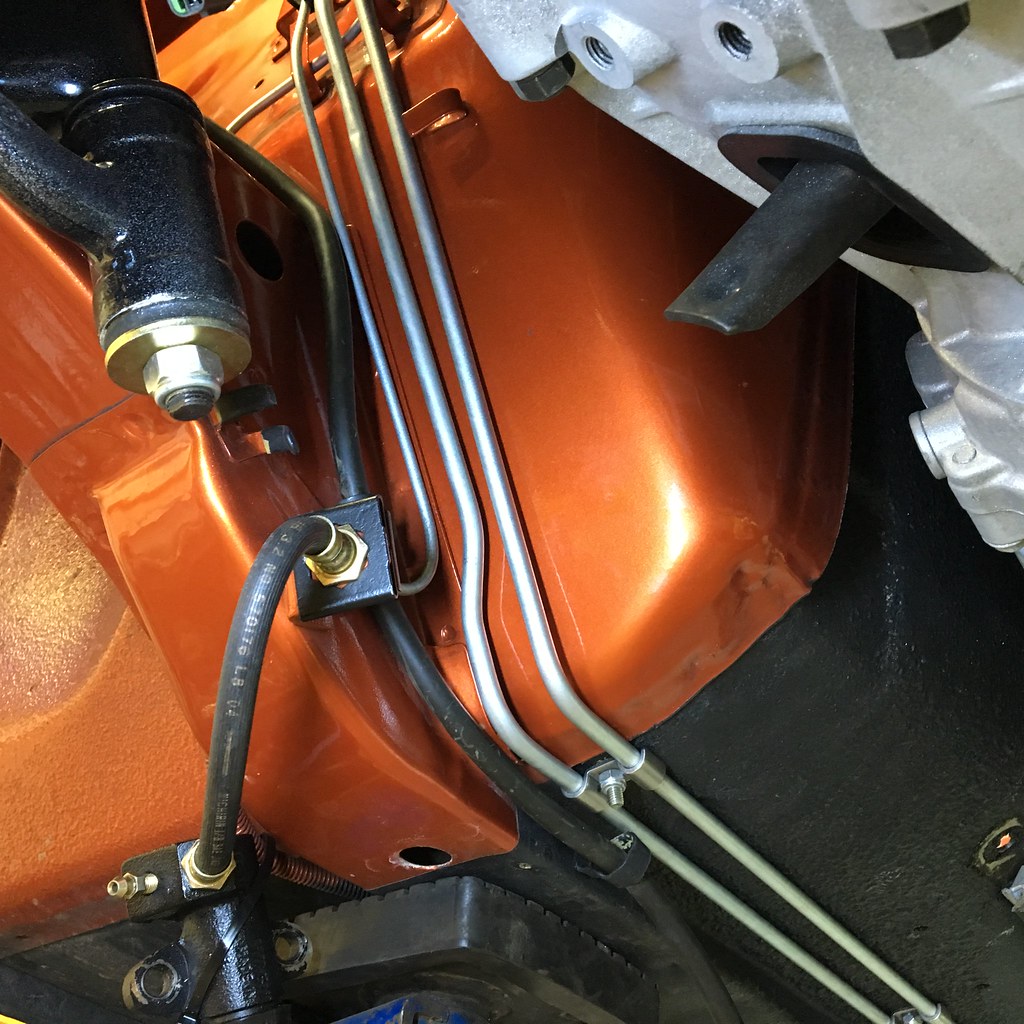
Along the floor:
Then all that needed to be added was the EFI 5/16" fuel line and EFI rated fuel clamps and the system was complete.
Until next time,
Michael