Page 5 of 9
Re: On My Dime
Posted: 25 Nov 2015 21:52
by WxMan
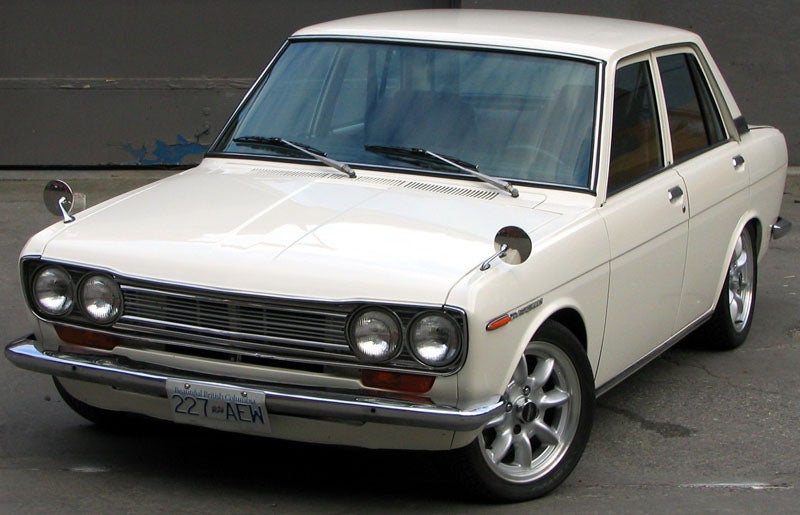
Hey Mike. I like your blue better than mine. I still can't decide if I like the colour of my car or not. In my photos the colour looks great to me but in real life there is a hit of teal in it that always makes me scratch my chin. The blue interior is different. I'm surprised just how many different interior colour options Datsun had back then. I see you've got the same door mirrors as me. Do you have one on the passenger side? Mine is almost completely useless there. It sits so low I can't see it well without cranking it up at a steep angle.
Re: On My Dime
Posted: 26 Nov 2015 07:52
by norcalmike
That mirror is on its way out. I have a set of orig. mirrors. Nothing on the passenger side. I think I just run the one mirror
Re: On My Dime
Posted: 26 Nov 2015 08:22
by WxMan
I want to replace mine with originals too but I haven't had a look at the mounts yet to see if it will be easy or if it will require some paint work.
Re: On My Dime
Posted: 26 Nov 2015 14:55
by norcalmike
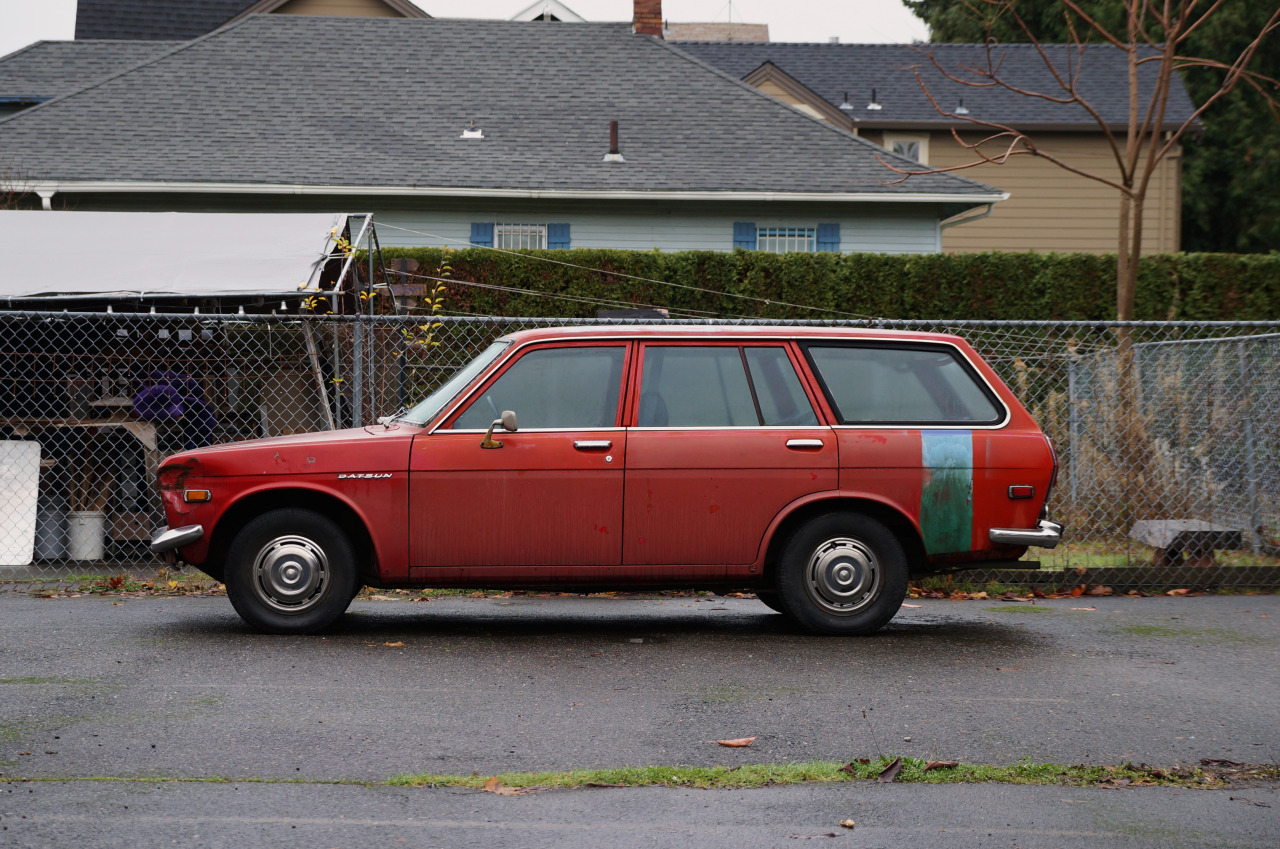
Here's my old 4 door with factory mirror placement
Re: On My Dime
Posted: 26 Nov 2015 15:33
by RMS
Re: On My Dime
Posted: 26 Nov 2015 16:31
by norcalmike
I definitely like the placement on that 68 over the 70s placement. I don't know why it had to be so far back.
Re: On My Dime
Posted: 15 Jan 2016 17:08
by WxMan
It's been a while since I posted any sort of update. I've been working pretty steadily on my car for the past few months, although I don't really have much photogenic to show for it. Mostly I've just been reconditioning parts then boxing them up to keep them safe until someday when I actually get to start putting things back together. On the bright side my list of things to remove and restore is slowly but surely getting smaller.
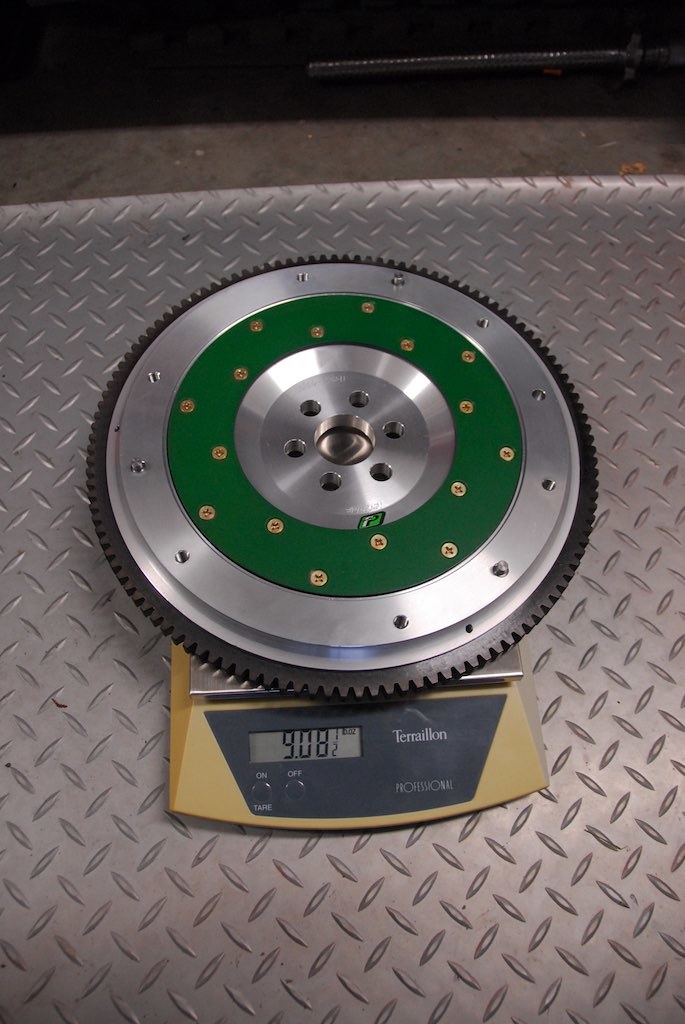
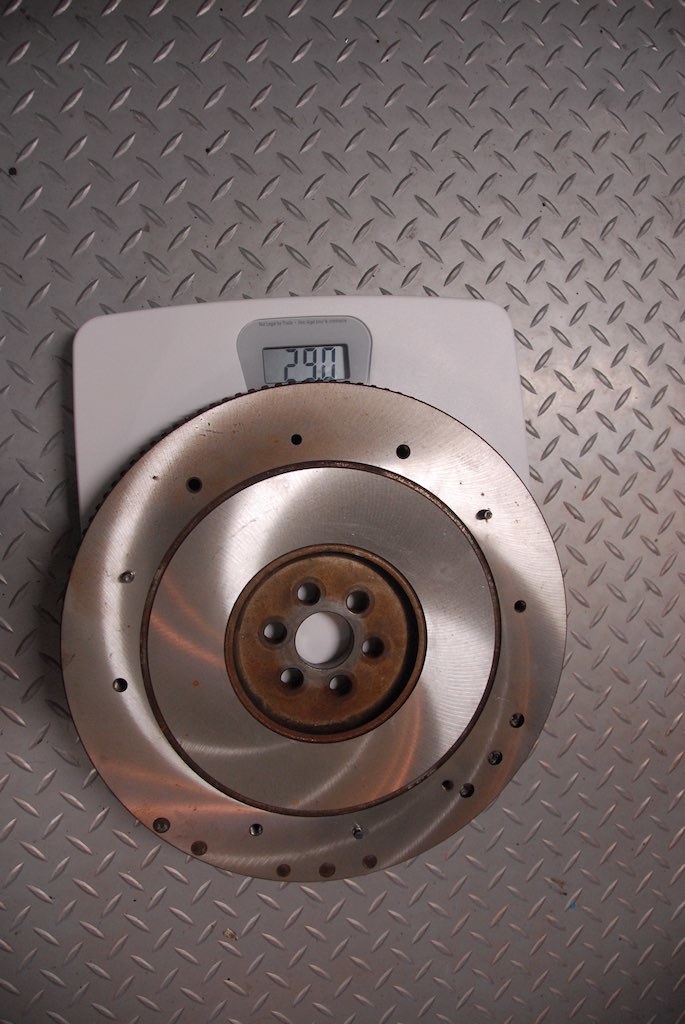
None of this is new information but I thought I'd weigh my old and new flywheels for myself just for fun. That's a pretty healthy difference. Thanks to the wisdom of the realm I also know that I need to get that new sucker balanced before she goes in. Here are a few photos:
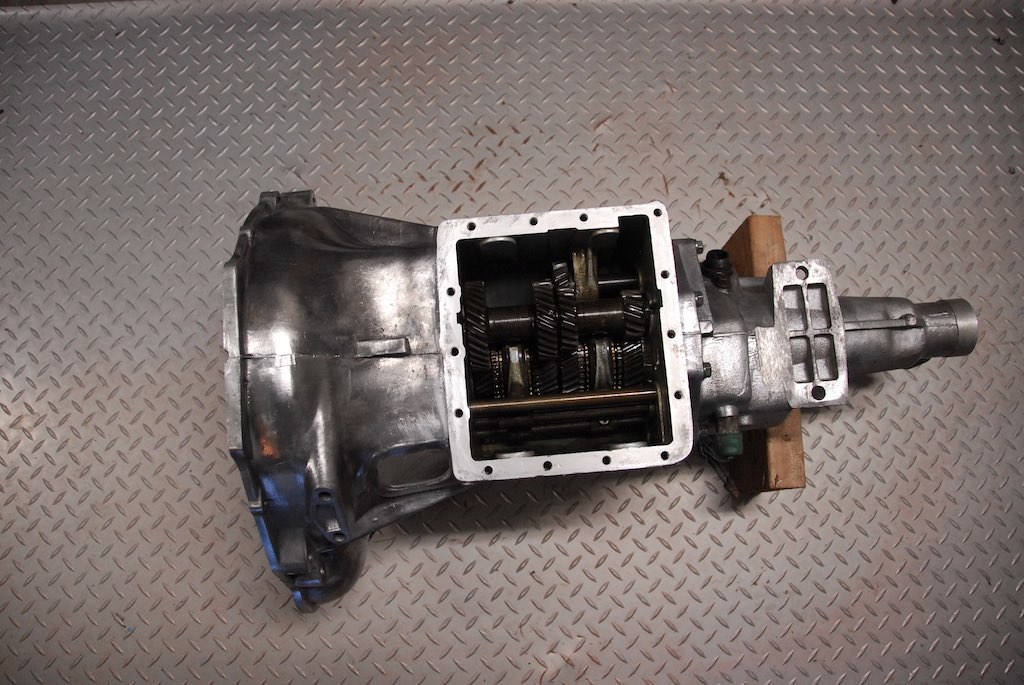
I'm in the process of cleaning up the inspection plate on my 4 speed and replacing the gasket so I thought I would take some pictures of the innards of the transmission as I hope to not see it again for a very long time, if ever.

Re: On My Dime
Posted: 30 Mar 2016 16:44
by WxMan
Finally some progress worth documenting...
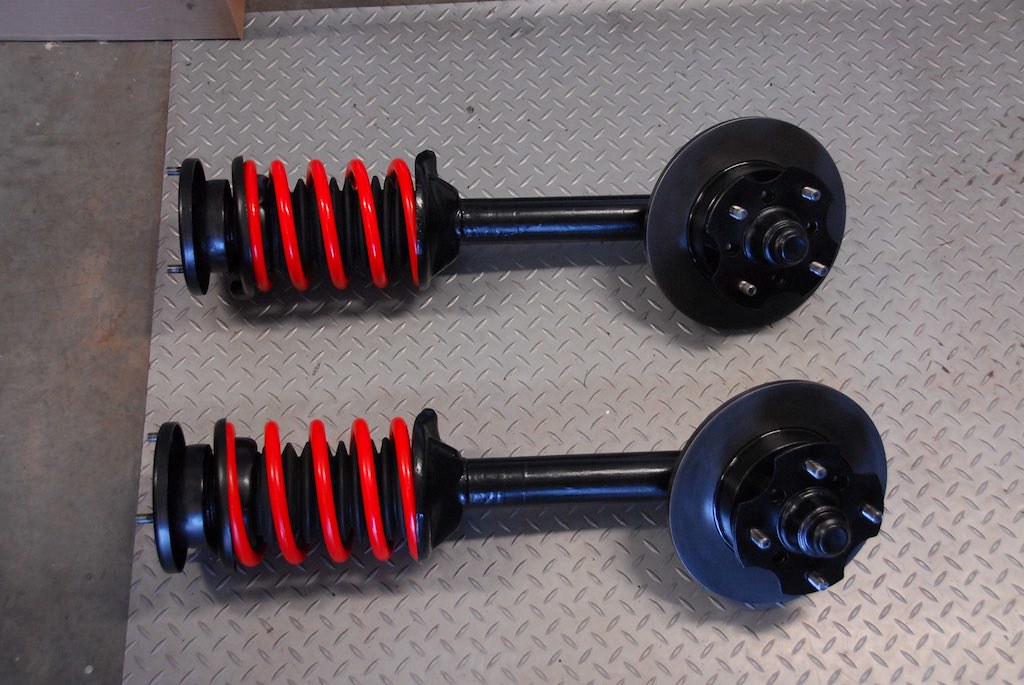
I've decided to stick with the mostly stock suspension at least until I get to put some miles on the car and figure out exactly what my goals are for it. In the end they probably won't even see too much action, but here are the front struts after a good working over.
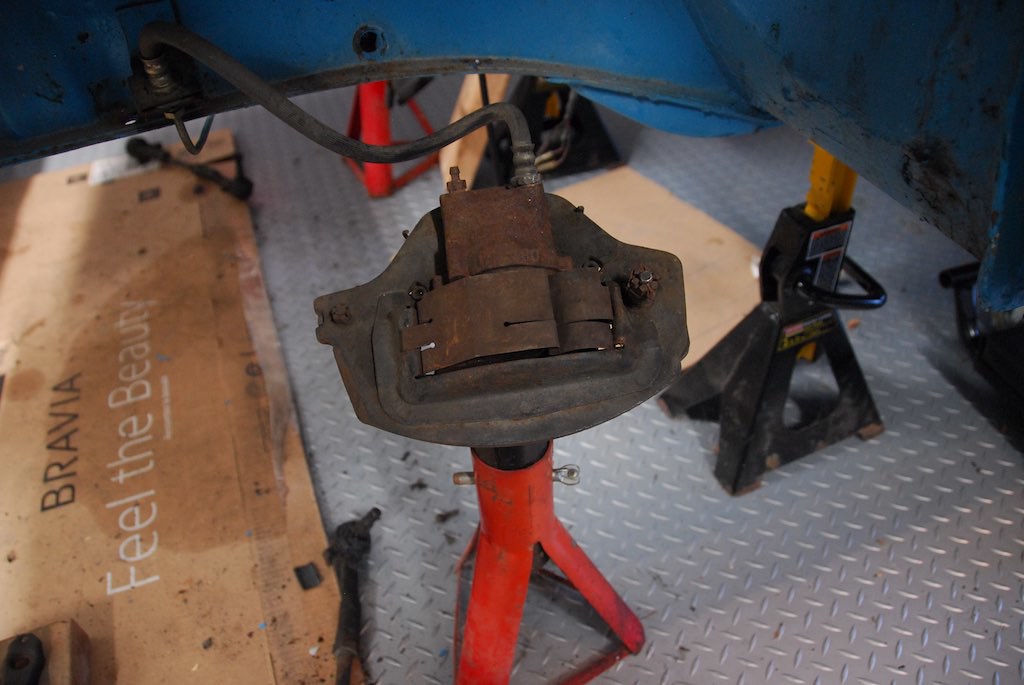
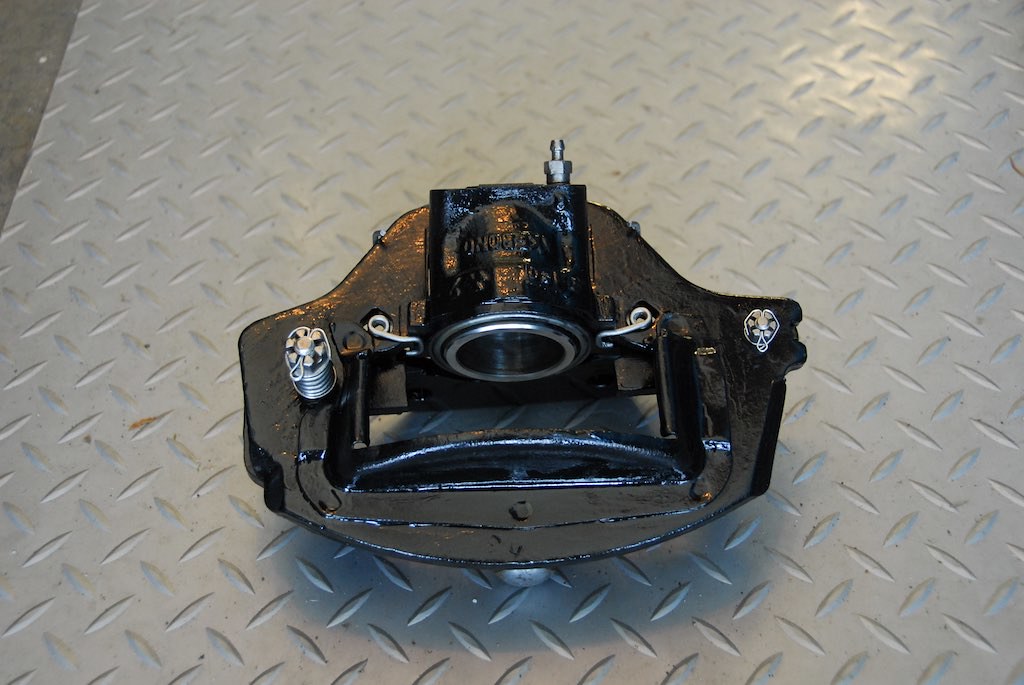
I also spent a fair bit of time cleaning up the brake calipers. Here is a before and after:
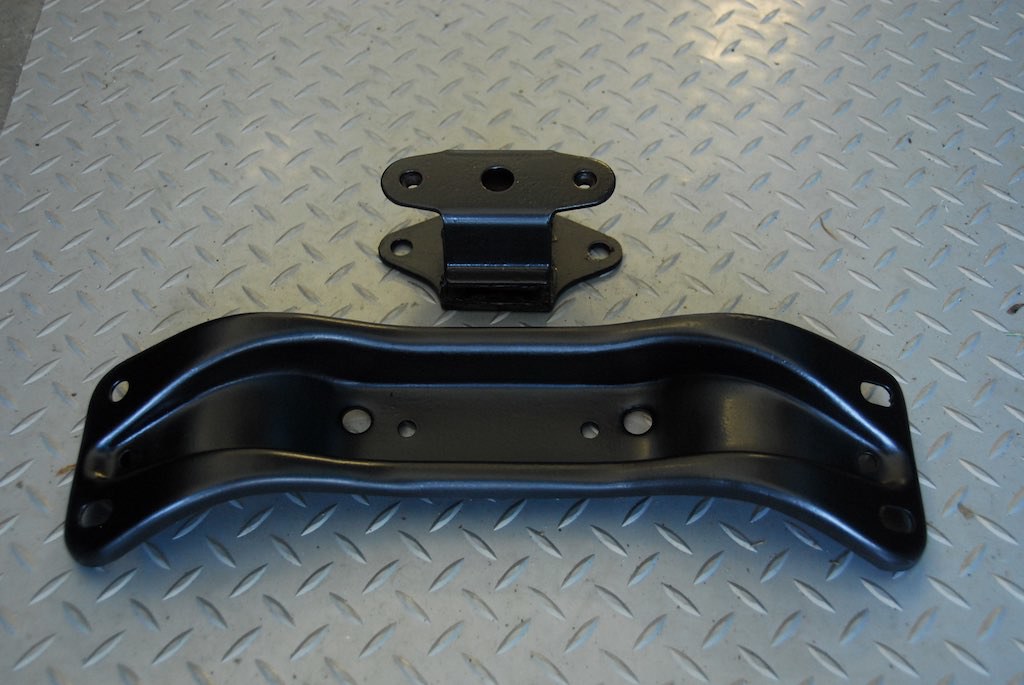
I finished up the steering box and transmission crossmember and mount too.

Re: On My Dime
Posted: 05 May 2016 13:21
by WxMan
Progress continues slowly. This time of year spring yard work always competes with my Datsun for my free time. For about the tenth time now I've started working on another part of the car that I told myself I would leave for now and get to after I had actually driven it for a bit. I'm pretty much at the point where my car is so far apart that it only makes sense to keep going and then send the body off to get fixed up and repainted. Some day I'll get to drive this thing again... That's what I keep telling myself anyway.
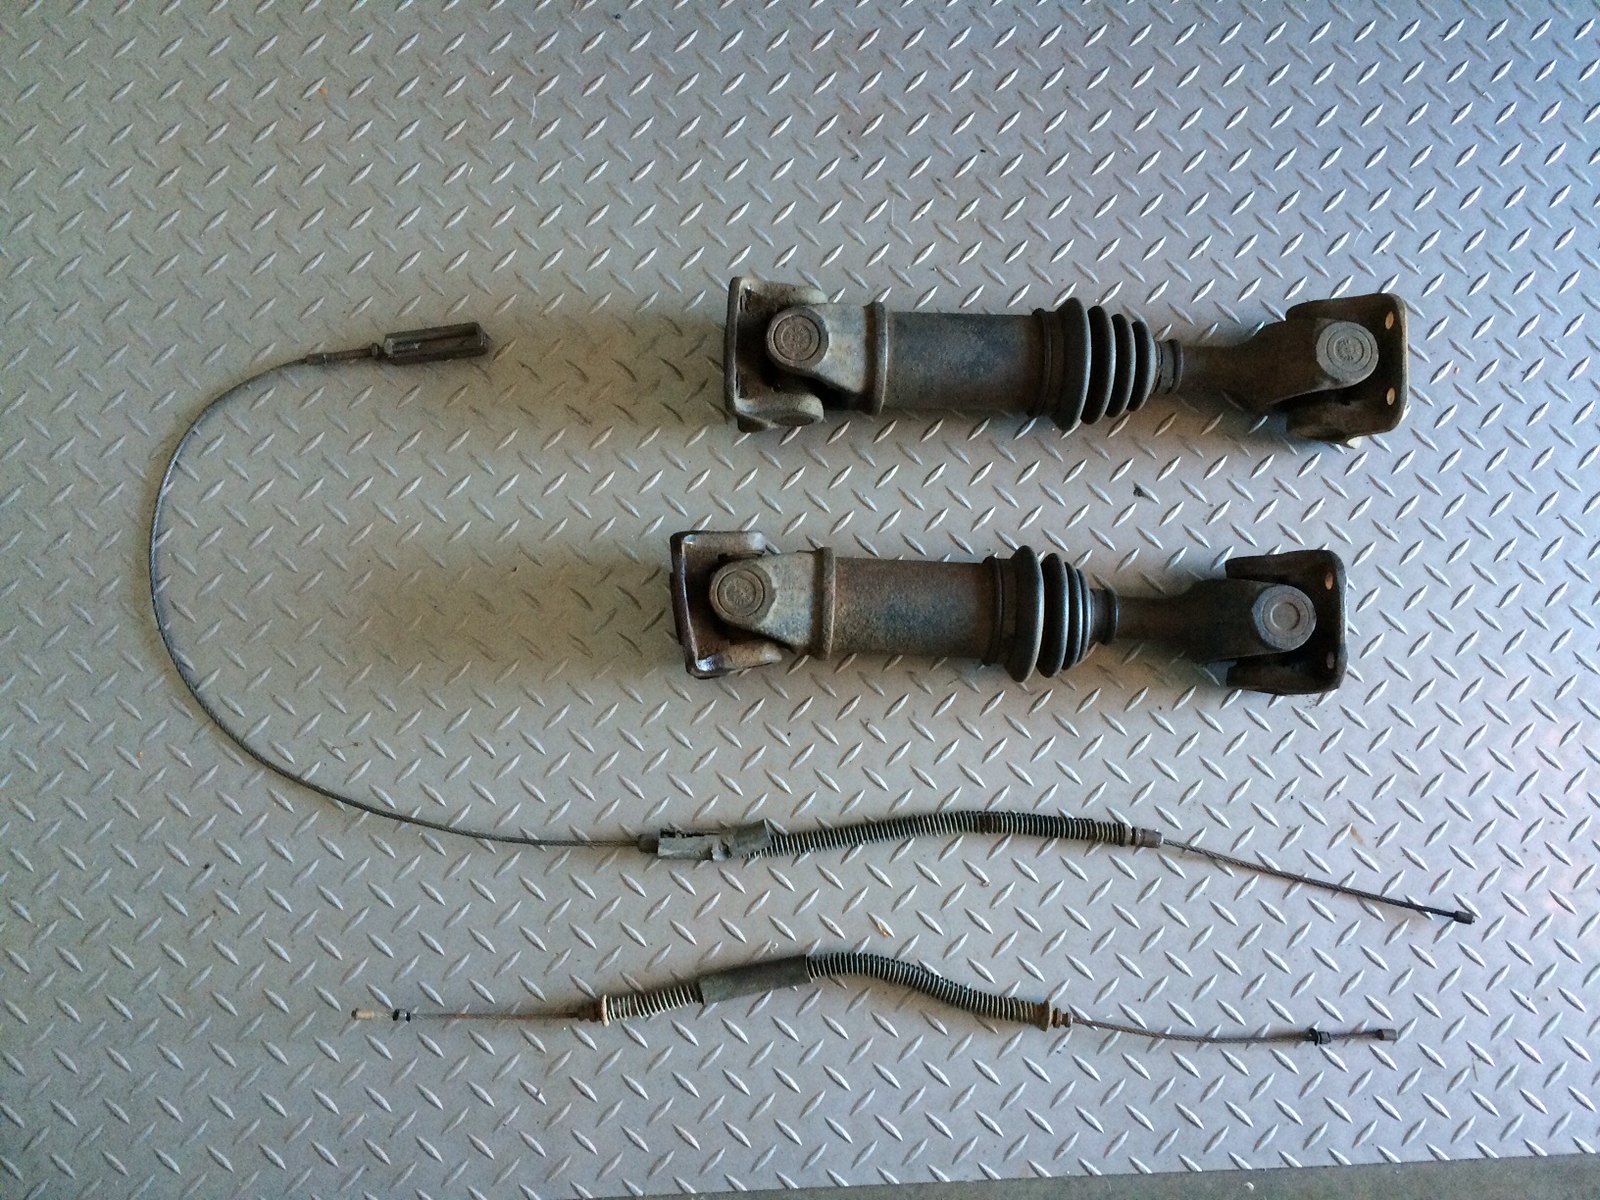
So the latest part of the tear down has brought me to my rear subframe and associated parts. I would have liked to have been able to drop the whole thing as one assembly but as mine are the only set of hands I have and having only one floor jack I thought it would be easier to disassemble the individual parts and remove them from the car. One of the first things that I noticed was that I would need to remove the parking brake lines from the rear arms. It isn't obvious to me how these come off. Can someone tell me how these are meant to be removed? The photos below show what I'm looking at.
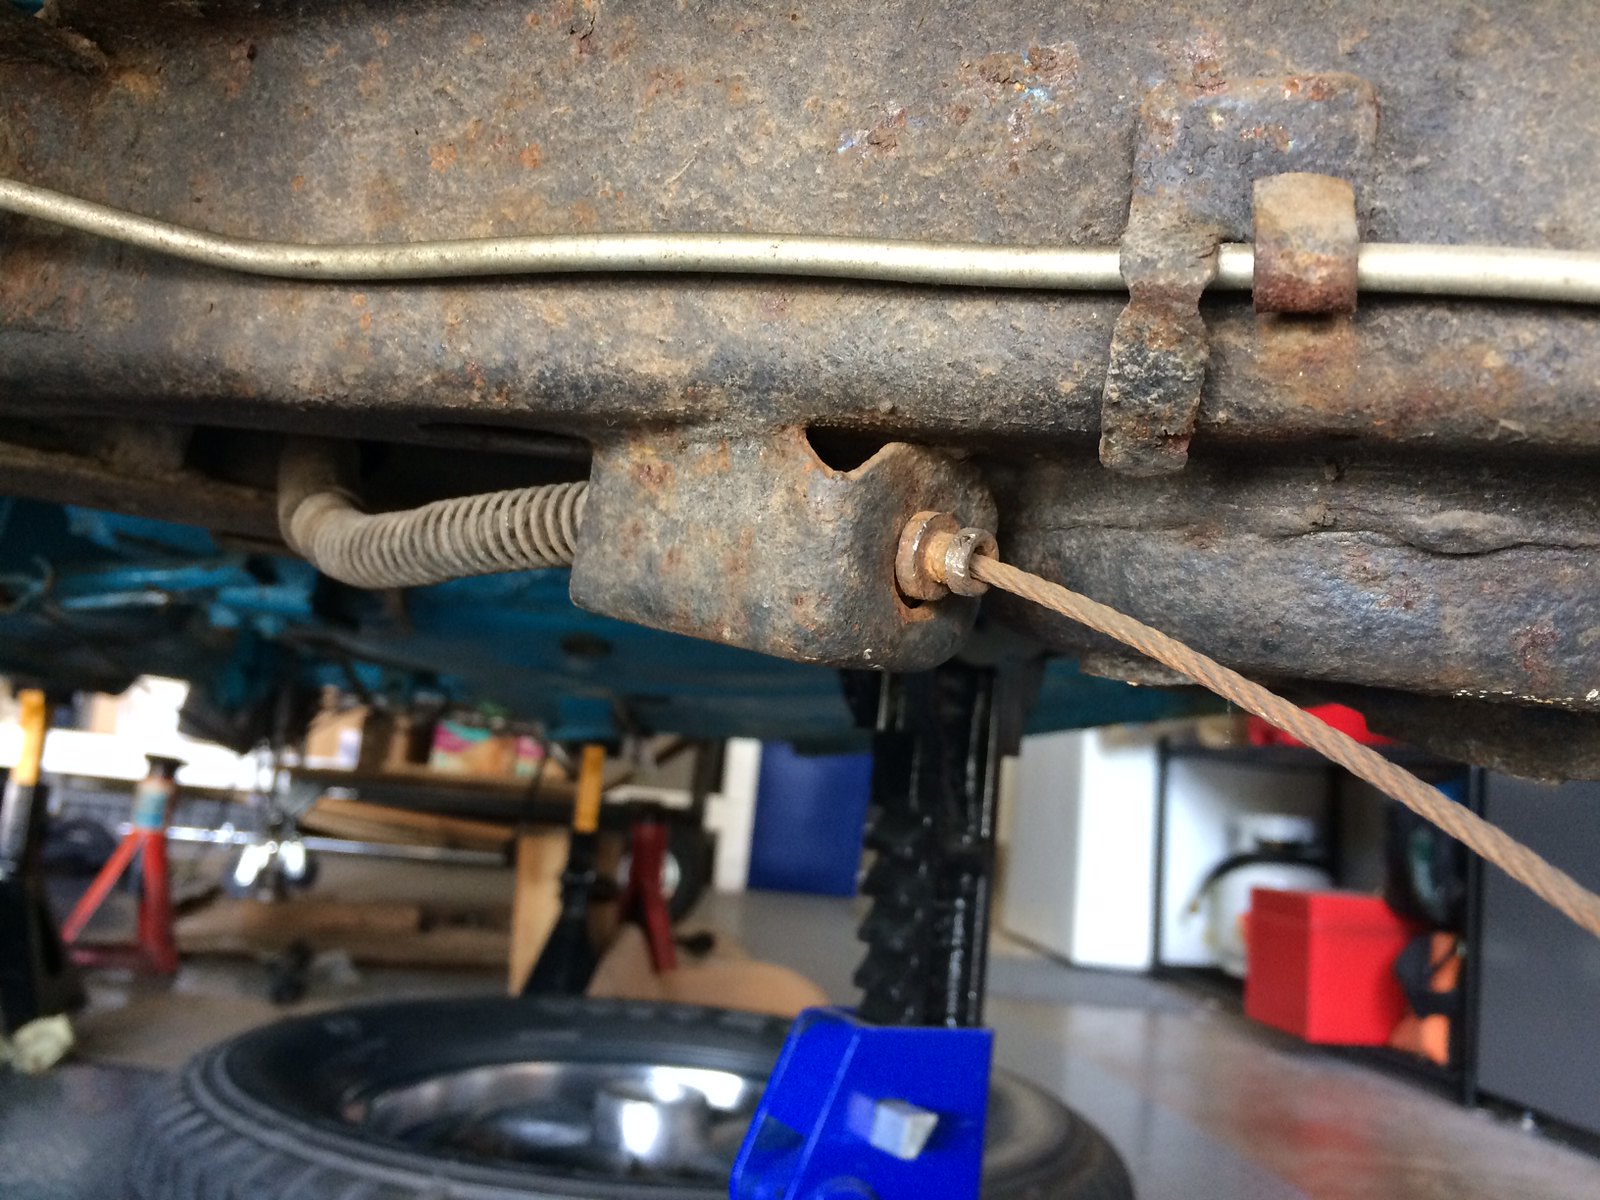
RHS
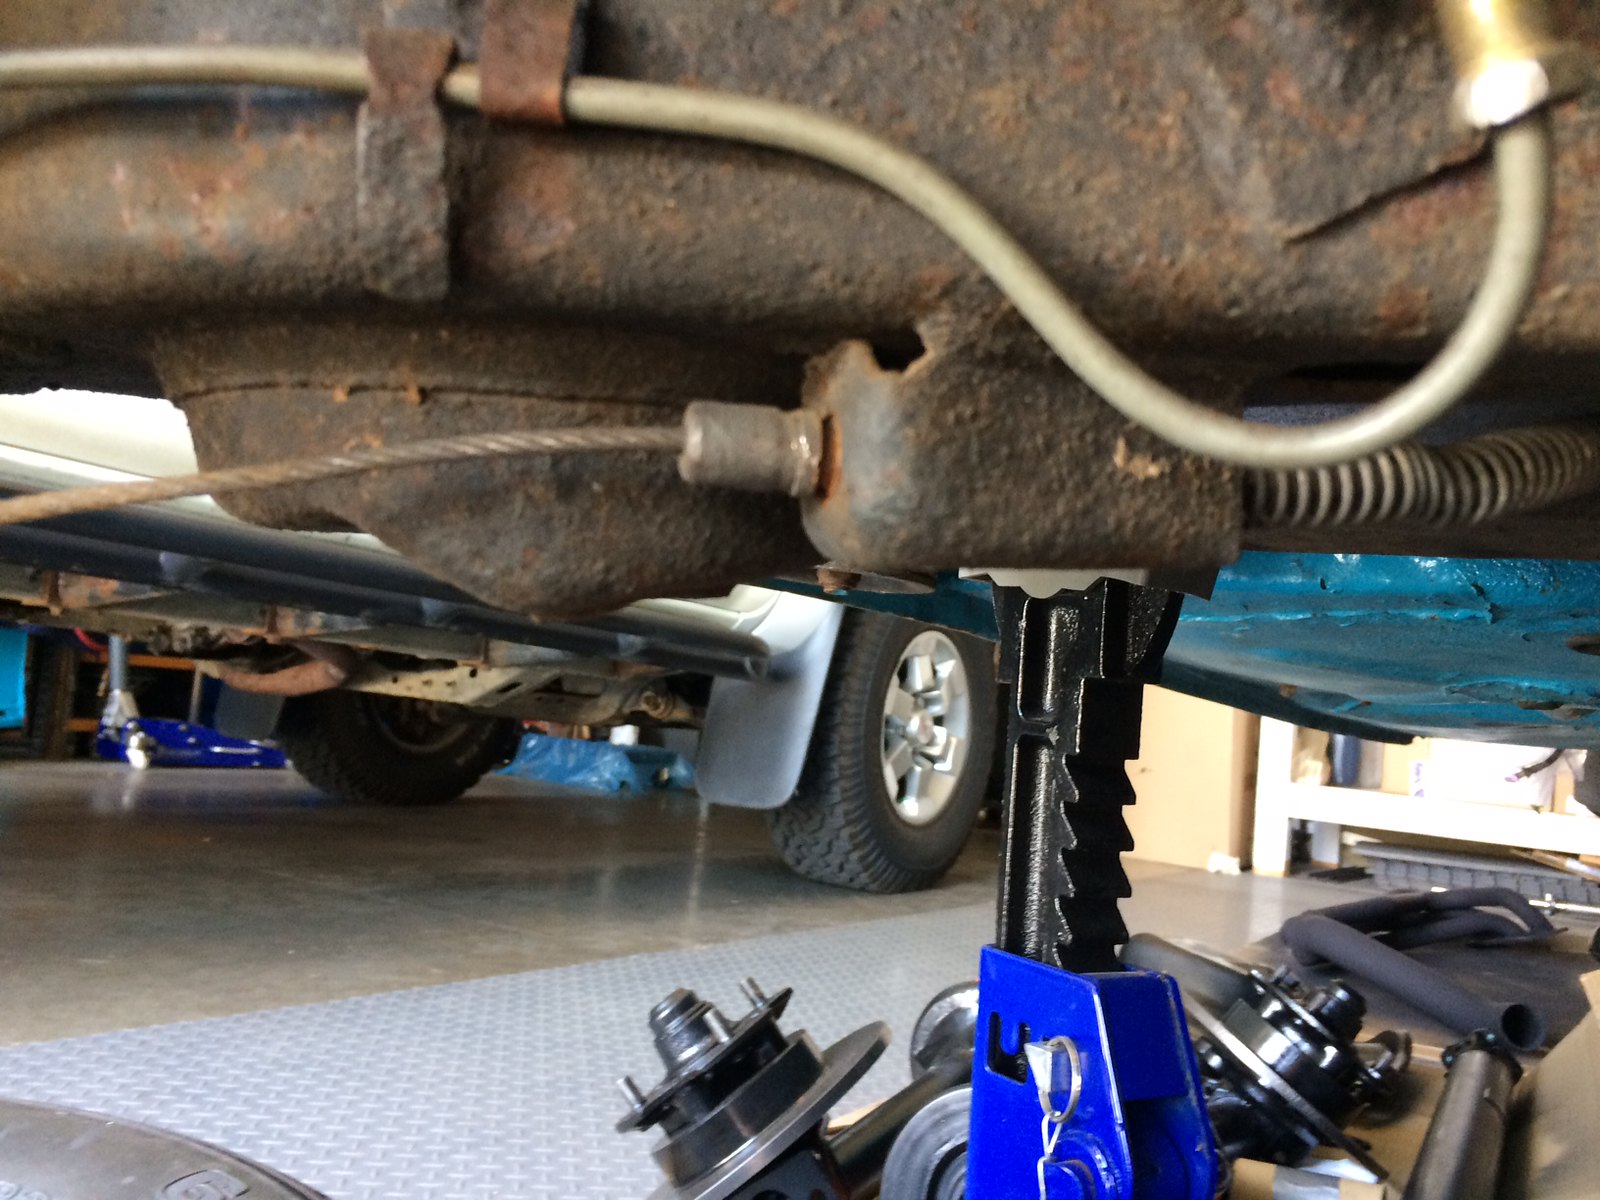
LHS
Also, the right side prop shaft released from the wheel hub and diff without issue but the left hand side one is stuck on at the diff end. Any tips for separating the shaft from the diff?
As always, your thoughts and suggestions are very much appreciated.
Re: On My Dime
Posted: 05 May 2016 15:28
by RMS
the spring wrap on the ebrake cables make them unwieldy and cause the grove that the clip rides in to spring up and catch the grove. finding center for extraction can be a bear. the top pic shows the grove caught up in the hole were as the bottom pic shows its still rusted in place.
if a dab of grease was not use on assembly of the drive or half shaft to yoke it can easily rust in place. a sharp blow with a mallet will free it off.
And remember kids if it can't be fixed with a hammer its an electrical problem

Re: On My Dime
Posted: 05 May 2016 17:17
by WxMan
Thanks for the tips. The corrosion on those brake cable parts made it look like they were never meant to go through those holes but once I knew how things were supposed to work I was able to force them through. I had tried persuading (aka whacking it with a hammer) the half shaft a few times before but evidently it just needed more patience, penetrating fluid, and persuasion.
Re: On My Dime
Posted: 18 May 2016 15:56
by WxMan
The rear subframe and associated parts are now out. Many of the bushings appear to be in mediocre condition and I would prefer to replace them. I plan to have Byron's brackets installed. I'm not building this car to be a full race-mobile however I can live with some increase in NVH if the performance gain justifies it. Is there a consensus of bushing material that is preferred?
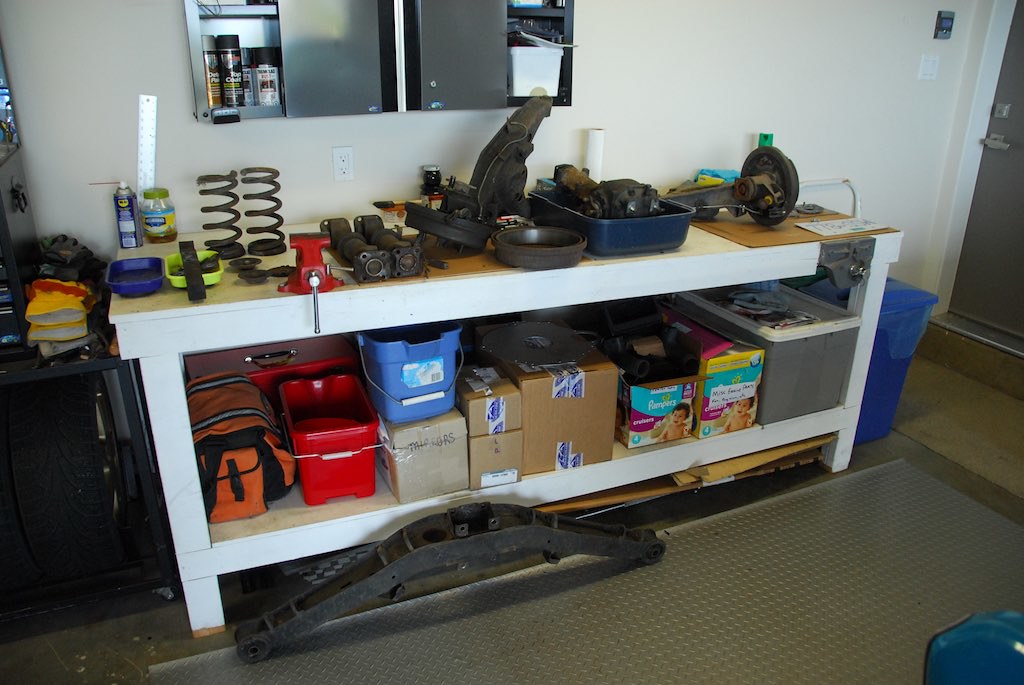
I'm no neat freak but my garage disorganization was starting to get to me so I spent several hours tidying up recently. I'm running out of space for storing parts. I don't know what I'm going to do with the interior when it comes out...

Re: On My Dime
Posted: 19 May 2016 06:07
by okayfine
On rear bushing material, you're stuck with rubber as, while Byron's brackets make things adjustable, they don't rotate the mounting points, so you'll still end up with misalignment that will bind with something like poly bushings. Without getting too crazy (heim joints), there isn't much alternative.
Re: On My Dime
Posted: 19 May 2016 12:16
by Doraemon
You're doing a great job man ! Perfection

What kind of paint did you use to paint the brake callipers and steering box ?
Re: On My Dime
Posted: 19 May 2016 12:36
by WxMan
Ha, thanks Doreamon. "Perfection" is certainly overstating it a bit, but I'm doing my best. I used Por-15 Caliper paint on the brakes and on the steering box and most of the other parts I put on a base coat of Por-15 rust paint and then sprayed on some semi-gloss Por-15 "Top Coat". I'm pretty happy with how most things have turned out so far.
Julien, thanks for the info on the bushing material. Having read about binding with poly bushings in the front I was concerned about similar issues in the rear. So rubber it is for the rear control arm bushes then. From what I have read poly, or similar type bushings are common for the moustache bar and shouldn't cause any issues. I just have to measure mine and be careful to acquire the correct size replacements.