Page 8 of 12
Re: '69 510 - Lysholm Twin-Screw Project
Posted: 09 Jul 2012 23:47
by two_68_510s
Nice to get that block cleaned up, I found a lot of sand embedded in mine.
Re: '69 510 - Lysholm Twin-Screw Project
Posted: 17 May 2014 16:31
by akara
Just scored Corys header today,
Was great talking to you and very cool to be able to see such a beautifully restored 510!
Keep us updated!
Andrew
Re: '69 510 - Lysholm Twin-Screw Project
Posted: 18 May 2014 14:21
by VelvetHammer
Thanks Andrew, great meeting you as well. I hope to be posting some updates soon!
Re: '69 510 - Lysholm Twin-Screw Project
Posted: 15 Oct 2014 22:12
by VelvetHammer
Well, heck, I've been horrible at posting so here goes.
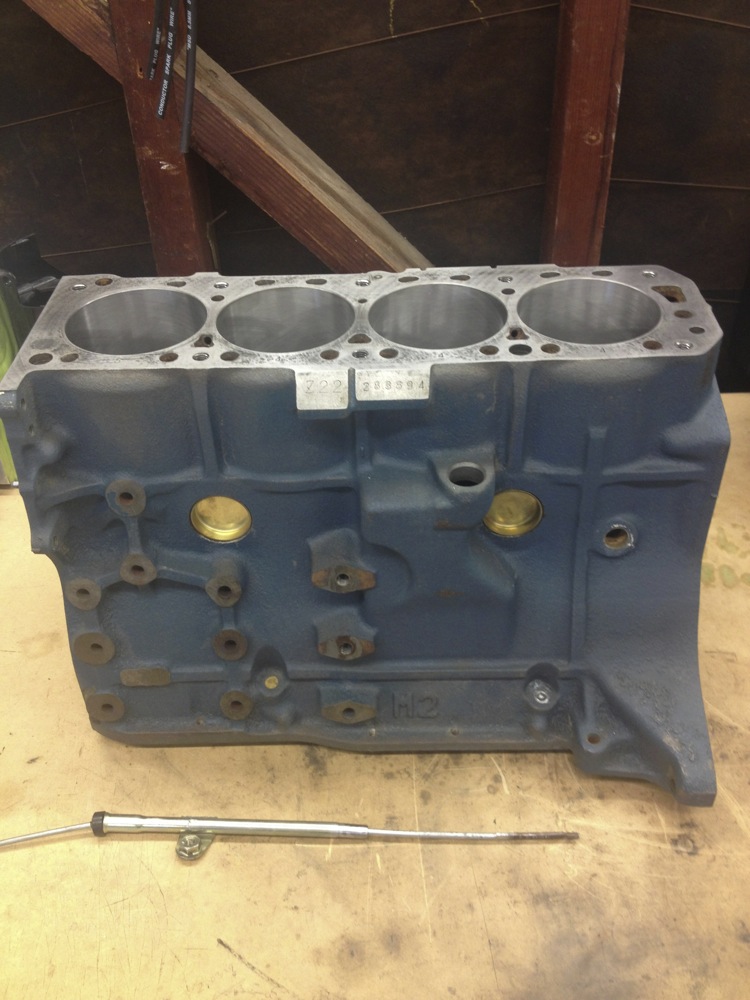
Last I left off I was tearing down the NA block to clean it up and start the build.

- IMG_2515.jpg (195.24 KiB) Viewed 4548 times
To recap, it's an 06W with siamesed cylinders

- IMG_2516.jpg (204.52 KiB) Viewed 4548 times
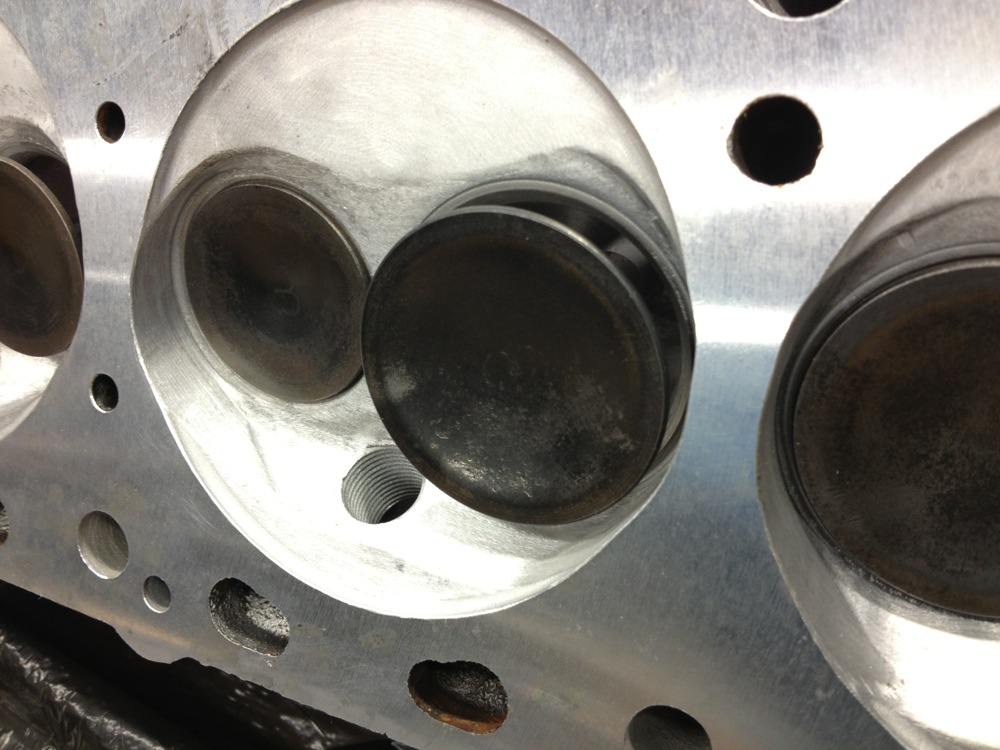
I threw a Felpro head gasket on the top and noticed things weren't exactly lining up as expected

- IMG_2522.jpg (208.07 KiB) Viewed 4548 times
This cylinder pair looks good.
- IMG_2532.jpg (99.35 KiB) Viewed 4548 times
These two, not so much.

- IMG_2534.jpg (87.81 KiB) Viewed 4548 times
It'll figure it self out...
Got some new parts:
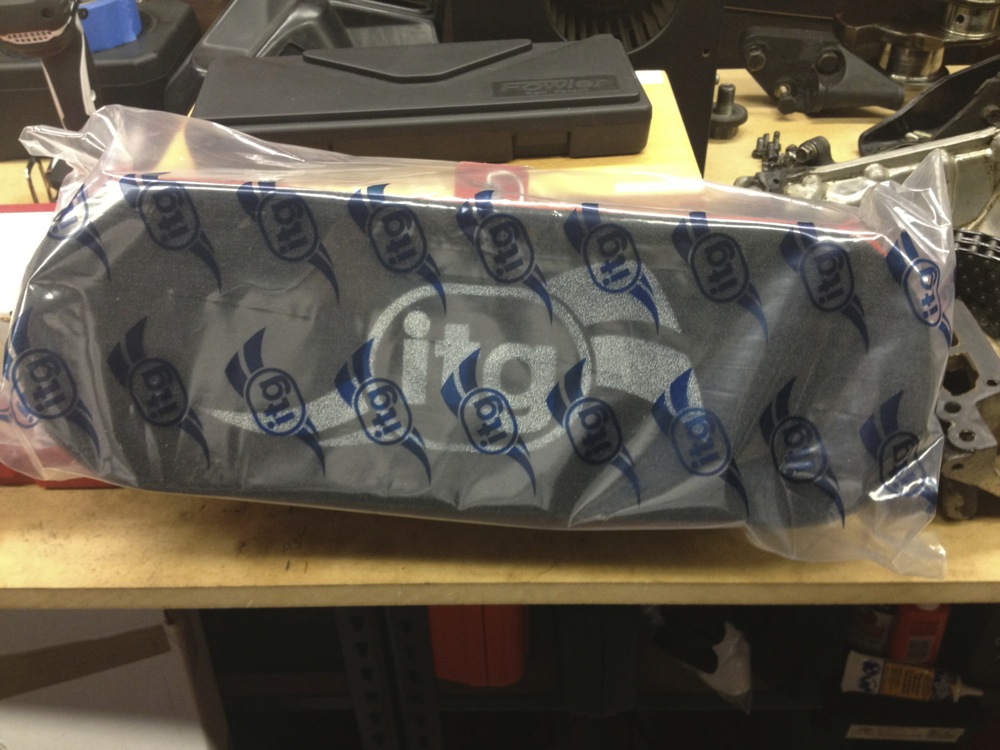
- IMG_2541.jpg (176.71 KiB) Viewed 4548 times
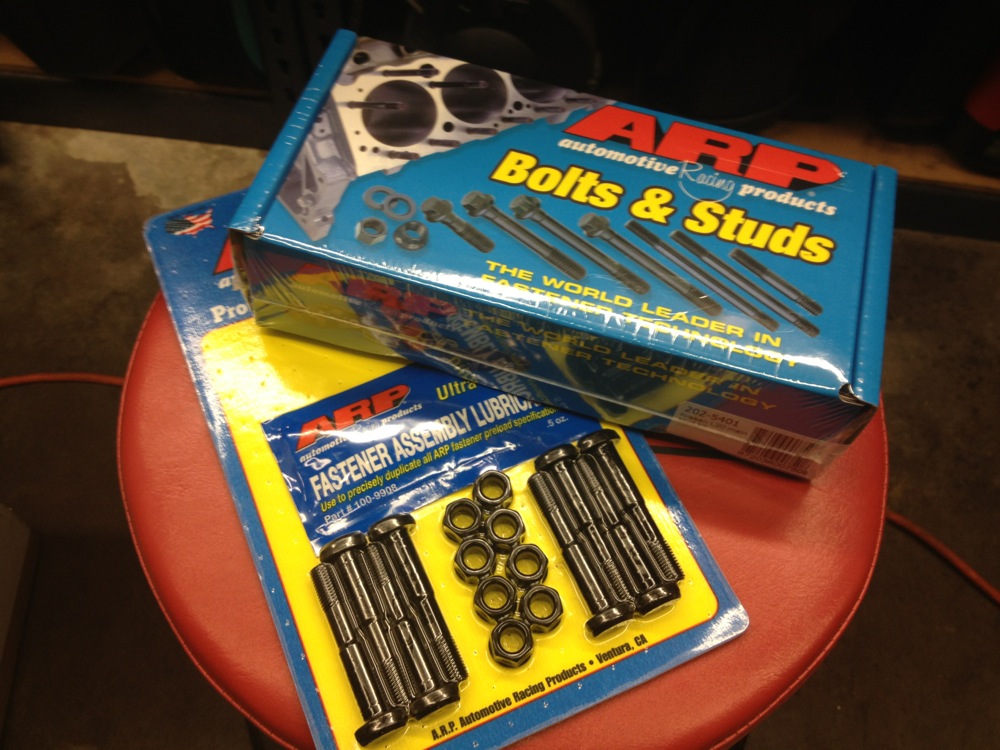
- IMG_2542.jpg (219.55 KiB) Viewed 4548 times
And got started to work. My comp header was way too close to to the steering box, so I took down few of the bits of casting. I think I got a bit carried away and almost ground through the box, notice the indent that appeared. I suppose time will tell. Nothing black paint can fix...

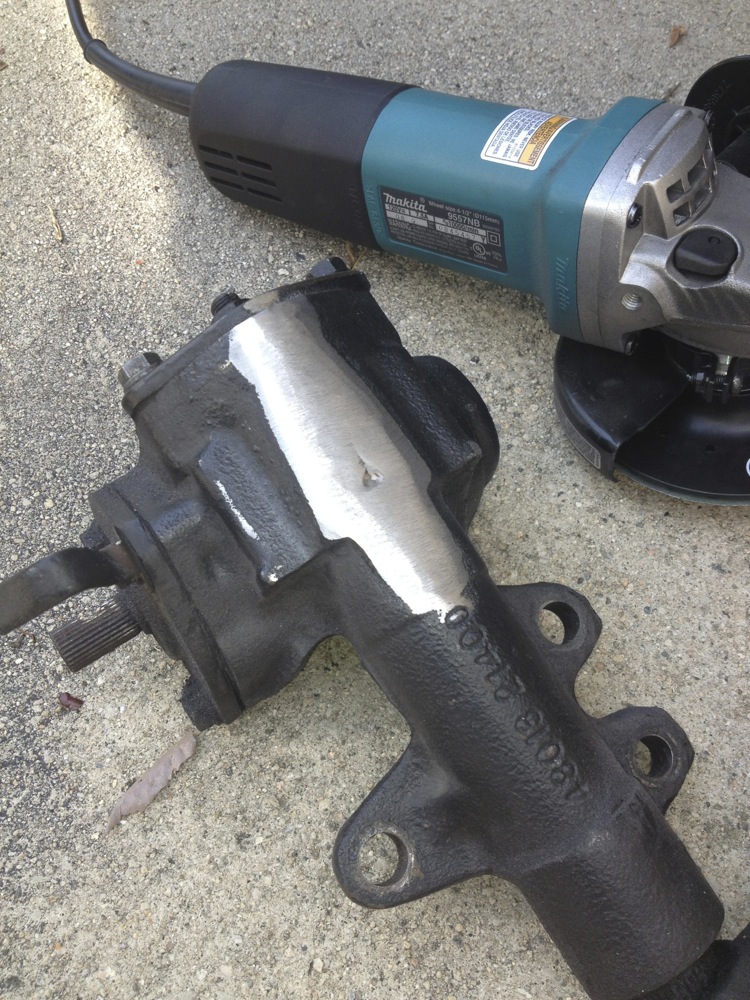
- IMG_2982.jpg (308.62 KiB) Viewed 4548 times
I moved on to tapping the oil bypass check valve

- IMG_3001.jpg (162.23 KiB) Viewed 4548 times
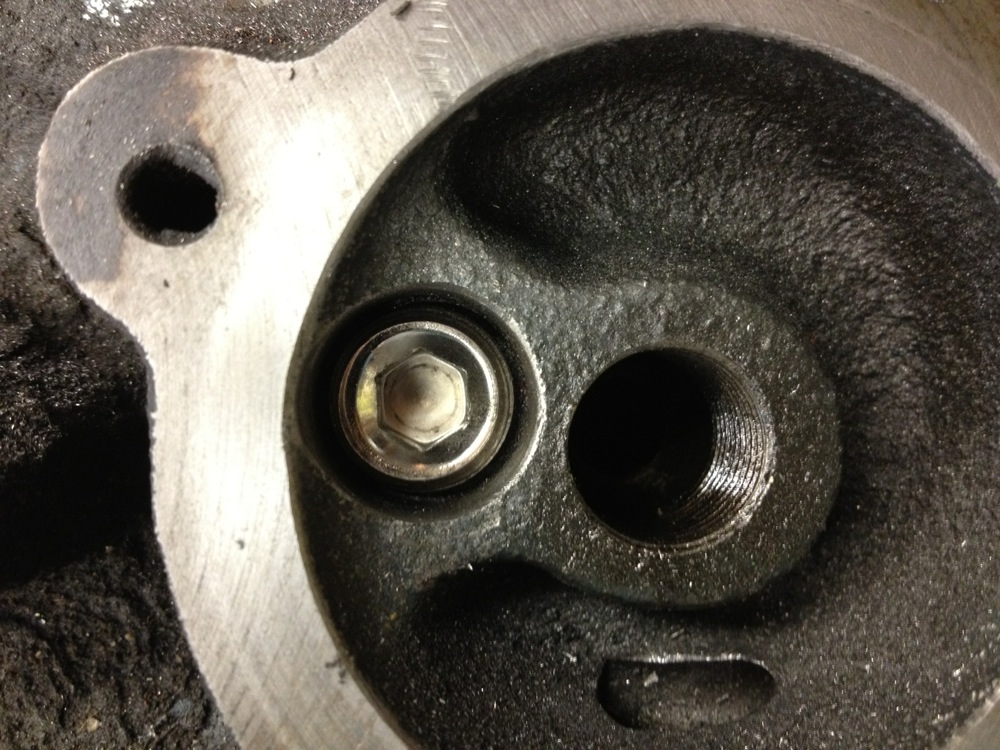
- IMG_3003.jpg (251.96 KiB) Viewed 4548 times
and various oil galley plugs, making sure to check the depth of the plug as to not block any internal passages
- IMG_3003.jpg (251.96 KiB) Viewed 4548 times
more in a moment...
Re: '69 510 - Lysholm Twin-Screw Project
Posted: 15 Oct 2014 22:56
by VelvetHammer
I got down to die grinding things smooth

- IMG_3015.jpg (261.58 KiB) Viewed 4548 times
and installed some parts here and there
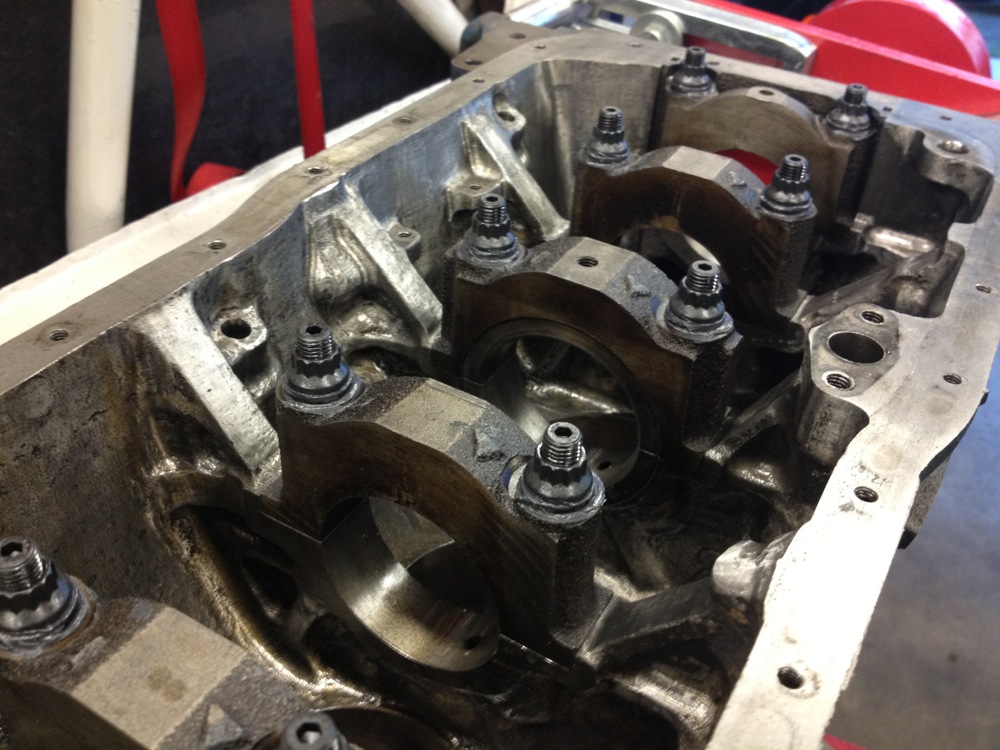
- IMG_3041.jpg (209.87 KiB) Viewed 4548 times
measured stuff

- IMG_3074.jpg (185.24 KiB) Viewed 4548 times
ended up getting new pistons, D81 rods and boring the block out a bit.
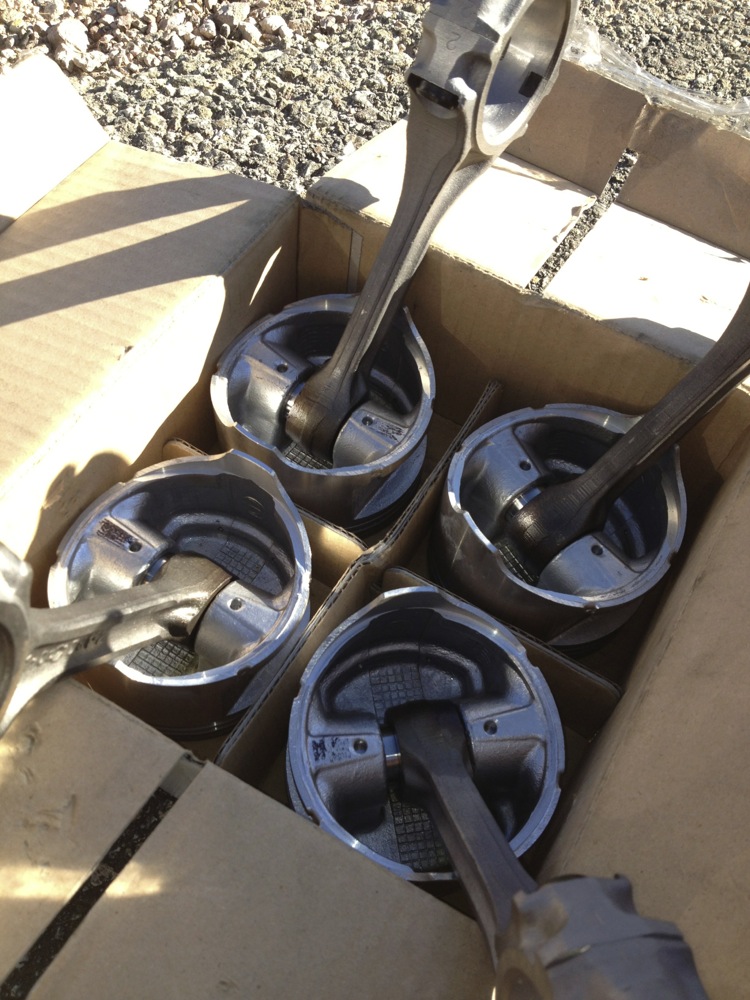
- IMG_3591.jpg (223.71 KiB) Viewed 4548 times
I wanted to get the block bored and torque plated and "done up right", so I tracked down Frank Honsowetz of "How to Modify your Nissan" fame. He runs Ed Pink racing out in the valley.

- IMG_3622.jpg (115.73 KiB) Viewed 4548 times
He doesn't mess with Datsun's much anymore and didn't seem to excited to give me much advice (what machinist is?), BUT they do NASA level engineering and will tell you straight if what your asking for is foolish. The block got the works and in the end I probably paid too much for a street motor, but I can sleep easy that it was all done correctly to .0001". It sucks to be OCD-ish.
I took my transmission to these guys to get 3rd gear fixed (syncros were worn)
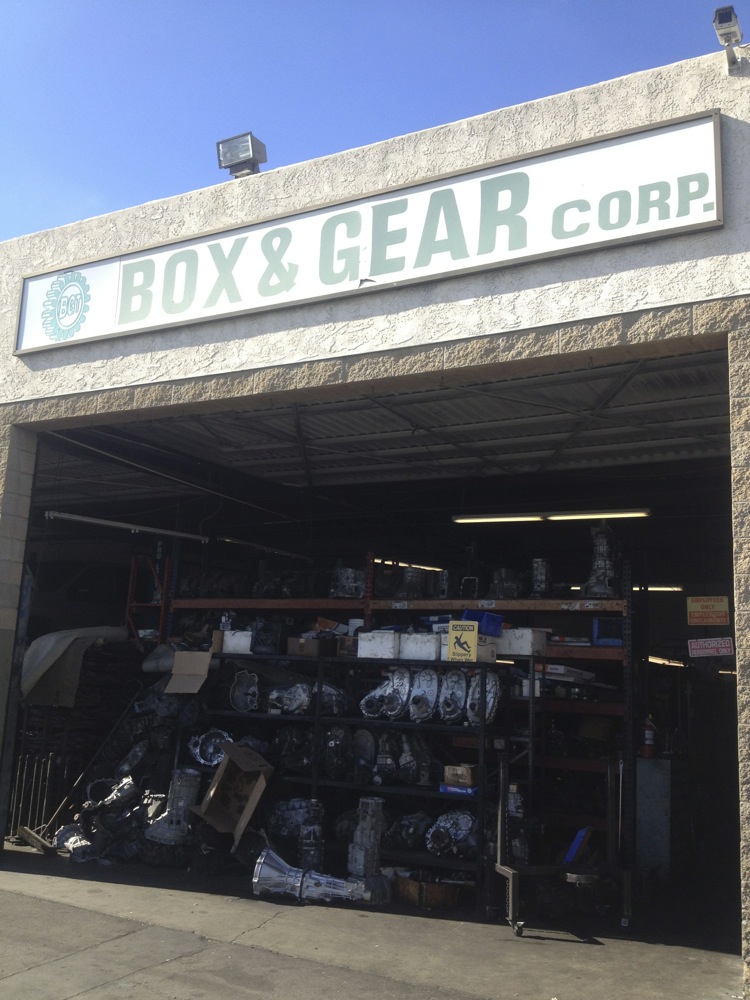
- IMG_3658.jpg (196.23 KiB) Viewed 4548 times
The block came back nice and clean, sonic tested, pressured tested, magnafluxed, bored, line-honed, etc. etc.
- IMG_3750.jpg (169.37 KiB) Viewed 4548 times
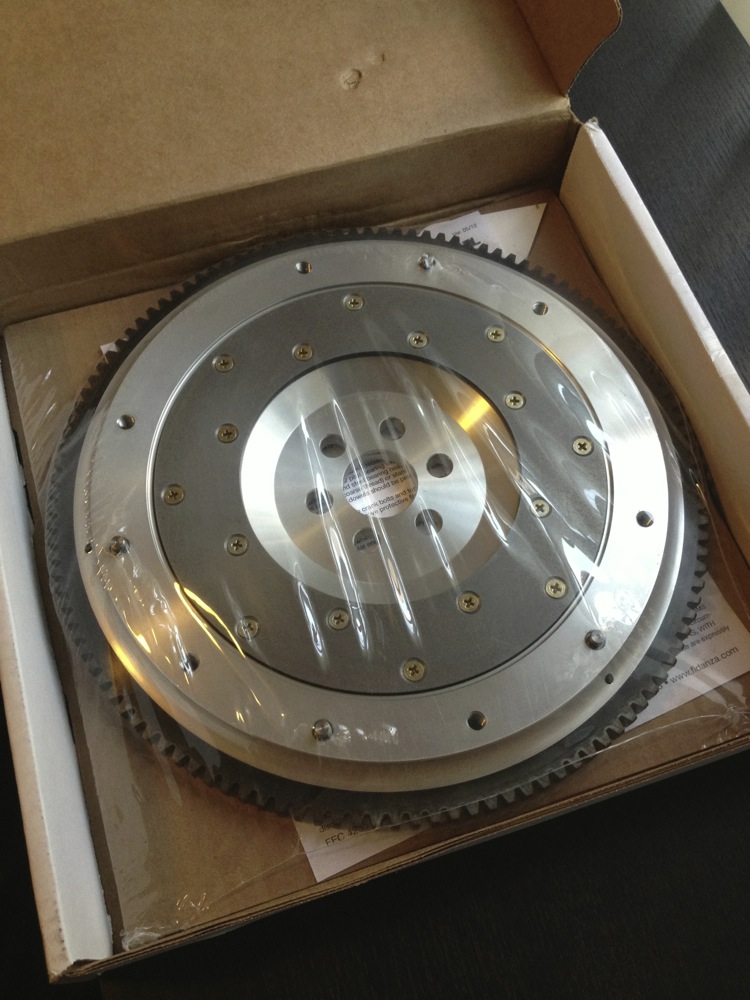
My old flywheel was a "lightened" stock variety. At some point I decided I need a shiny part no one would ever see.
- IMG_3852.jpg (180.79 KiB) Viewed 4548 times
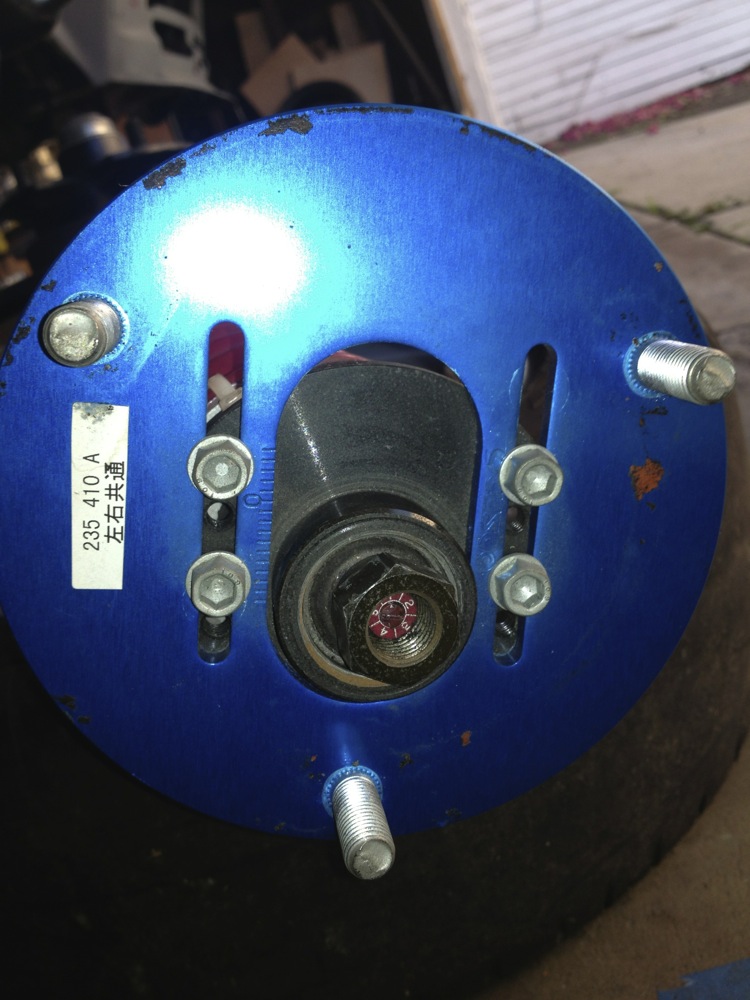
I remembered that one of my camber plates had a bad spherical bearing and I had to track down the west coast distributor of Cusco to get a replacement.
- IMG_3887.jpg (167.13 KiB) Viewed 4548 times
You can't just press a new bearing in, you have to buy a whole new top plate. (I searched for weeks trying to engineer an easier solution). Thankfully the guys at Cusco took pity on me and cut me a deal.
Ok, so then I took out the 2.2L that was built for the supercharger.

- IMG_3889.jpg (218.4 KiB) Viewed 4548 times
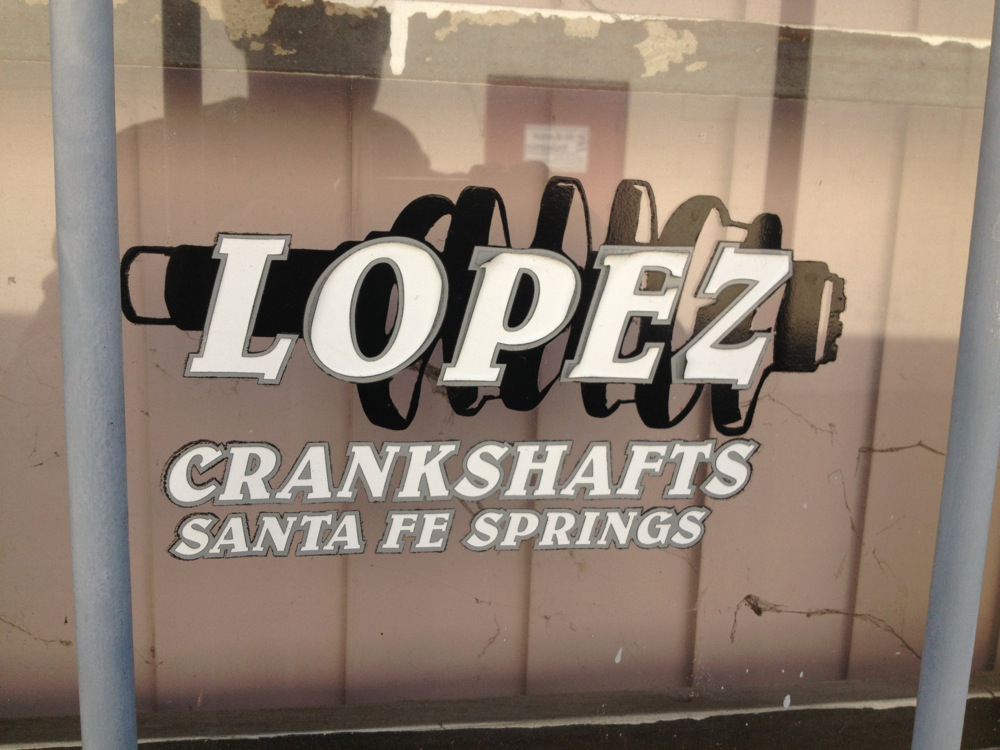
Ah yes, I forgot to mention that Frank told me that my crank was out of spec and I needed to get undersized bearing and get the crank ground to spec. So he recommend Hyme at Lopez crankshaft. Hyme is the kind of guy who can measure .001 with his hands. Very nice guy. Hits his deadlines on time and reasonably priced.
Re: '69 510 - Lysholm Twin-Screw Project
Posted: 15 Oct 2014 23:14
by VelvetHammer
- IMG_3905.jpg (178.12 KiB) Viewed 4547 times

- IMG_3896.jpg (233.33 KiB) Viewed 4547 times
I had Ermish port match, and prep a new L20B head for me. I wanted a aggressive cam this time around, the last was fun but it wasn't crazy fun. i thought about trying do it all myself but honestly I was in over my head on just learning how to properly assemble and engine let alone the learning curve port matching, valve work, rocker arm reconditioning, lash pad adjustments, etc. He also dowel pinned the head so my throttle bodies will always align properly.

- IMG_3960.jpg (180.78 KiB) Viewed 4547 times
- IMG_3962.jpg (175.36 KiB) Viewed 4547 times
Moving on I got new plugs and my crank back

- IMG_3977.jpg (139.19 KiB) Viewed 4547 times

- IMG_3985.jpg (193.62 KiB) Viewed 4547 times
Got a new head gasket and need to punch some water jacket holes

- IMG_4058.jpg (161.82 KiB) Viewed 4547 times
I got the bright idea of using hole punch to make nice clean holes

- IMG_4060.jpg (180.68 KiB) Viewed 4547 times
Ummm yeah, that doesn't work. Don't do that. -forehead slap- The head gasket is very thick metal, possibly thicker than my head.
Do this instead:
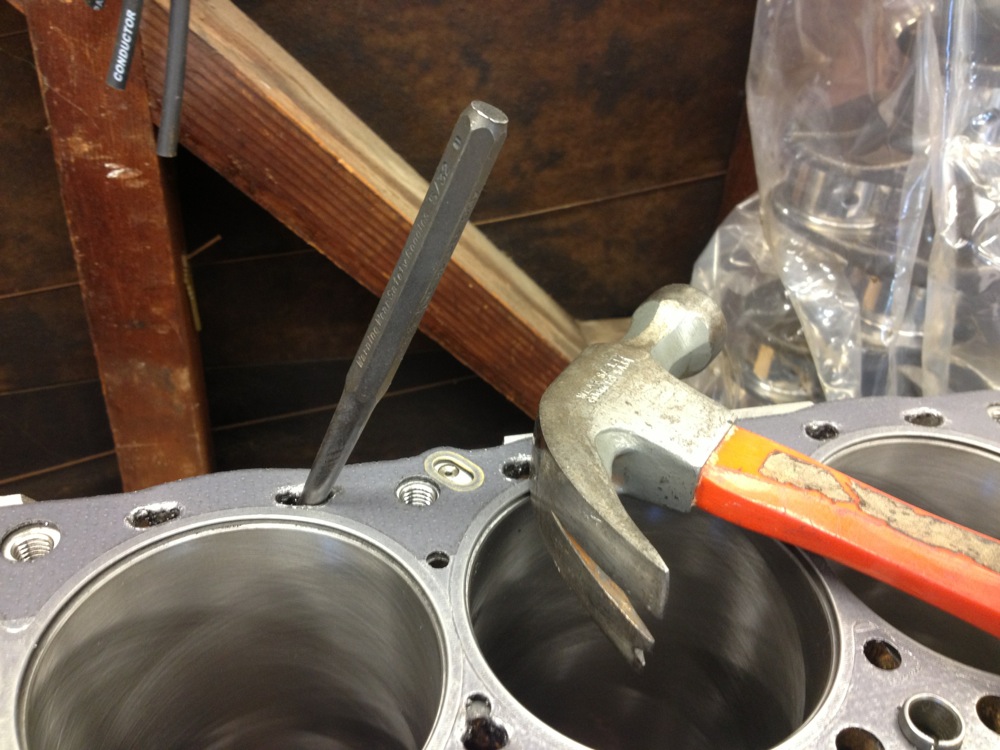
- IMG_4062.jpg (185.88 KiB) Viewed 4547 times
Using a punch makes a perfect fitting head gasket and the ragged bits just hang down in the block. you can trim anything that looks as though it might fall off, but it was very easy to do.
Re: '69 510 - Lysholm Twin-Screw Project
Posted: 15 Oct 2014 23:31
by VelvetHammer
One thing I noticed on assembly was that when the crank is at the bottom of the throw it looks as though it will be passing through a lot of oil. note the level indicator on the dipstick. Unless you are below the center line of the indicated area you will be sloshing through oil, no? I'm guessing a bit of that oil will be up in the engine, but how much? Would it make more sense to only fill towards the low end of the range?

- IMG_4071.jpg (129.6 KiB) Viewed 4546 times
Re: '69 510 - Lysholm Twin-Screw Project
Posted: 15 Oct 2014 23:39
by VelvetHammer
Re: '69 510 - Lysholm Twin-Screw Project
Posted: 16 Oct 2014 00:07
by VelvetHammer
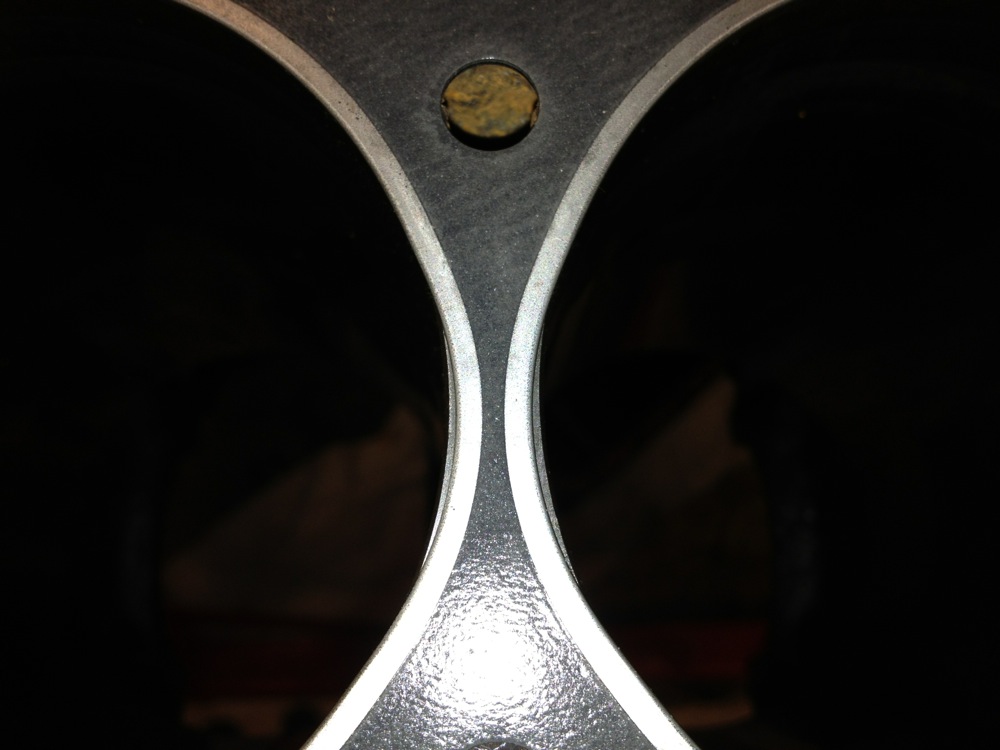
For some reason one of the pistons was sticking above the deck and tilted at an angle. Even if i pressed on the protruding lip it wouldn't' flatten out.
This how it should look:
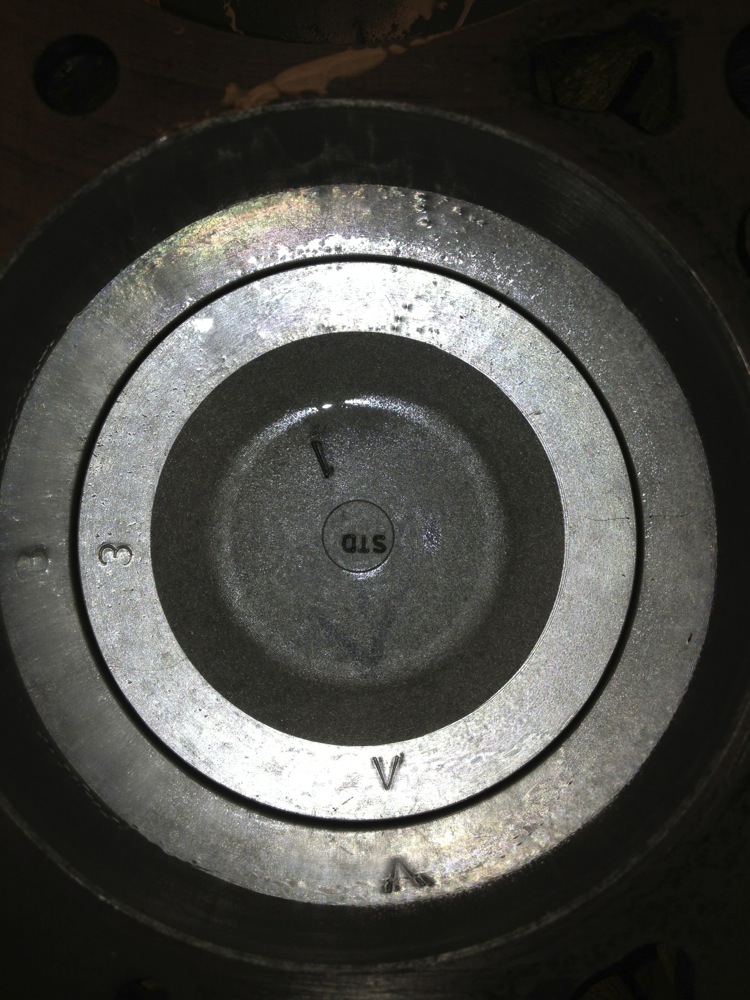
- IMG_4099.jpg (220.61 KiB) Viewed 4543 times
And yet there is this one:

- IMG_4098.jpg (203.94 KiB) Viewed 4543 times

- IMG_4103.jpg (127.48 KiB) Viewed 4543 times
The odd part is that it was tilted on the center line of the block. maybe a bent rod or rod journal on the crank shaft that was ground at angle?
So I took everything apart. The crank went back to Lopez and he gave it thumbs up, every journal was identical, all strokes matched.
I then took the rods to a guy named Larry at Revco (referred by both Frank and Hyme). He checks them for straightness (they were fine) but noticed that they are all different lengths, as much as .006" difference between some of them. Up to that point I was using pressed pins and made the executive decision to get all of the rods adjusted to the same length and go with floating pins. They were all thoroughly inspected them, drilled, and had bushings installed. I also had them balance both rod ends and the entire rotating assembly (pistons, flywheel and clutch).
I suppose the question could be asked why did I spend a bunch of cash correcting a set of stock rods? Well, I thought about buying a set of custom rods, but I still would have had to deal with fitment and bearing clearances, etc. So I ended up paying less overall and custom rods would have been overkill for this application
Larry is very much like Hyme and Frank. Great guy. Here's the finished product:
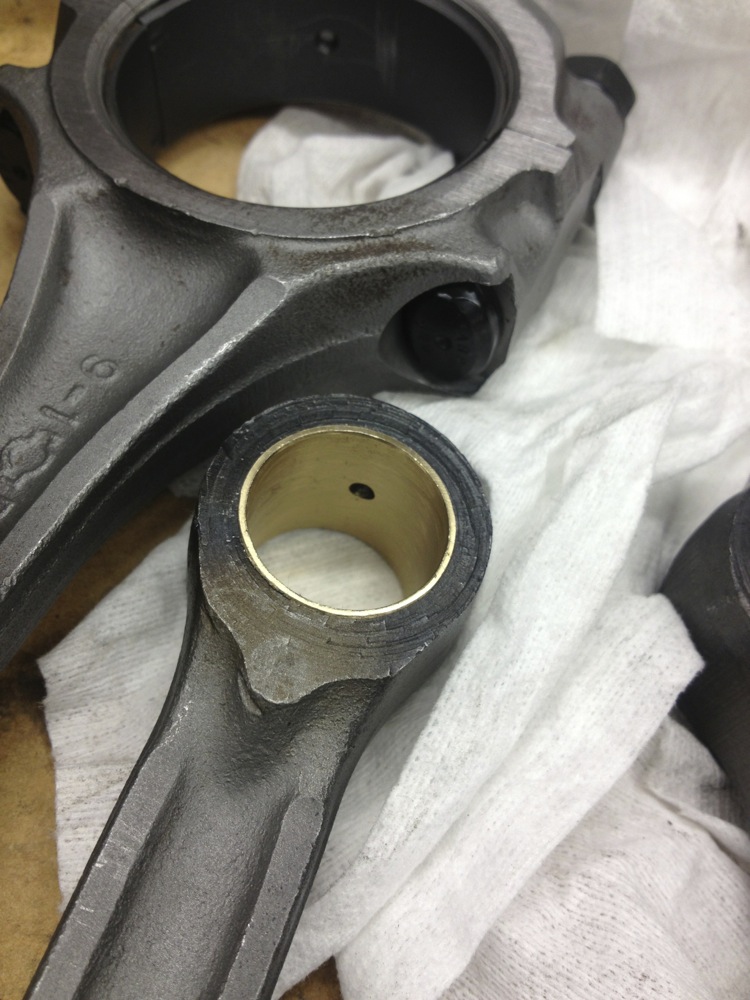
- IMG_4222.jpg (184.58 KiB) Viewed 4543 times
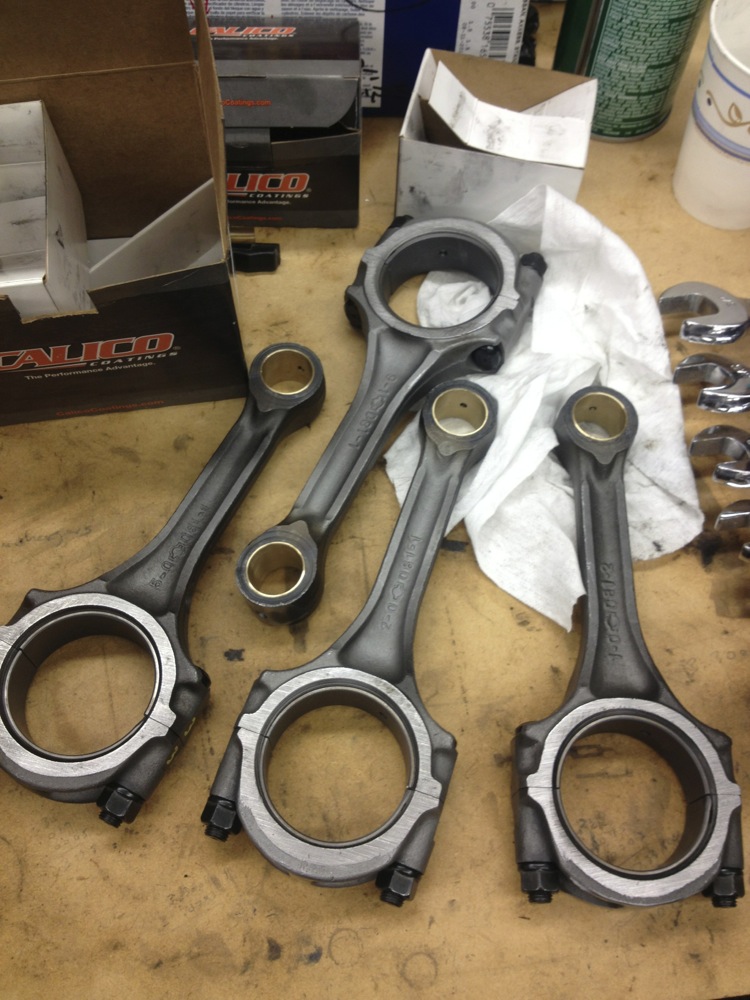
- IMG_4223.jpg (205.13 KiB) Viewed 4543 times
Ok, so with that detour taken care of I was back to assembly

- IMG_4226.jpg (239.65 KiB) Viewed 4543 times

- IMG_4231.jpg (236.89 KiB) Viewed 4543 times
Re: '69 510 - Lysholm Twin-Screw Project
Posted: 16 Oct 2014 00:20
by VelvetHammer
I got the cylinder head on
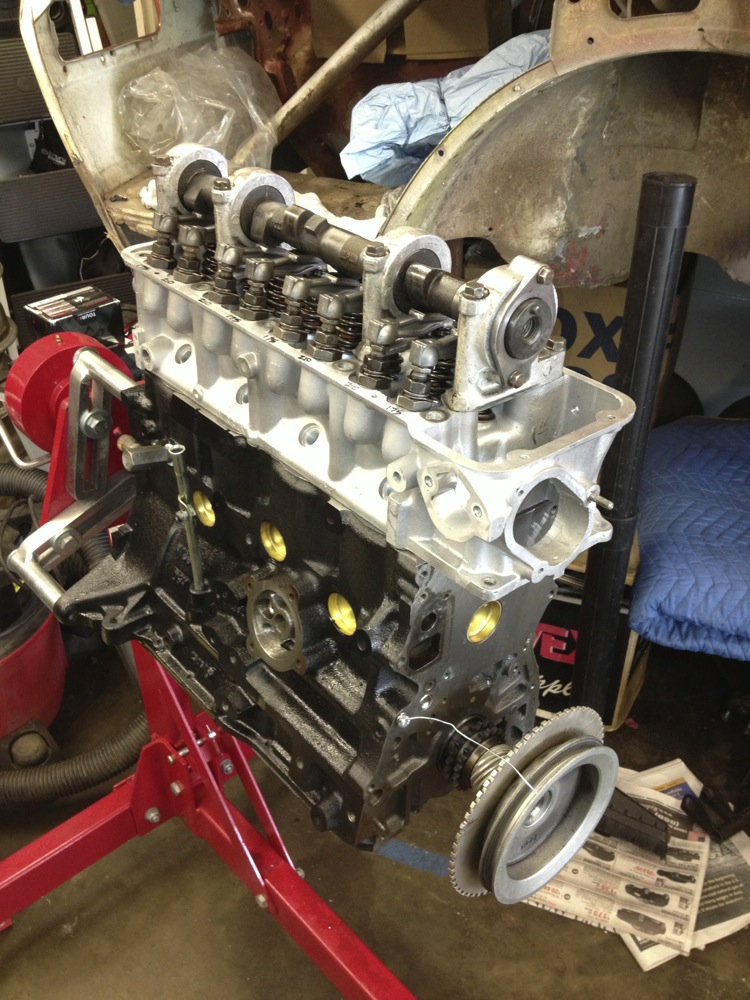
- IMG_4248.jpg (249.4 KiB) Viewed 4543 times
Here's my dad enjoying the finer points of cam timing.

- IMG_4266.jpg (171.34 KiB) Viewed 4543 times
He is the original owner of this car, so kudos to him for having good taste in economy cars!
Along the way I got a new water pump (actually two were sent to me and they had different impellers). Which one do people think is better?
I honestly don't remember which one I went with.

- IMG_4250.jpg (212.13 KiB) Viewed 4543 times
Re: '69 510 - Lysholm Twin-Screw Project
Posted: 16 Oct 2014 00:30
by VelvetHammer
Here's the completed NA engine sitting next to the mothballed someday-will-be- supercharged version
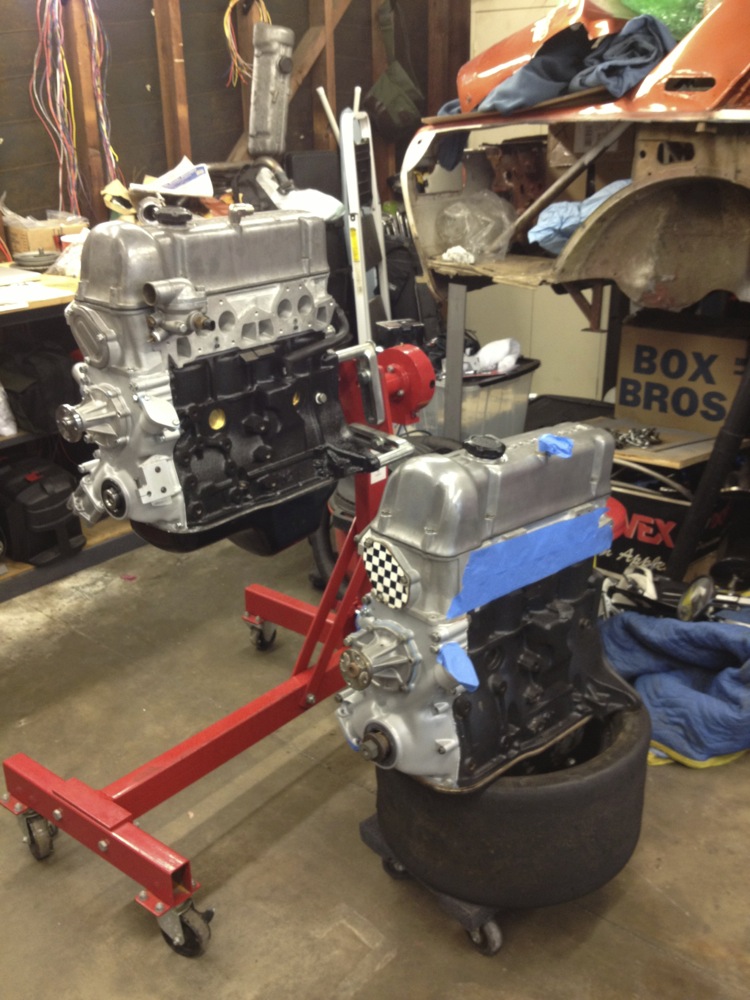
- IMG_4271.jpg (198.2 KiB) Viewed 4542 times
Added some shiny parts and new roadster clutch
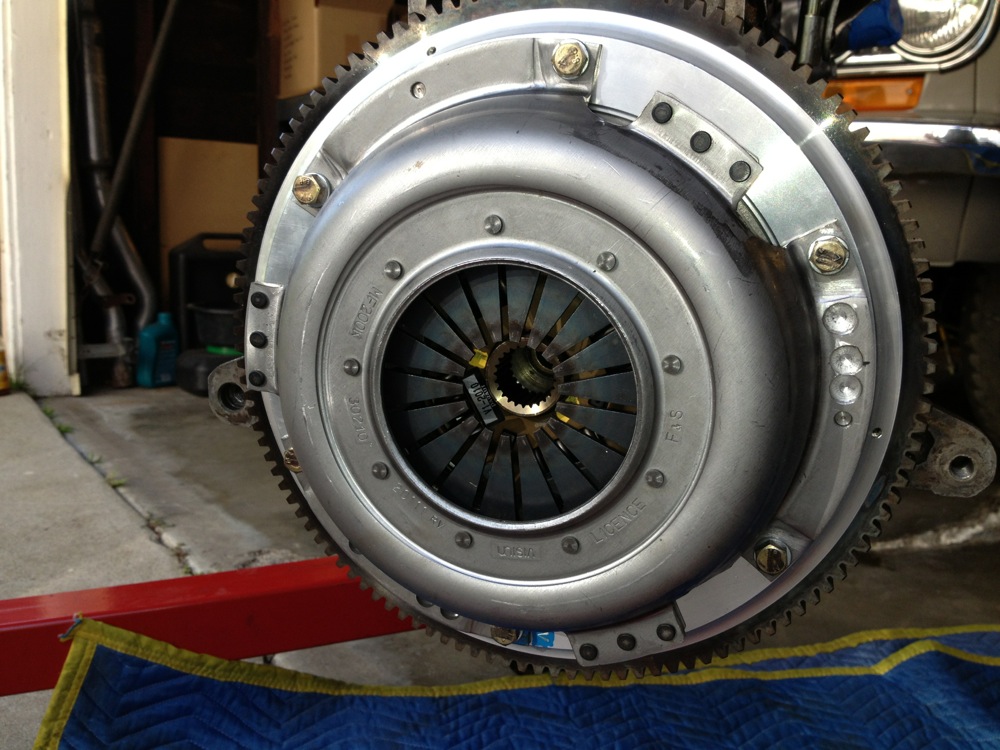
- IMG_4277.jpg (209.14 KiB) Viewed 4542 times
And here's the engine/ trans actually getting put in the car.
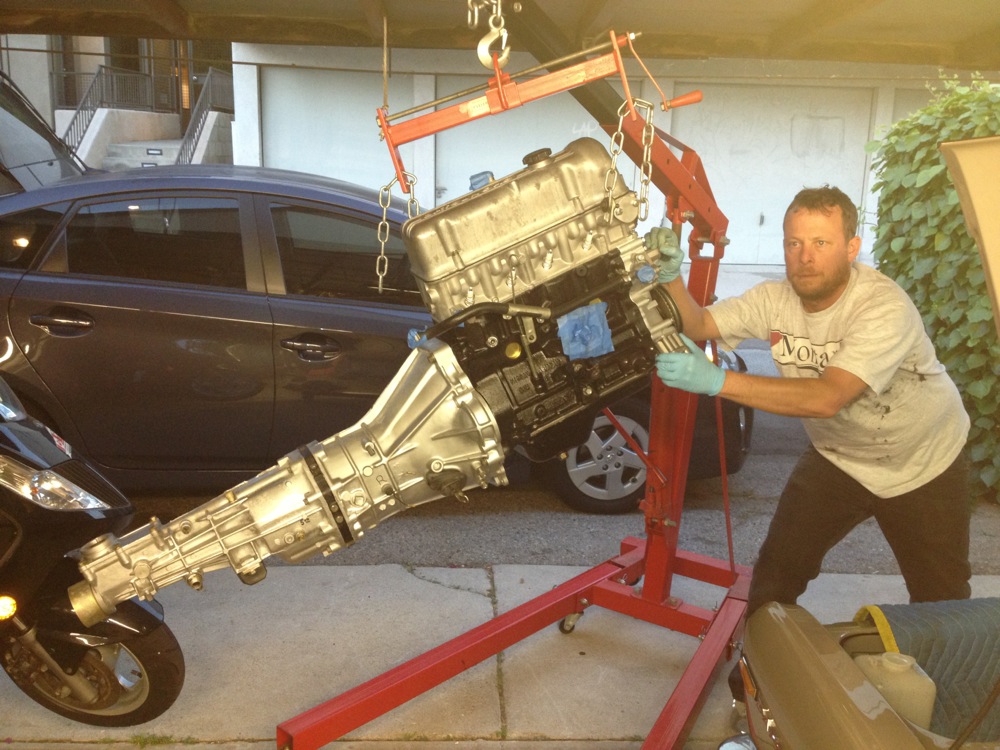
- IMG_4279.jpg (234.77 KiB) Viewed 4542 times
haha, I've been pals with that guy for 25 years and I don't think he's ever taken a serious photo.
Alright, on that note, end of posting for now.
Re: '69 510 - Lysholm Twin-Screw Project
Posted: 16 Oct 2014 01:30
by two_68_510s
First class all the way! What a list of engine guys!!
Good to see it coming together!
Re: '69 510 - Lysholm Twin-Screw Project
Posted: 16 Oct 2014 06:20
by okayfine
Jealous of the level of detail! Is there a post or few earlier in your thread where you talk about putting the 71C box on the back of your L-series?
Re: '69 510 - Lysholm Twin-Screw Project
Posted: 16 Oct 2014 06:27
by Byron510
Agreed with Joel, nice work.
So what ended up being the issue with the piston sitting crooked?
On the water pump, the cast version will tend to aerate less at higher RPM.
Byron
Re: '69 510 - Lysholm Twin-Screw Project
Posted: 17 Oct 2014 00:24
by VelvetHammer
Thanks guys! I've progressed a little bit more since then and I'll post another batch soon.
I can't honestly remember when I put this trans on the car. I think I had it done prior to that original Shasta car show back in the day, or maybe I had a dog leg 5-speed.
Actually maybe it was after that. Rob Fuller up at Z-Car Garage put it together for me, man, that must have been at least 10 years ago? Time is flying!
We never did figure out what made the piston sit like that. I know we double checked the deck, bore alignment, fitment of the rings (my memory fails me on this) and even installed a different piston on the rod and also installed those combinations in different bores to try to isolate the problem (I'll see if my dad remembers the way we tried to zero in on the issue), All to no great success. In the end I was afraid of screwing up the cylinder wall finish with pulling the thing apart and putting it back together so many times. I finally gave up and had the rods equalized and that did the trick. So either something to do with the small rod end or an installation error, and I wouldn't rule out the later.
On the water pumps I agree that the non-cast version could theoretically cause less cavitation. As I remember the blade profiles were taller on the stamped version and seemed like they would fill up more of the water passage in the timing cover, and therefore (possibly) be more efficient at moving more liquid per each revolution. Where is a computational fluid dynamics simulator when I need one?? I've decided to run Evans (
www.evanscooling.com)l this time around so I'll report back as to how it works out!