@icehouse thanks, I was researching and didn't want to spend thousands on rad and IC setup, so I saw your build and thought that was way better and easier to replace if I ever damage it.
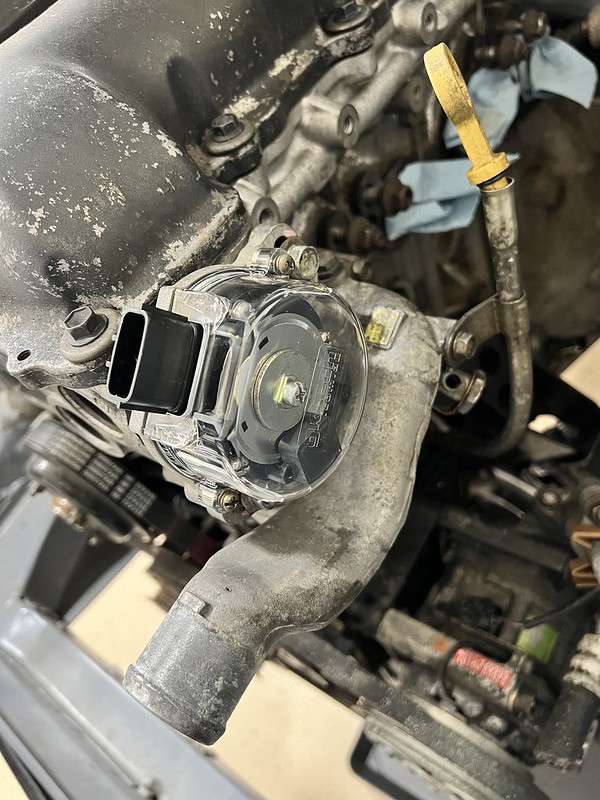
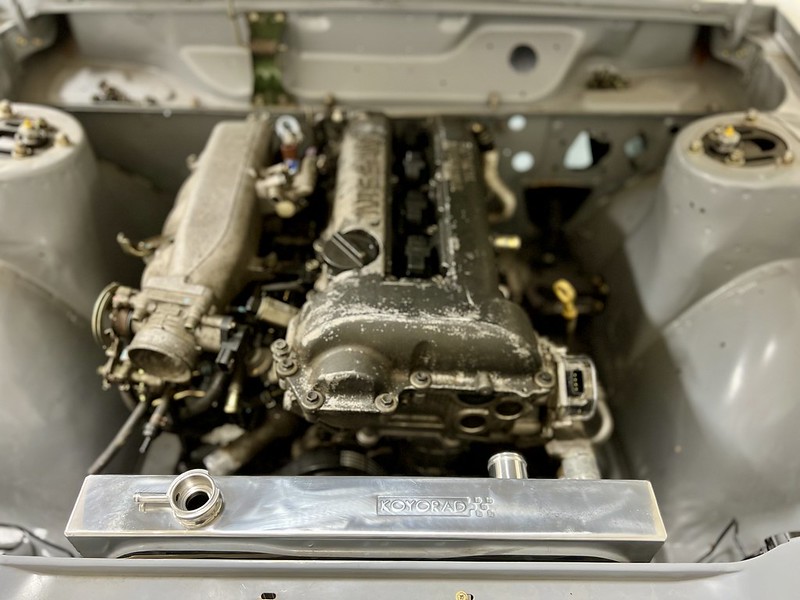
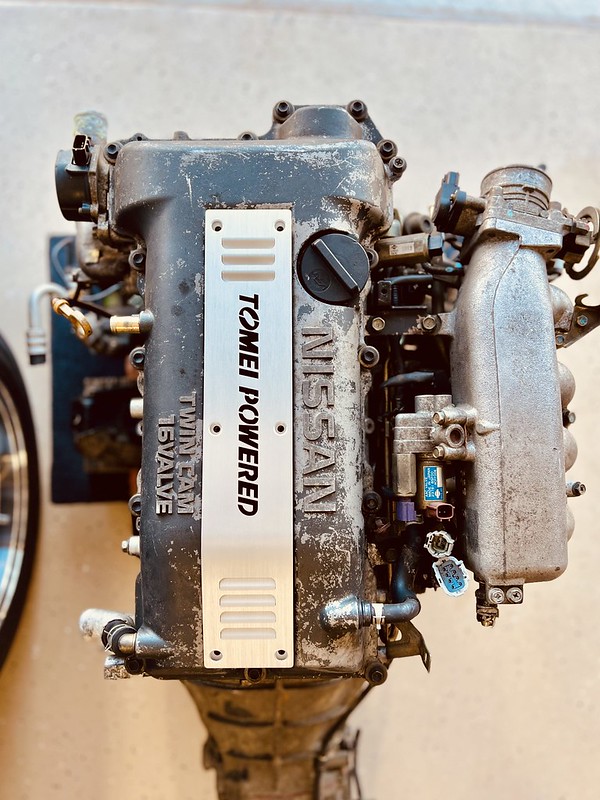
Speaking of damage. The cam sensor cover thing had a part missing and was a bit gross inside.

Removed the broken cover and found this nice clear one for a reasonable price. Cleaned up all the corrosion and reassembled.
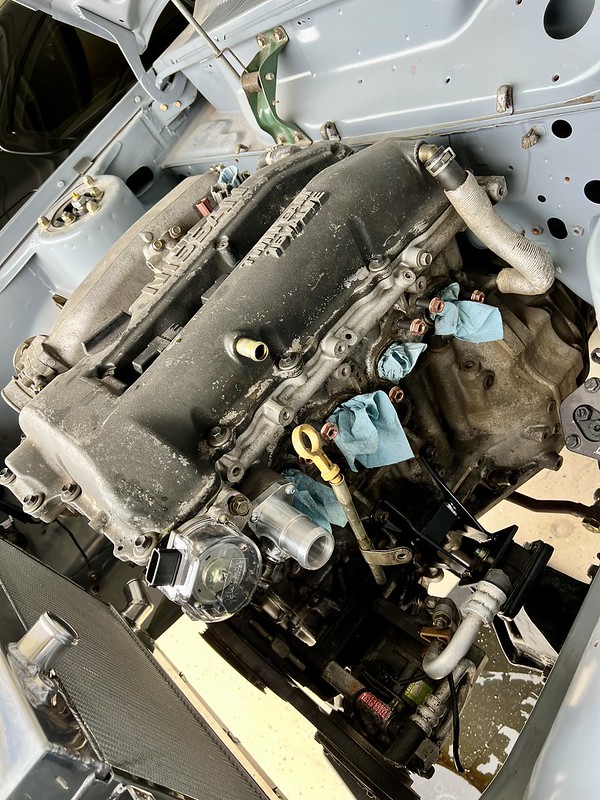
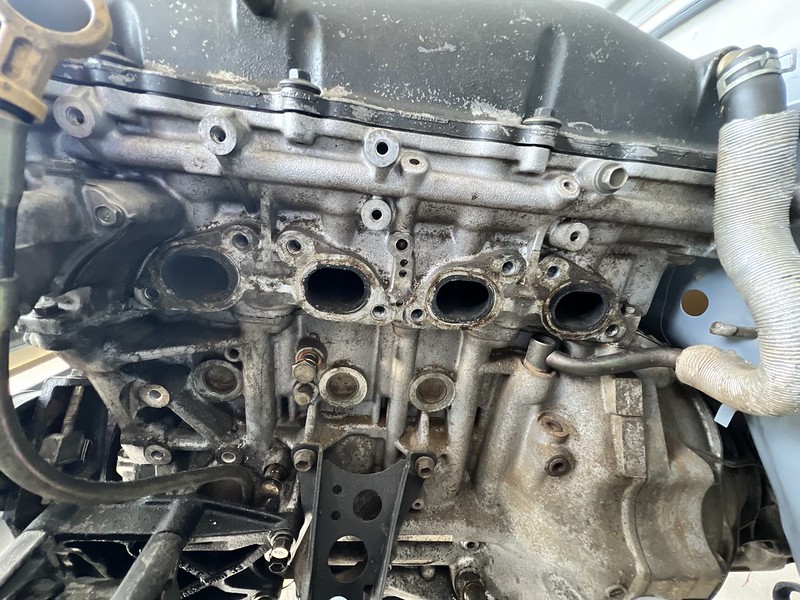
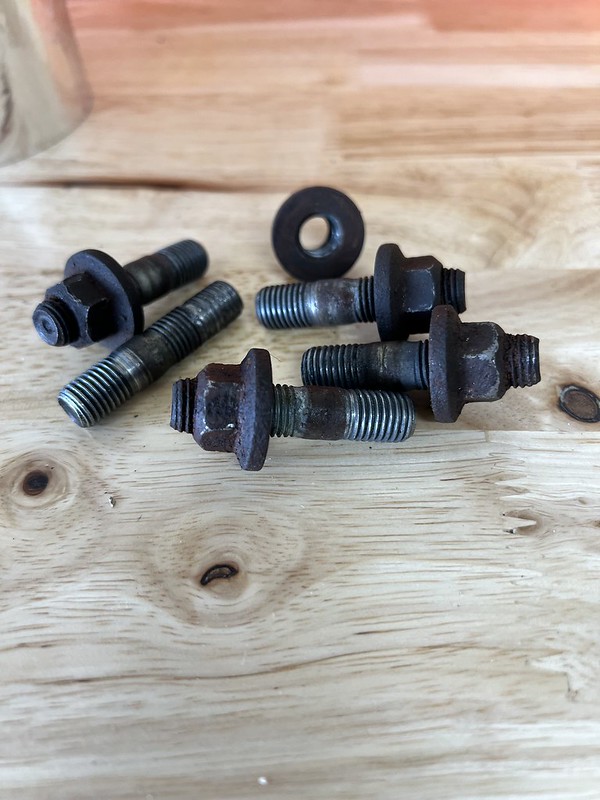
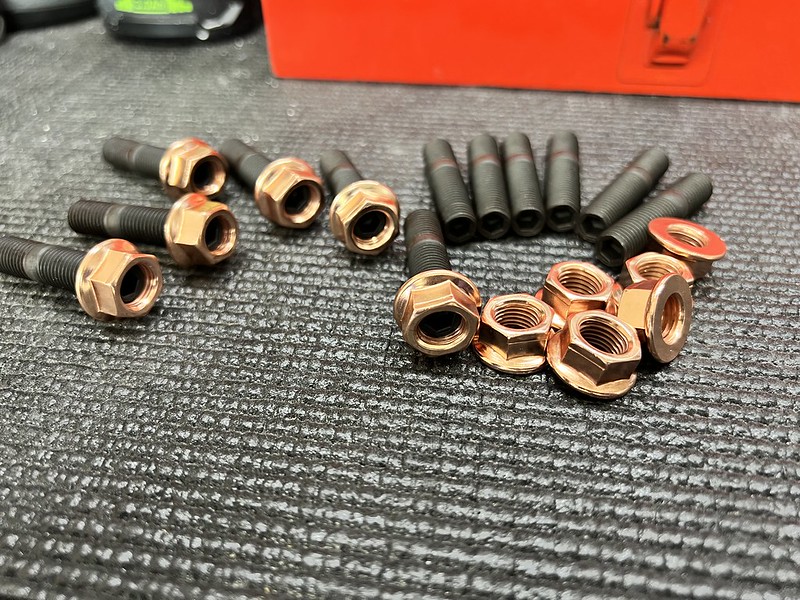
Next I turned my attention to the exhaust studs, I knew after removing the manifold that I would need to replace them as some of the nuts were stuck to the studs. I ordered up a set that had copper coated nuts for again a reasonable price. They even have the hex tips for easy installation
these are going into the trash
Nice new ones
Holes thread chased and new studs put in for now. I will clean the surface later.

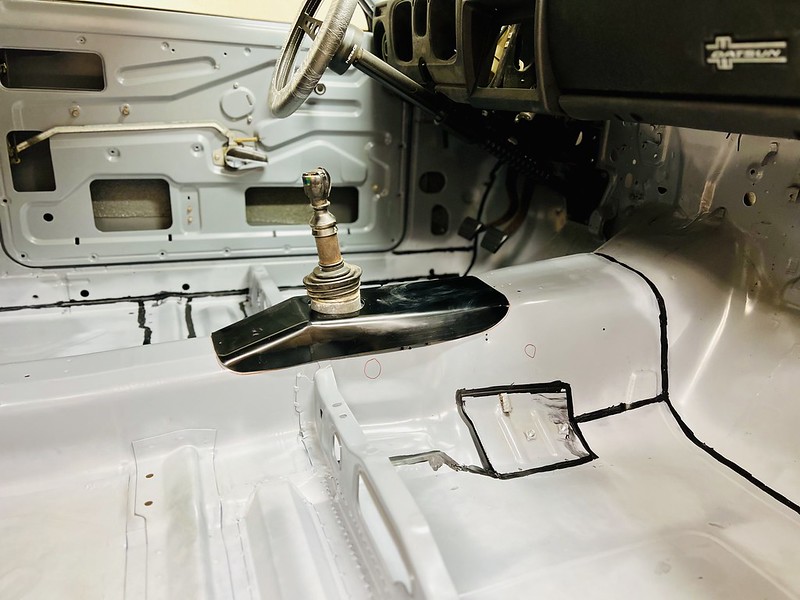
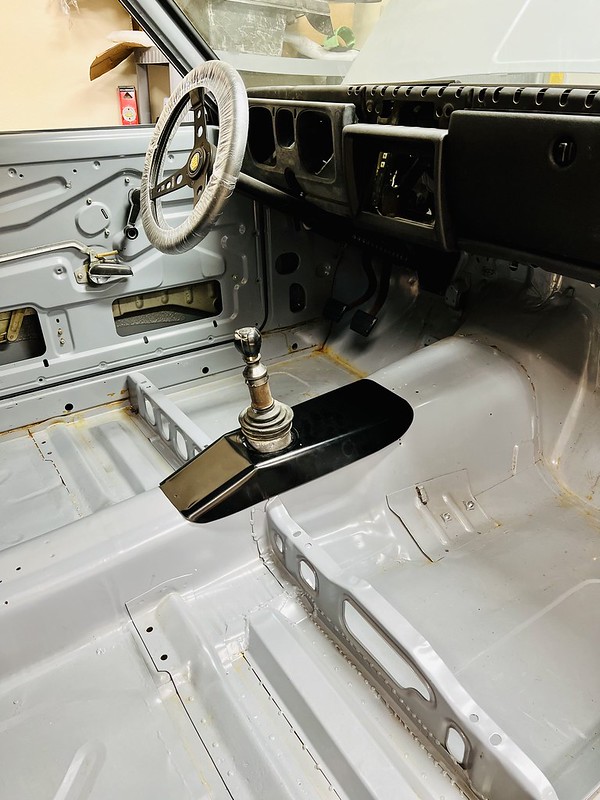
Next I went about enlarging the trans tunnel hole to fit the 6 speed. (I will clean the surface rust later and treat it, probably means I need to hurry up and finish this car so I can have it painted)
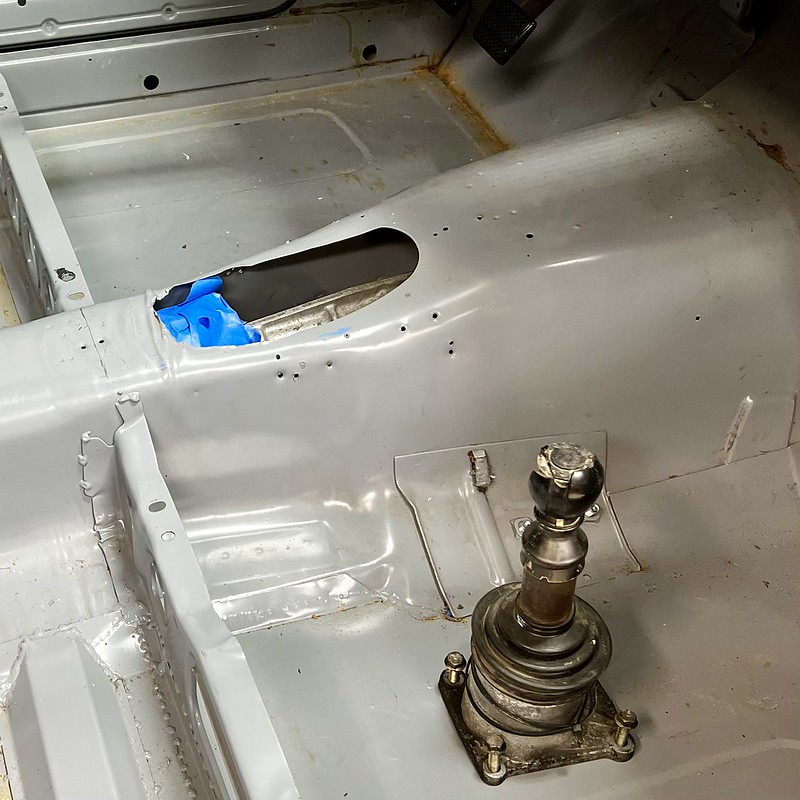
Little trim

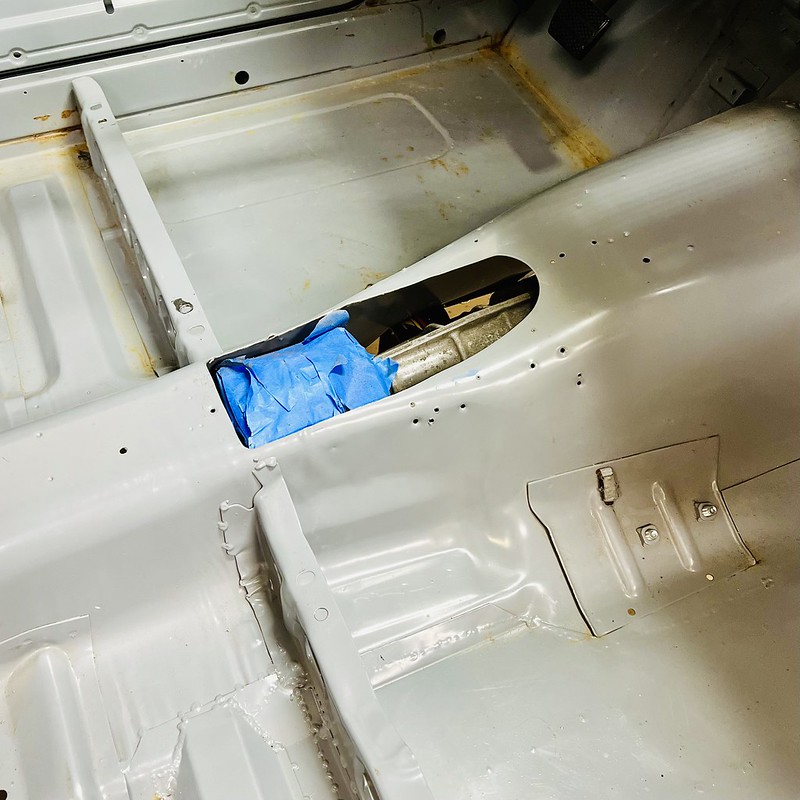
Set my Datsport cover over to see how it looks. I think I will actually cut much larger and use rivnuts to hold the Datsport cover on for easy removal of the shifter for later in its life. I will maybe make a flange so it sits nicely after a bit of body work. I still need to enlarge parts of the tunnel for clearance.
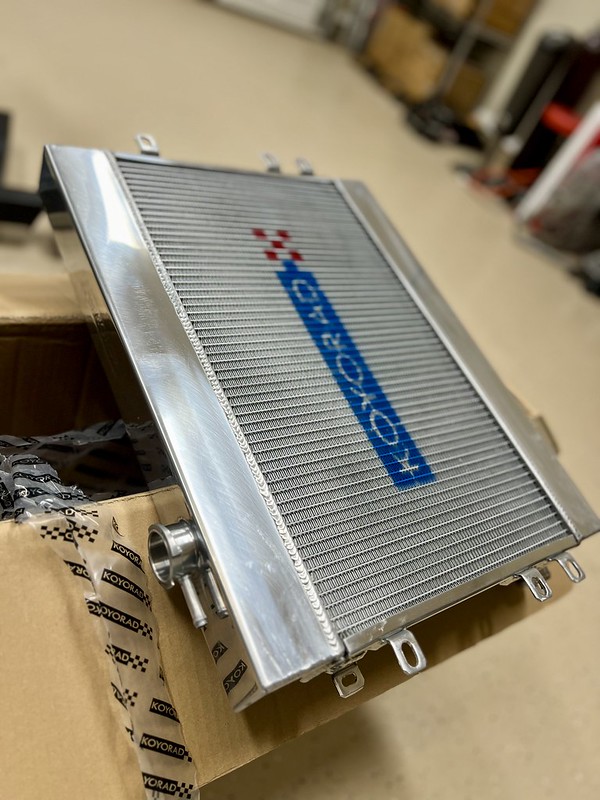
Here I test fit the radiator. I used these m6 isolators that are 10mm thick. They keep the rad tight up against the core support with a few mm gap. I will prob use rivnuts in the support to mount the isolators to instead of nuts on the back side. I think it will be cleaner and easier to service later.

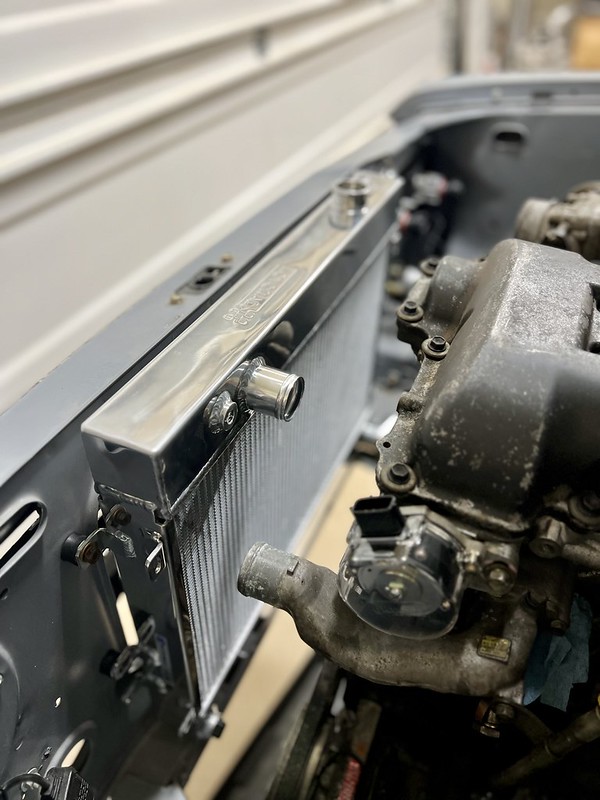
The rad looks good in there. I need to order some more m6 bolts to hold the other corners of the rad as it's only mocked up with two bolts.
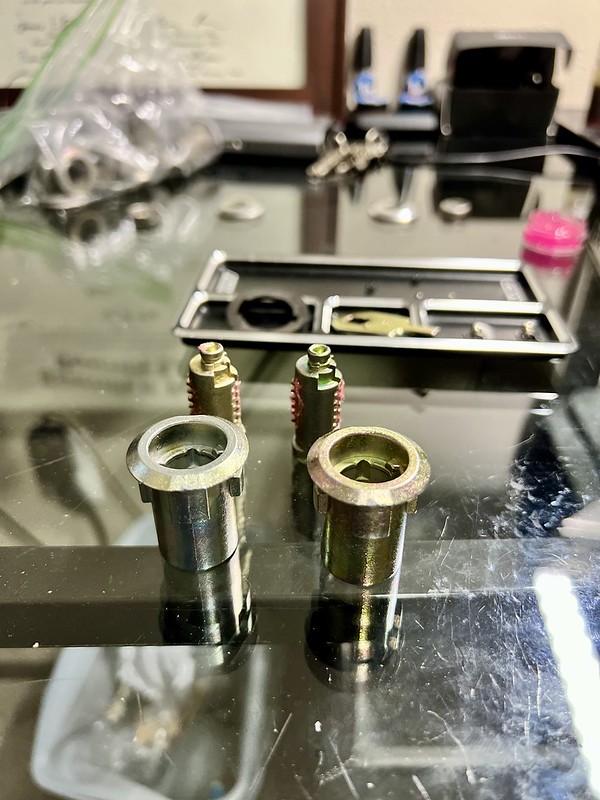
Next I decided to remove my cheap knock off door locks and use some NOS 240Z ones I found and took them apart to rekey so all my locks now match with OEM locks and keys. I can now use my fancy kill switch key too

Slowly sorting through the lock wafers to find the correct ones to fit. There are 6 in each lock.

Rekeyed and ready to be put back together. Don't mind the pink grease. It's my RC car grease, but it works great to rebuild these.
All installed for now.

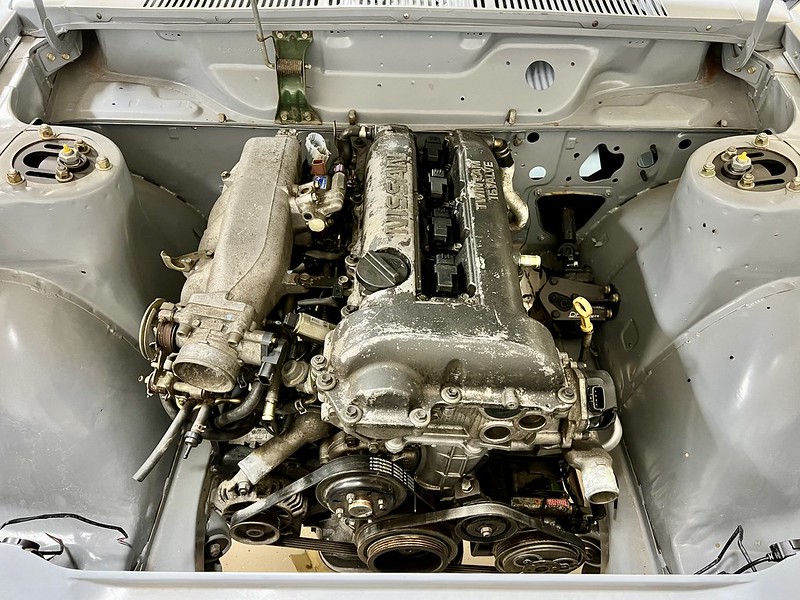
I am really liking how it's all coming together finally. Still a lot to do, but the vision is coming full circle.


 Untitled