Thanksgiving Update
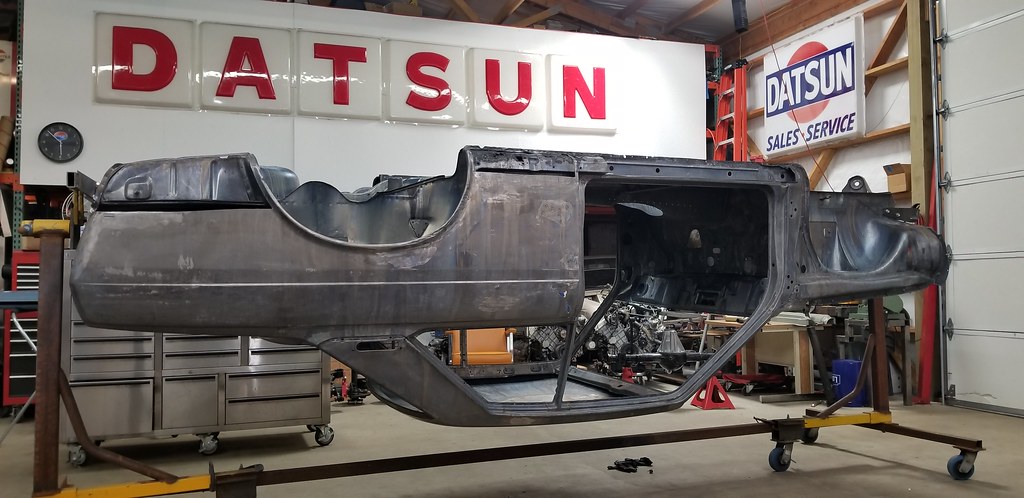
Had some time off of work, so I got down to the shop and made some more progress on the Coupe.
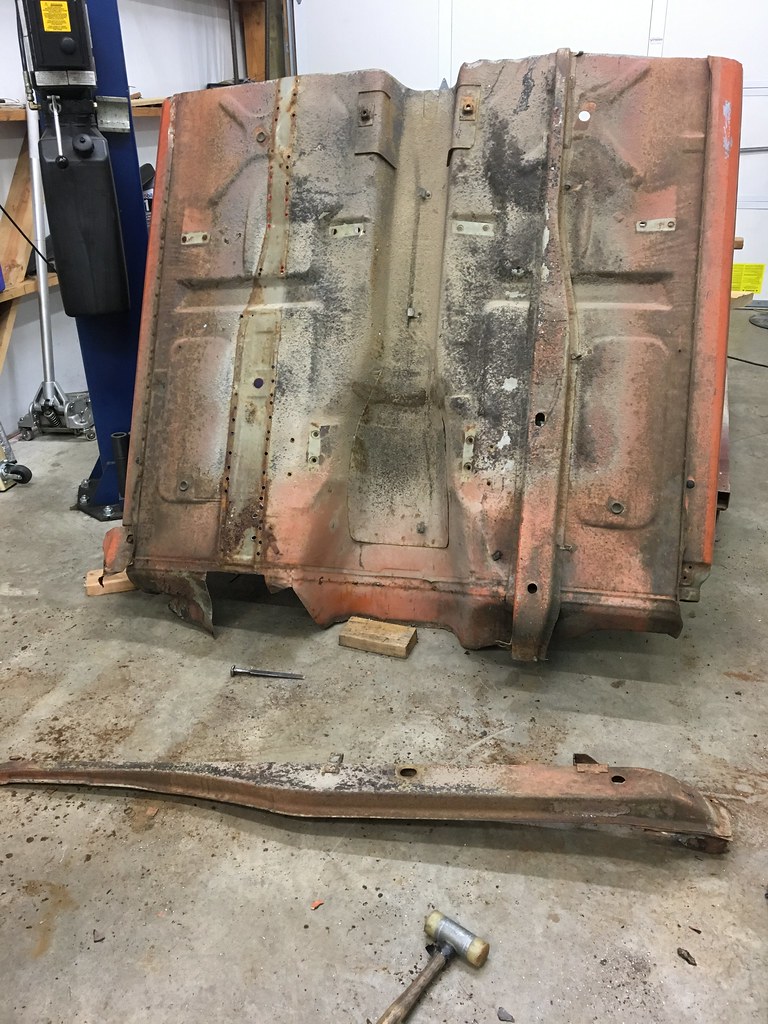
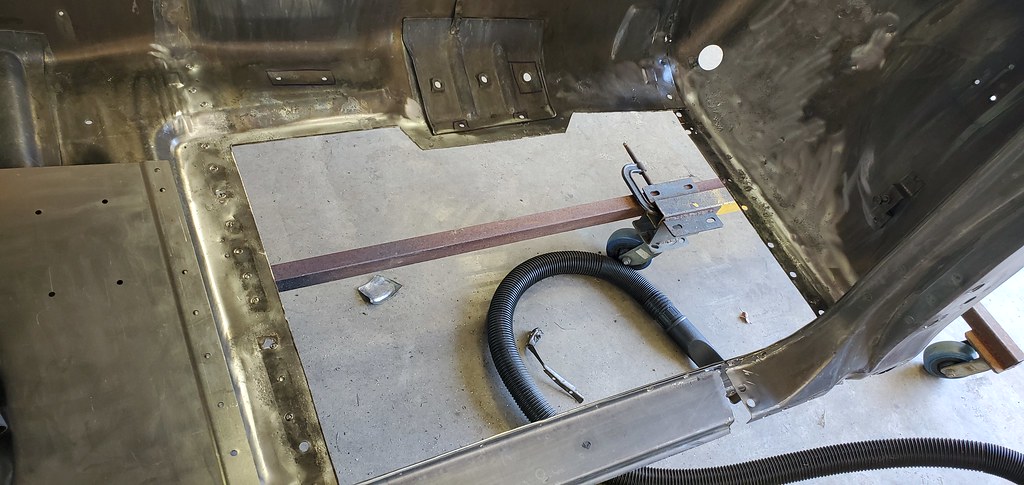
First off was finishing the passenger side front floor board-- but that required the backside of the rocker panel to be replaced on the front section as it was heavily pitted:
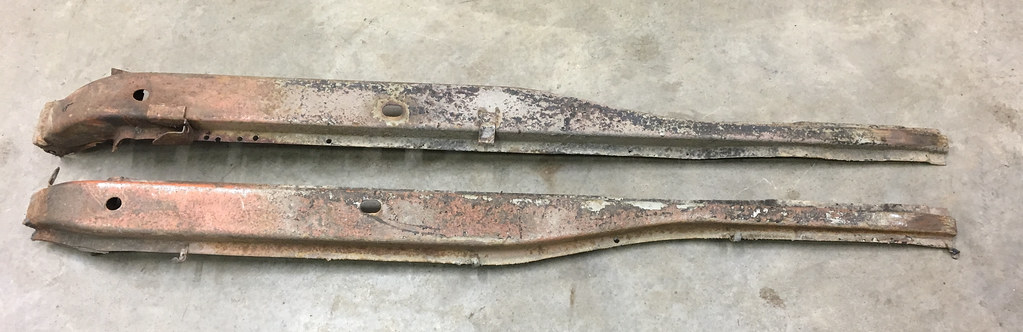
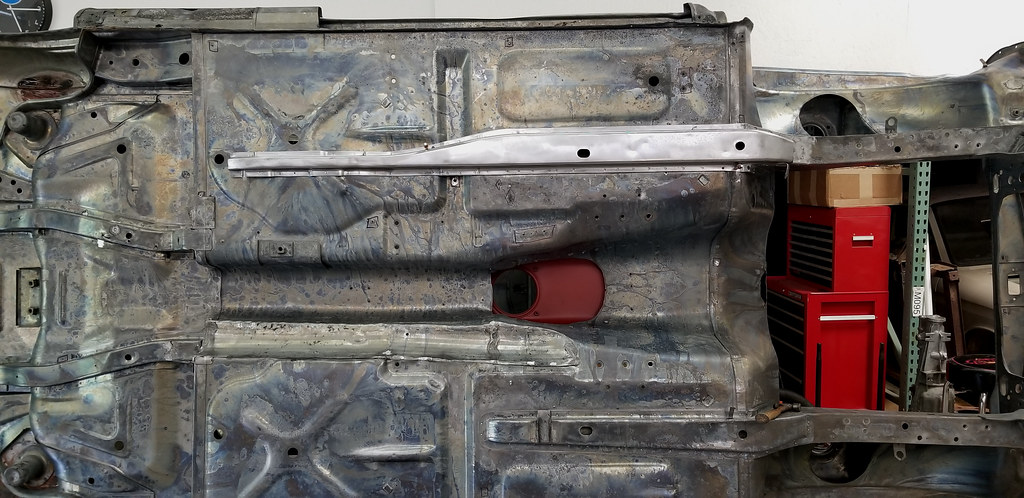
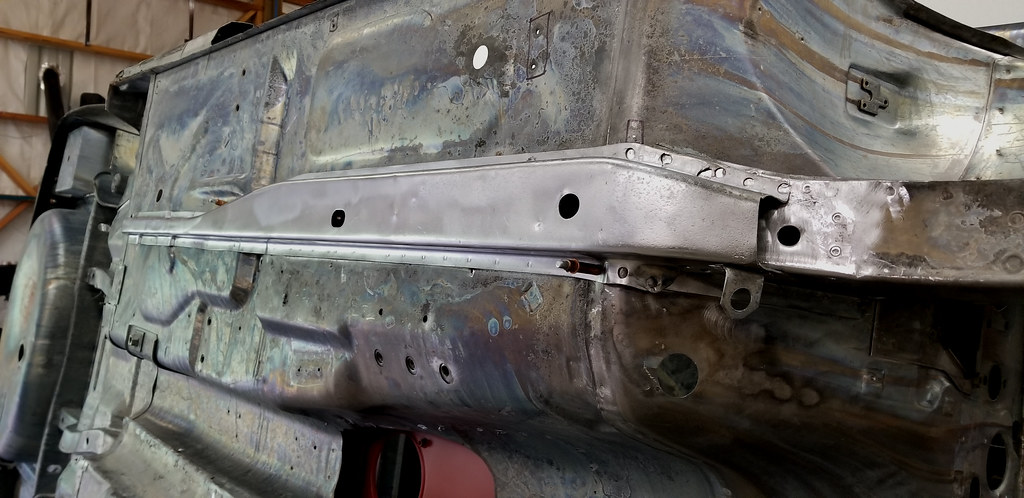
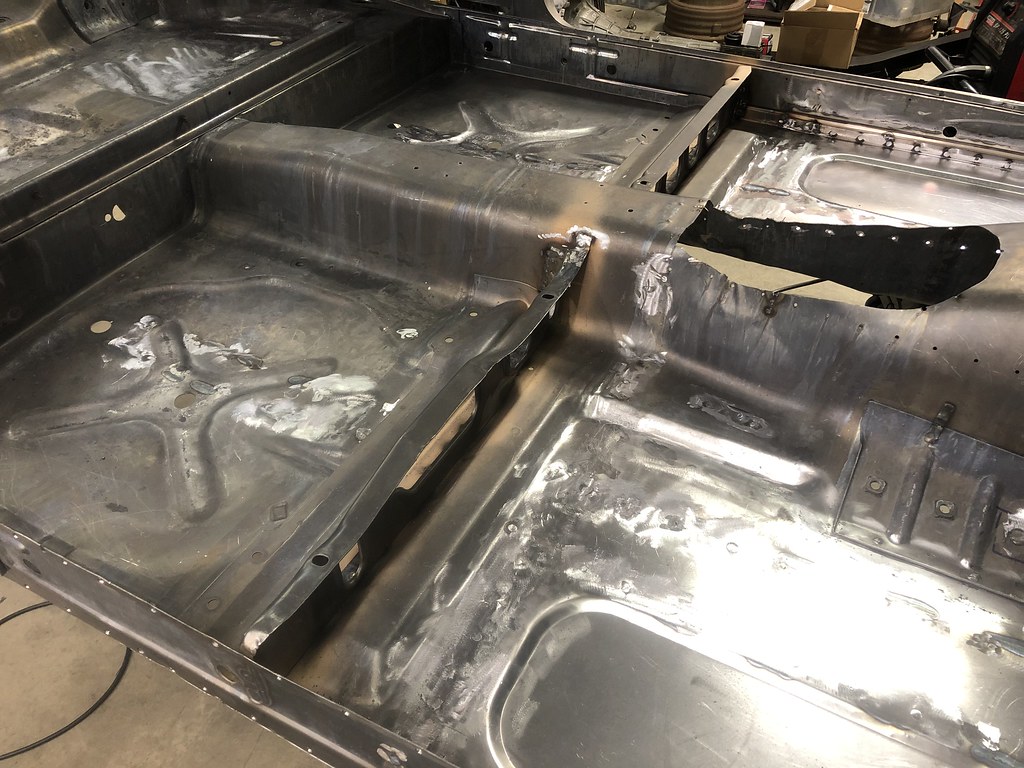
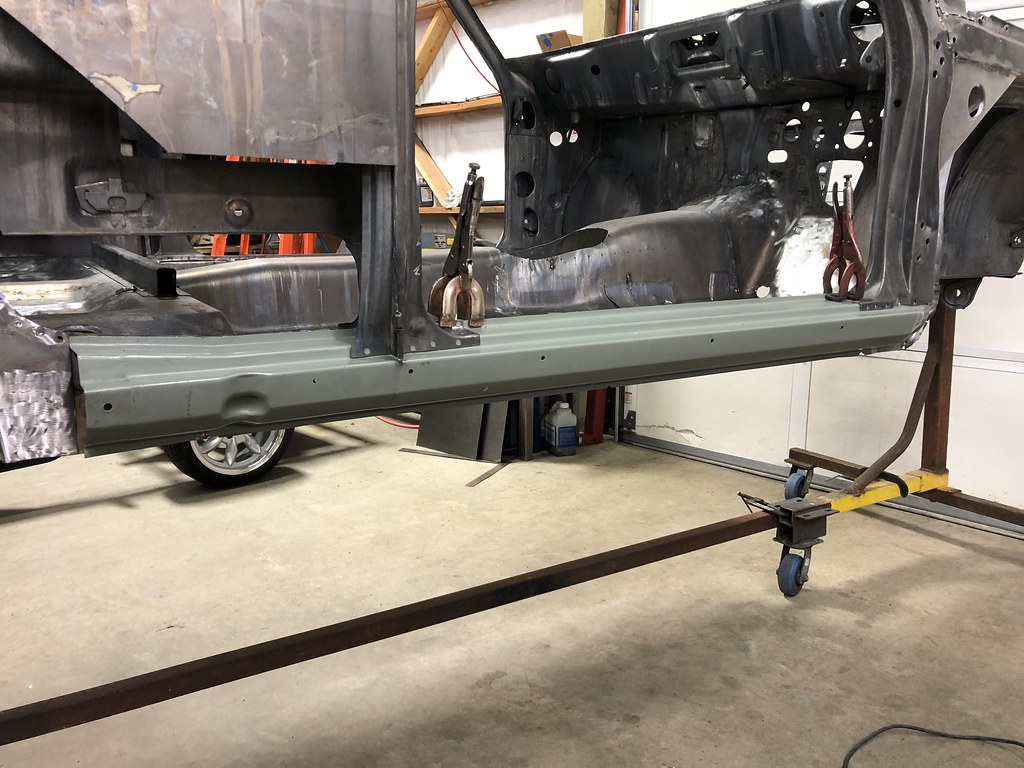
With that in place, I could install the replacement floor panel as well as the other wagon frame rail which was plug welded from the top, and seam welded from below:
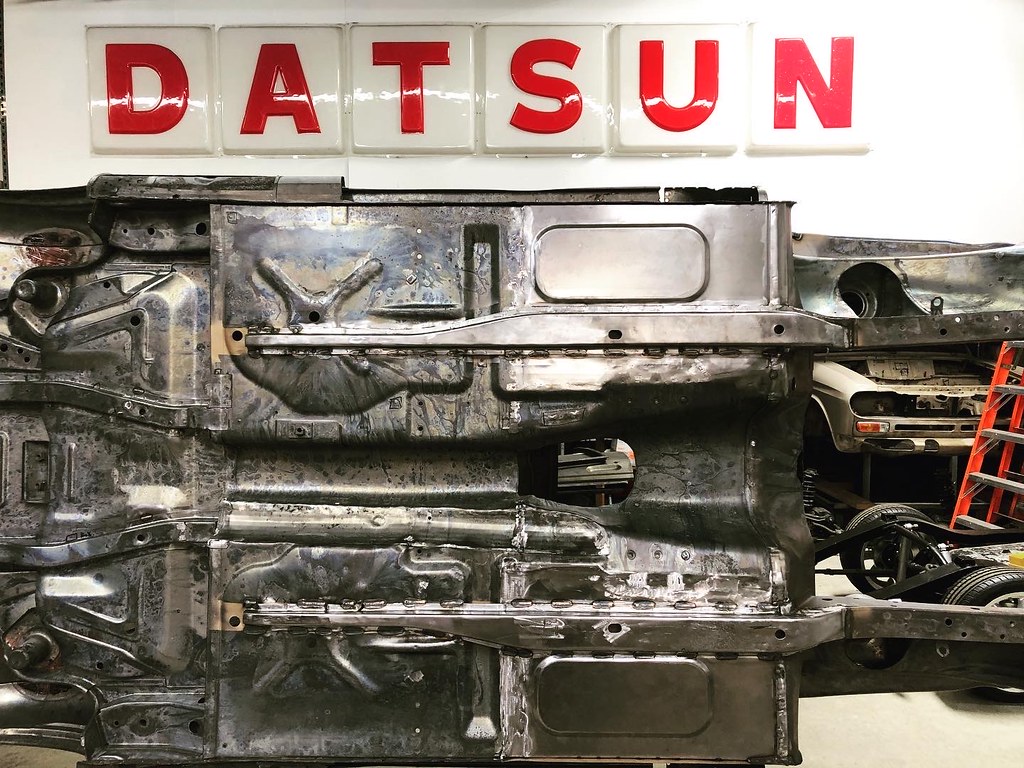
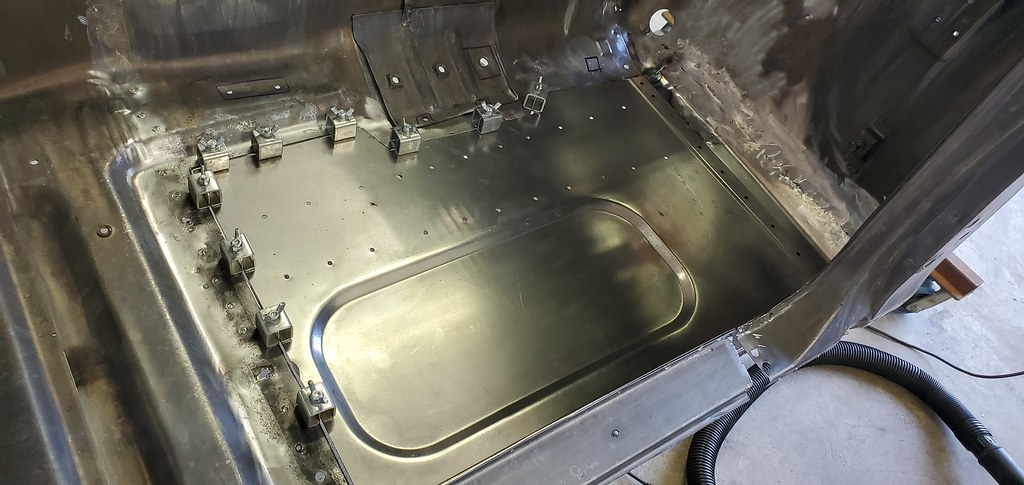
With the floor fully welded in, I then could move the front seat mount back 4"-- I always hated how the seat is all the way back whenever I drive a 510 and there is now way to move it further back if I had a taller driver. Seat height was fine, I just wanted more leg room. Since no one is going to be sitting in the back seat-- this was a perfect time to move the front mount back. The stock front seat mount is an elegant, light weight design, and when it is welded into the car, it is a solid mount. I just needed to modify the brace a bit to match a change in the floor profile, and it was good to go. The rear mounts will be modified and floor reinforced soon.
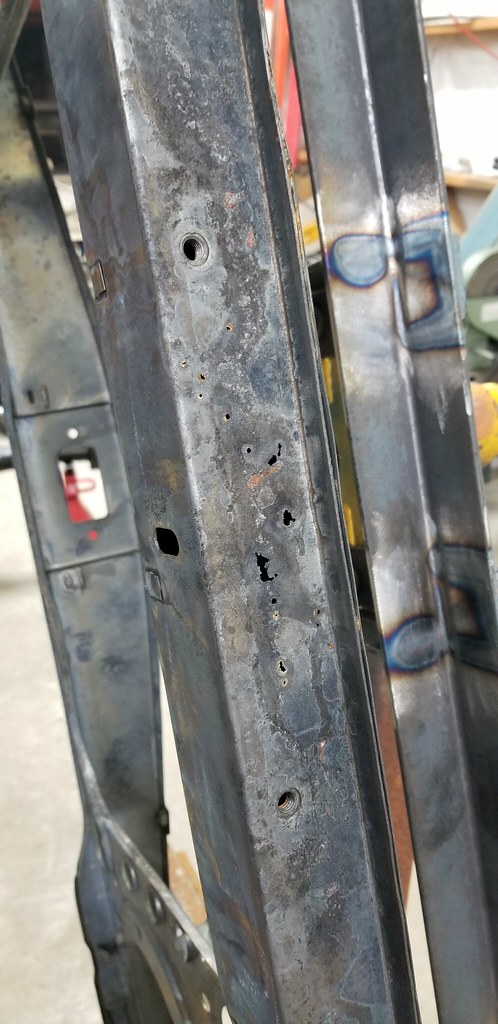
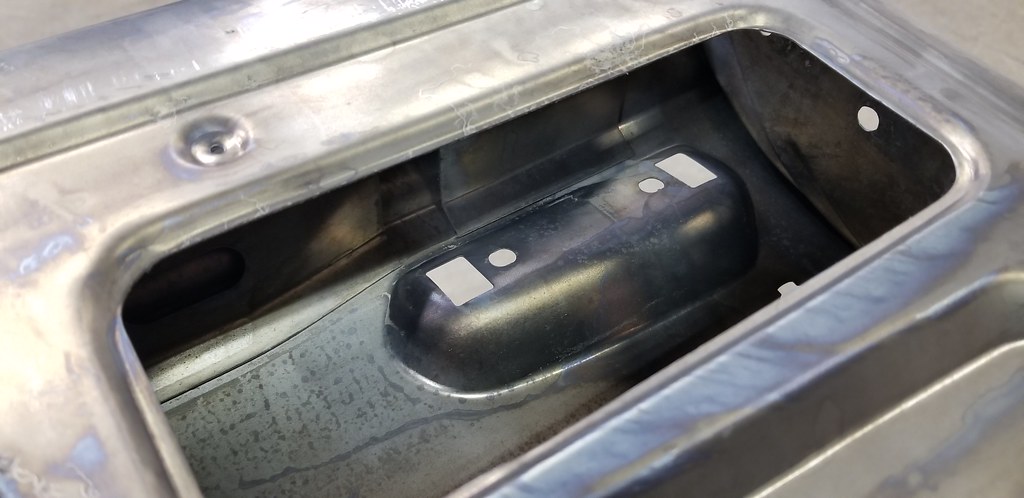
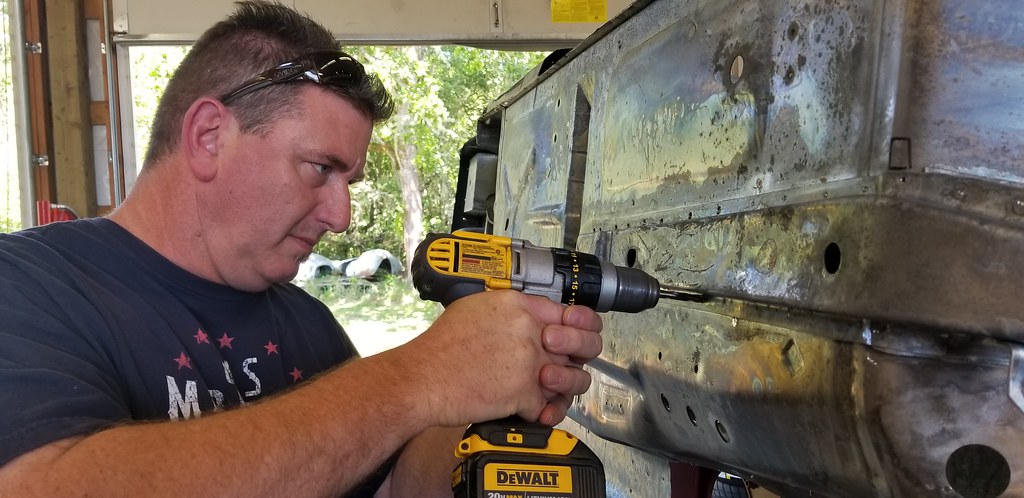
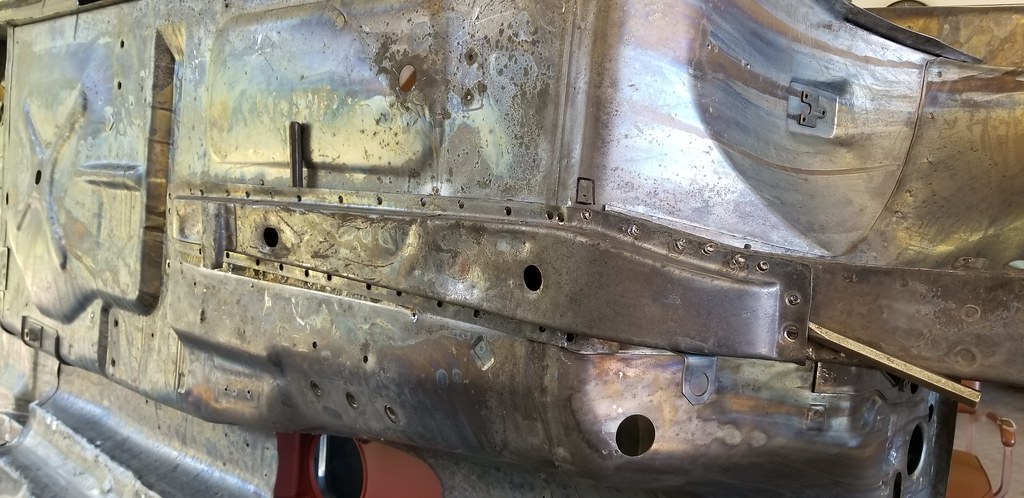
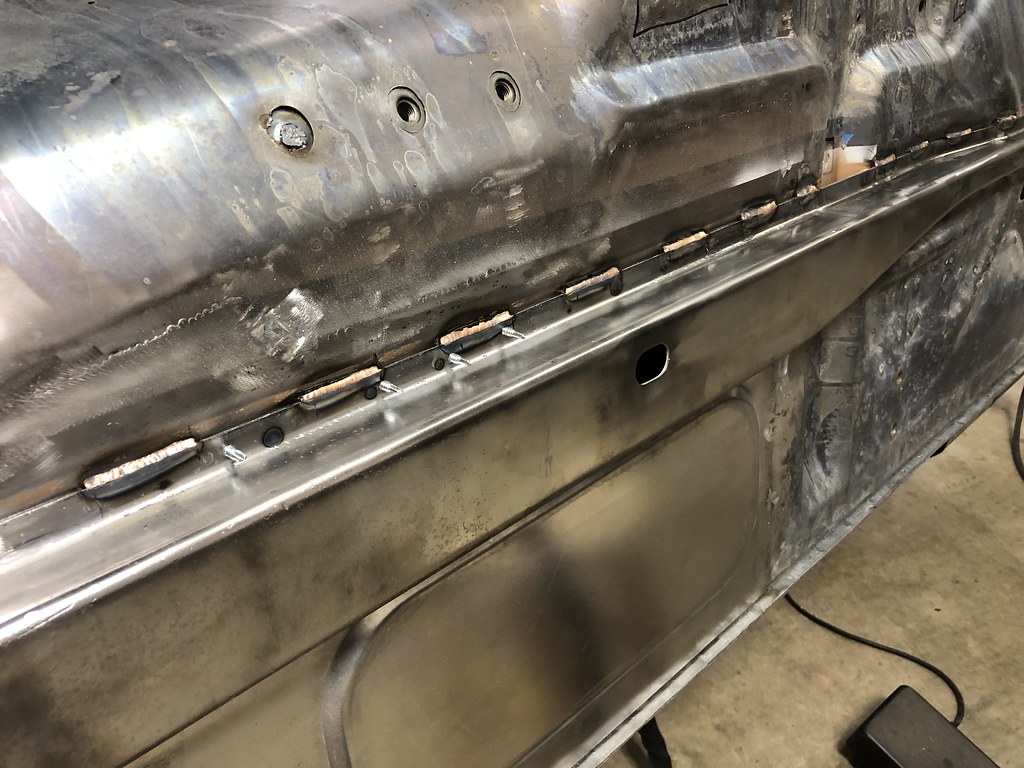
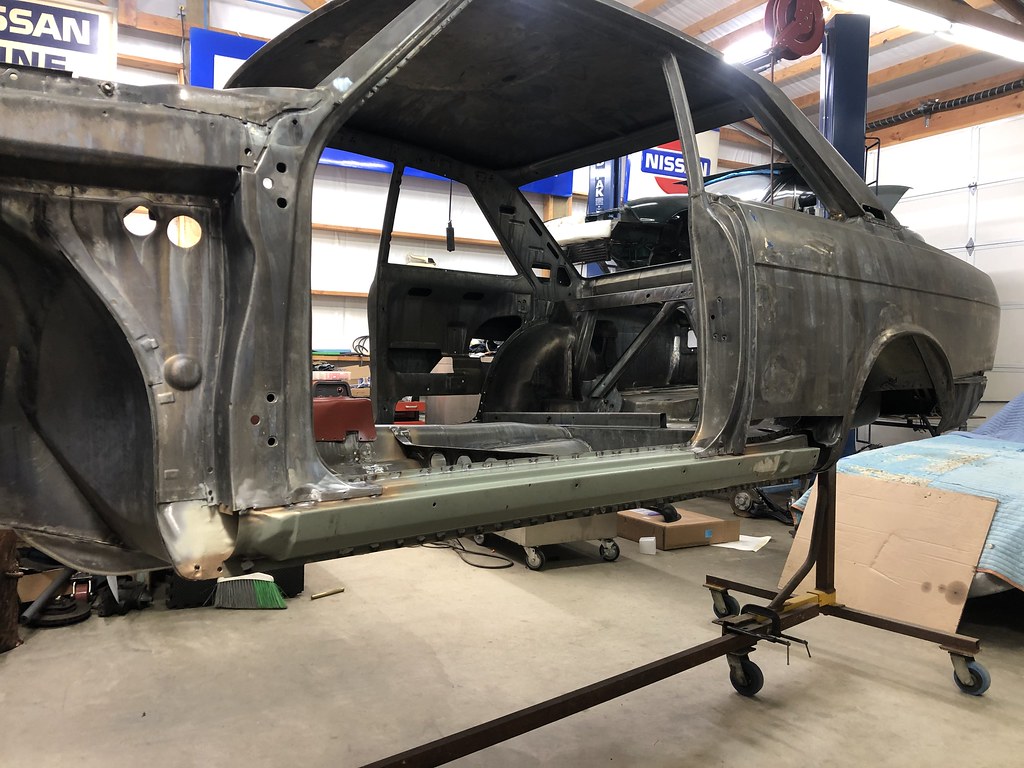
Next up would be the rocker panels and doglegs. The rocker panel backing plate (which the floor attaches to) was cleaned up and damaged areas repaired (an earlier shot before all the welding was done):

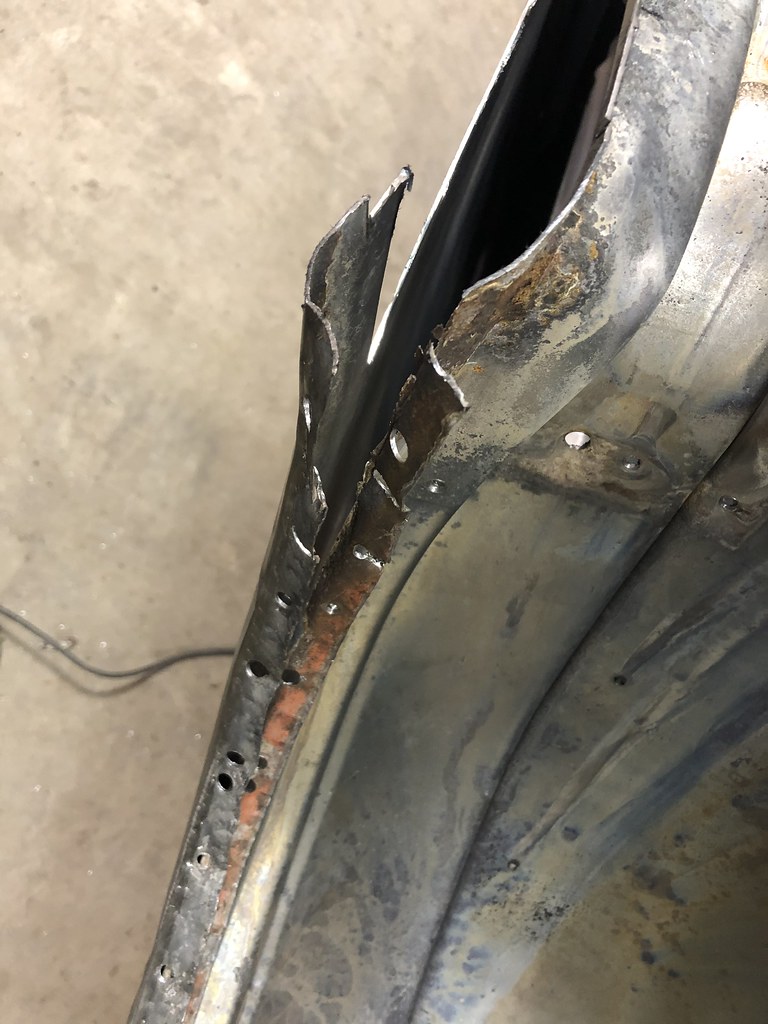
The rear of the driver's side rocker panel backing plate had some deeper corrosion and damage from jacking that needed to be replaced:
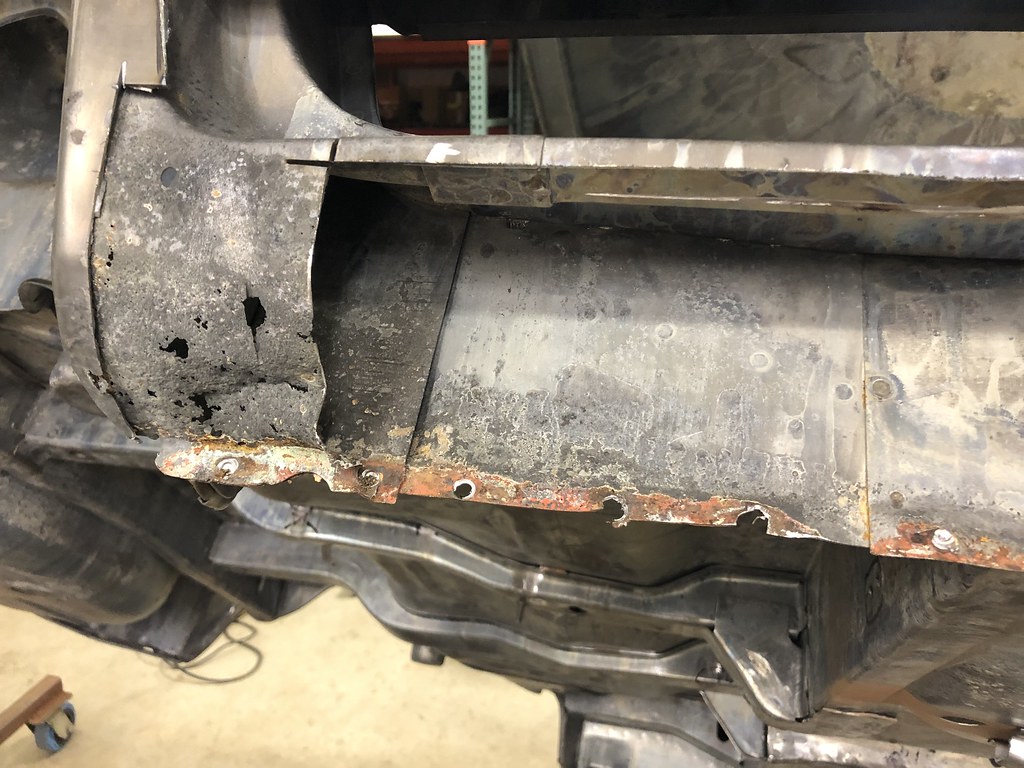
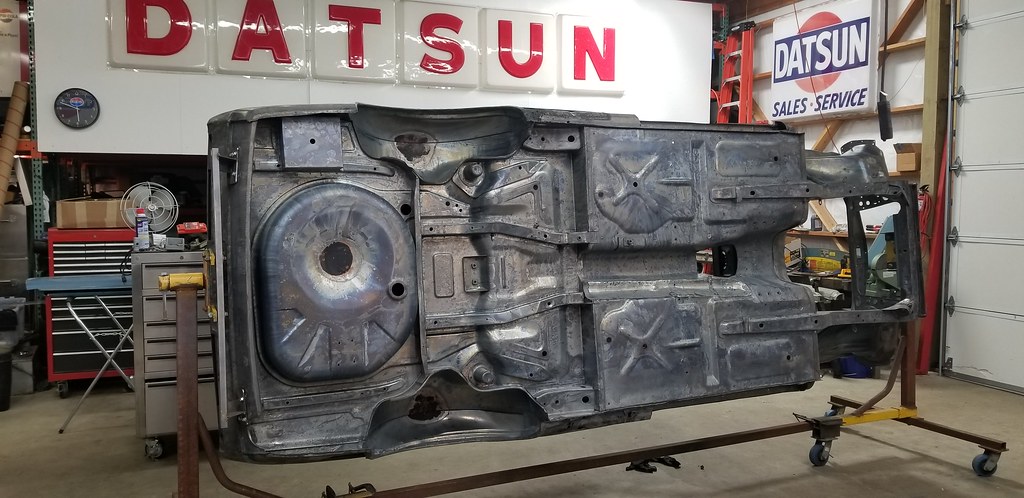
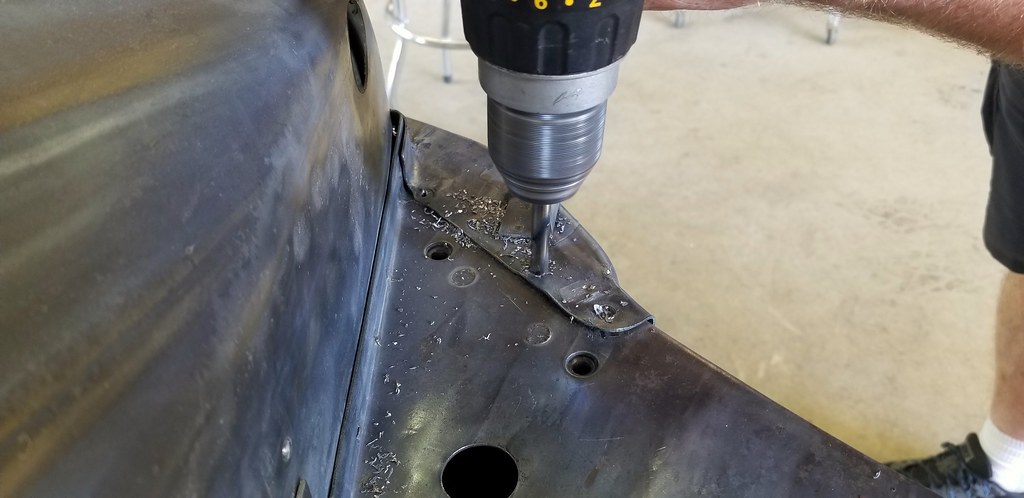
Now upside down (the rotisserie makes these repairs awesome) with the offending parts out of the way, it was time for a deeper look:

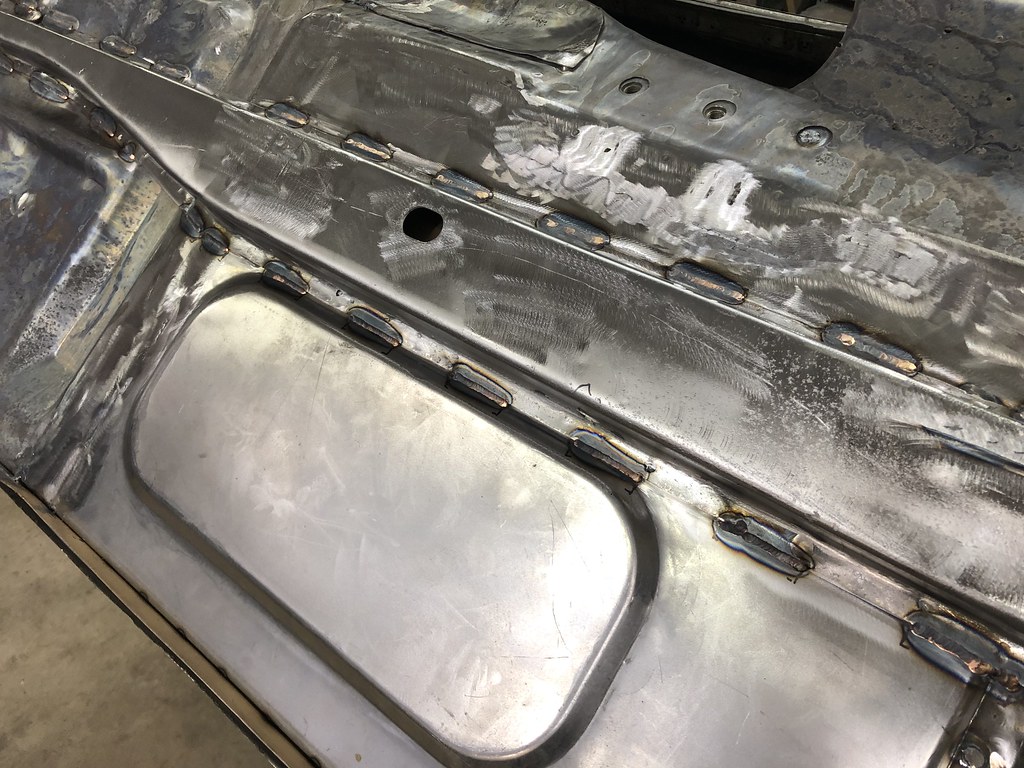
The backing plate and the transition into the wheel house would be replaced with a new section of 18ga mild steel:
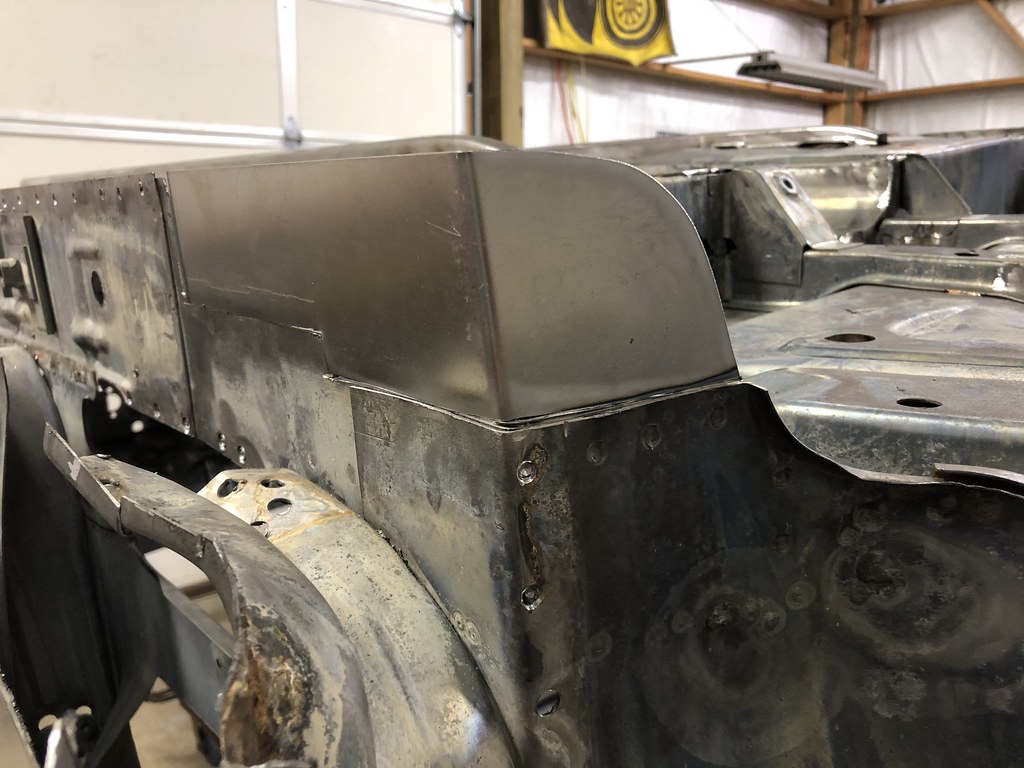
A second layer was built just like the original to strengthen the corner:

And welded in:
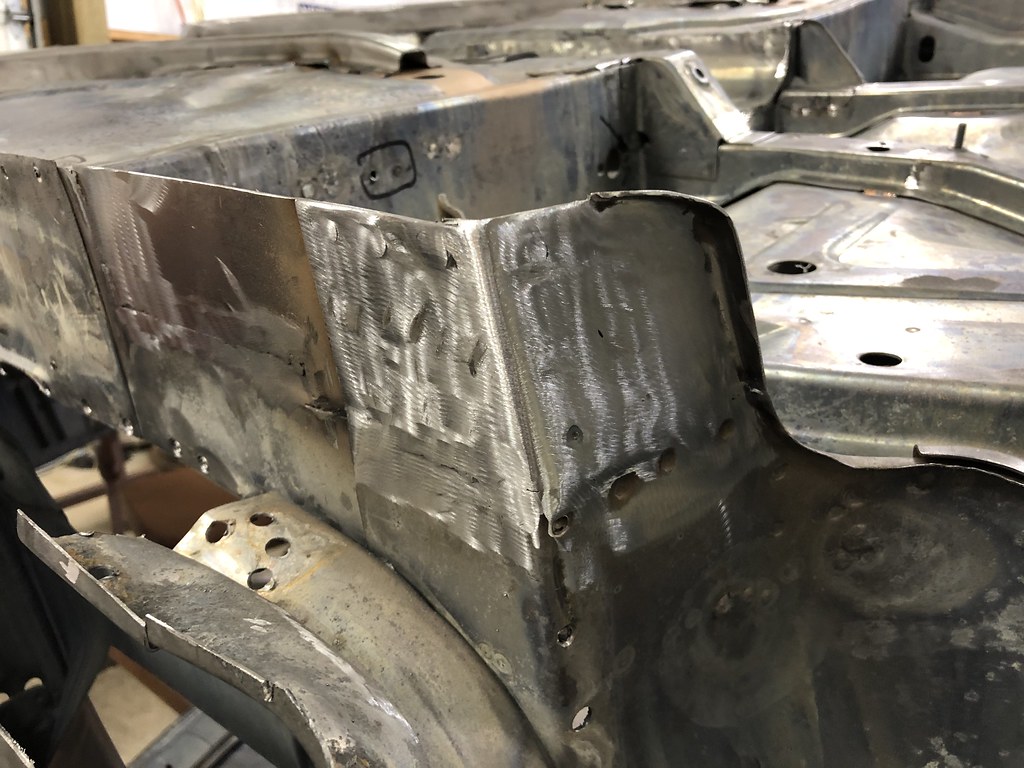
The folded edge was also replicated to stiffen the transition as well:
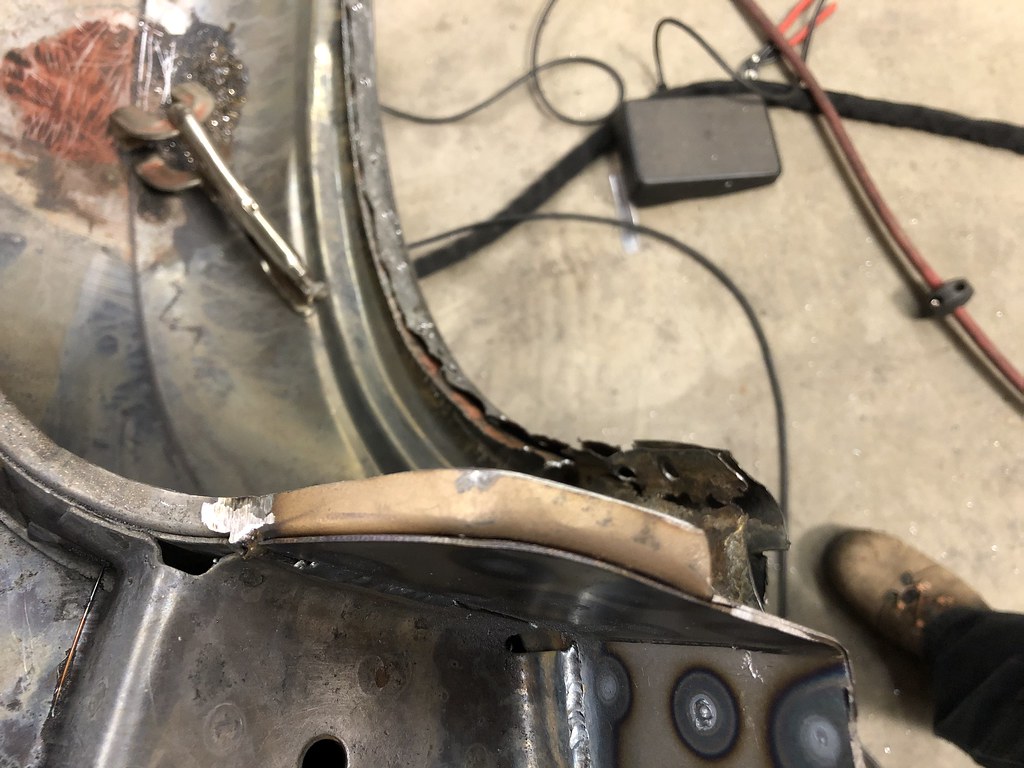
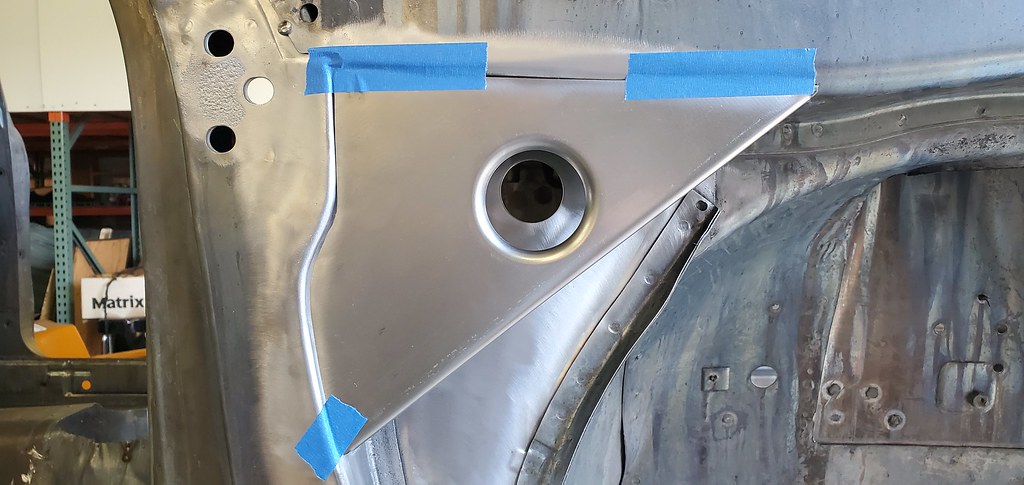
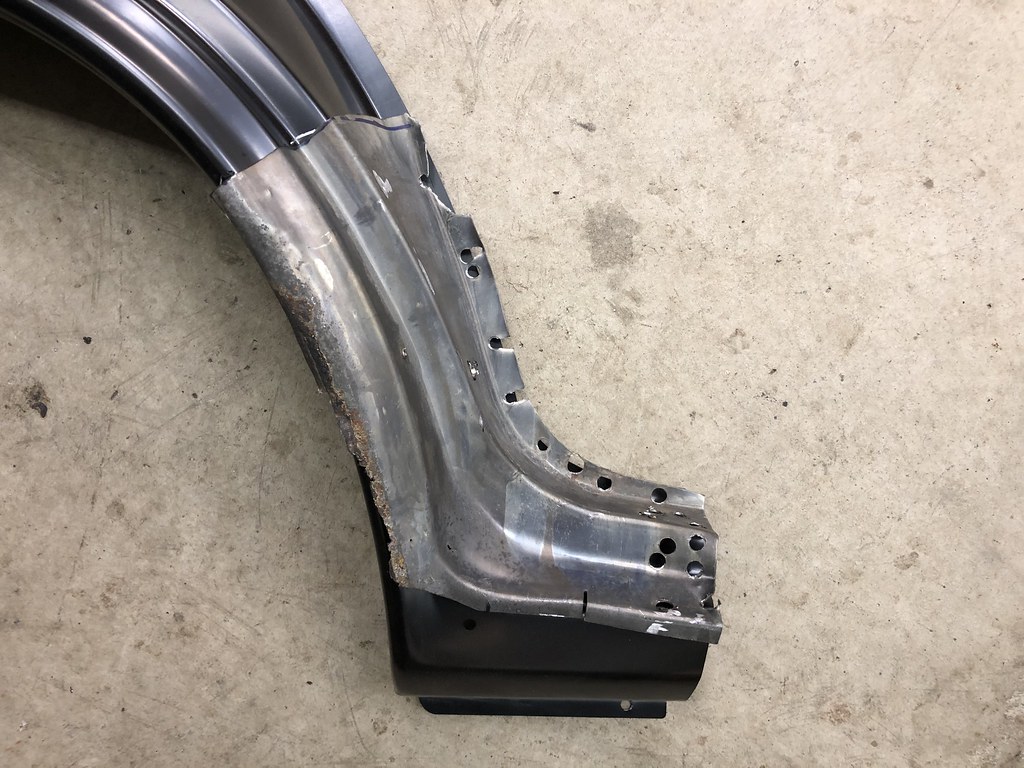
With a good foundation, now the rocker panel could be fitted and dogleg cut to match. But first, the terrible fender rolling that a previous owner did had to be undone to gain access to the dogleg:
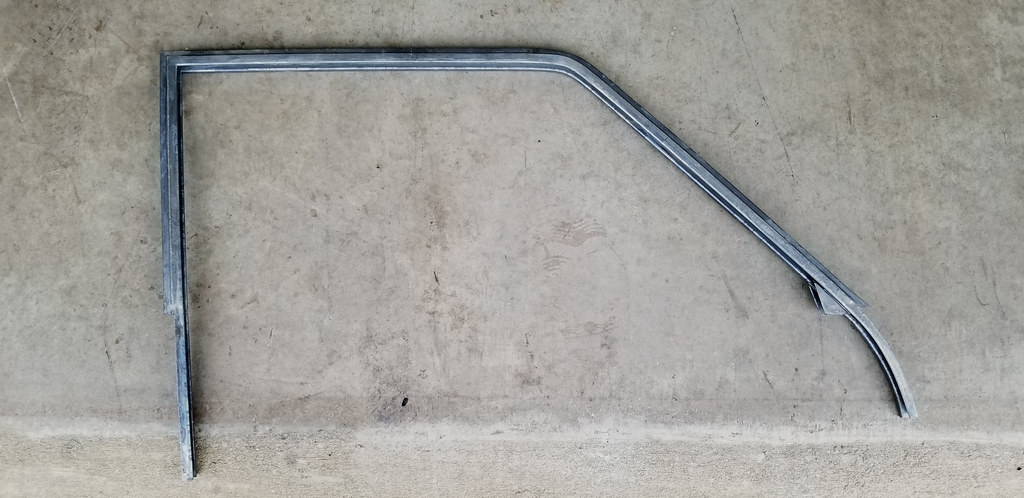
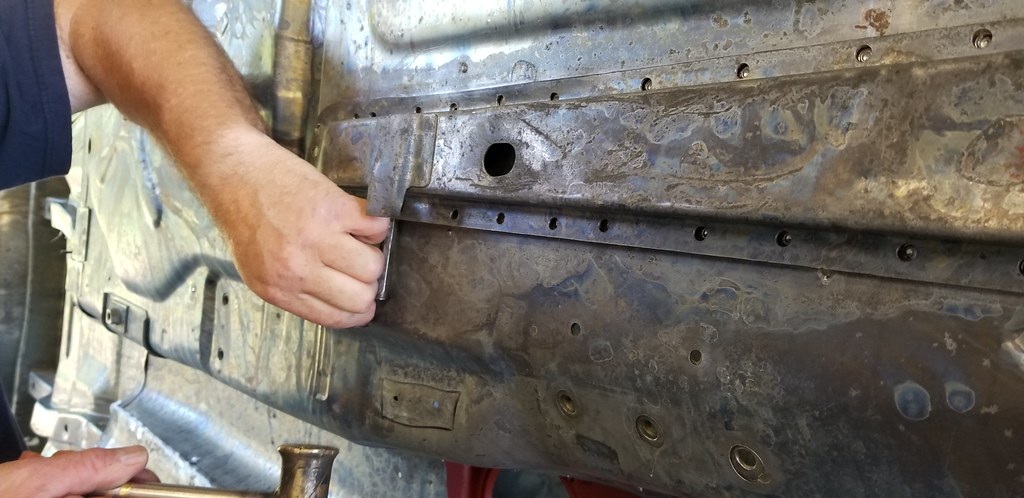
Now, I could test fit the rocker panel, a NOS part that I have had sitting in the attic for about 25 years-- and it fit perfectly:
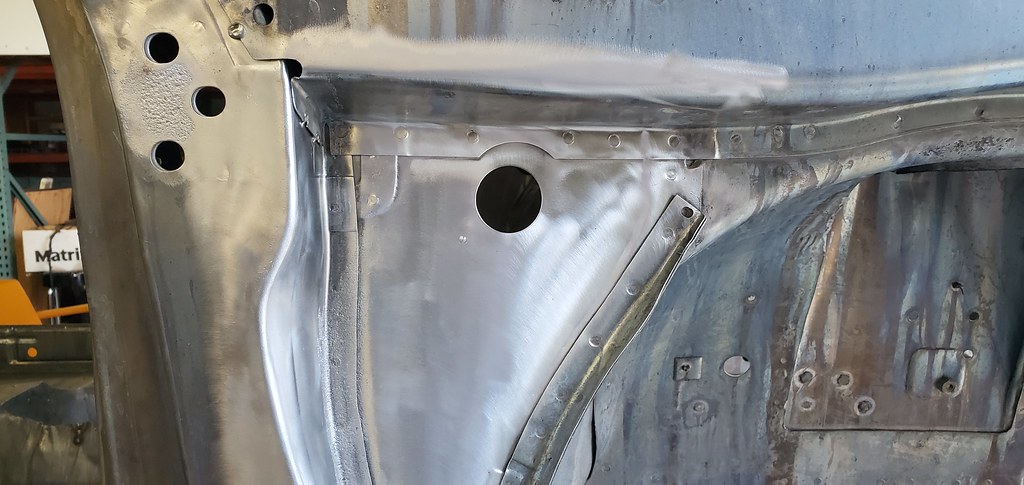
Since I am replacing this quarter panel, I opened up the wheel well so I could see what I was doing for the dogleg replacement:
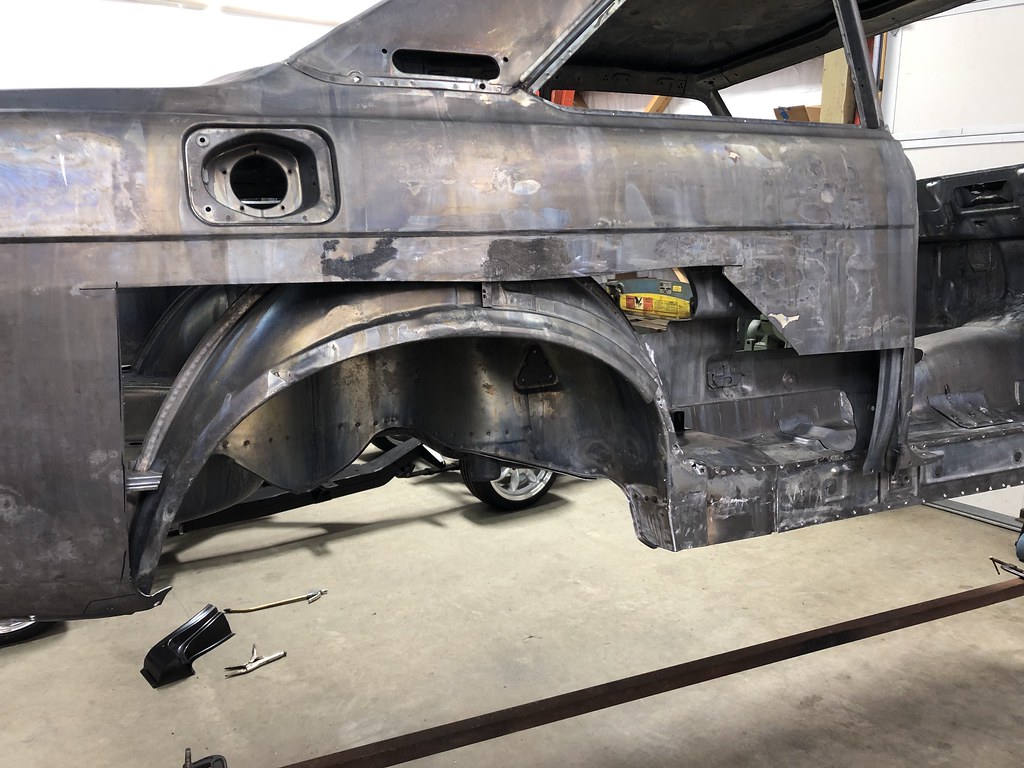
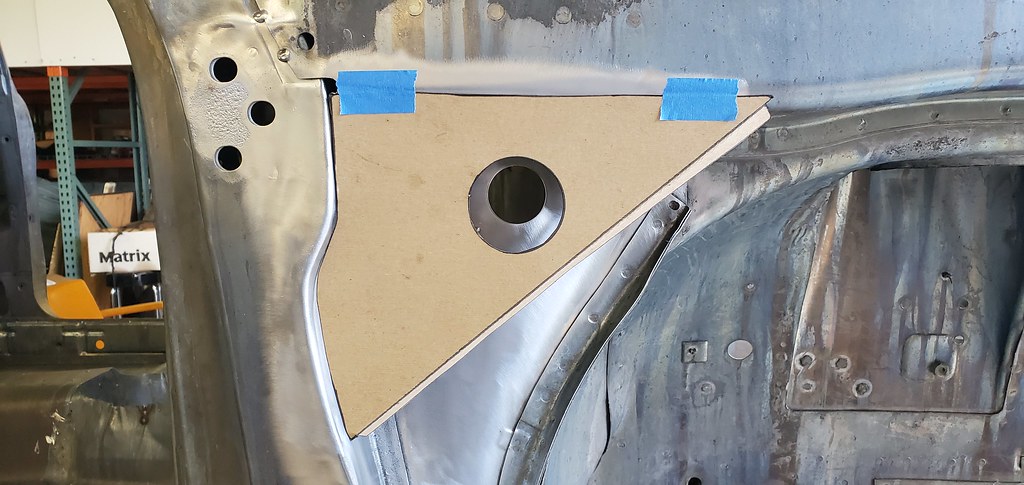
95% of the rear inner fenders are clean, and rust free, so I decided to splice the inner fender with a replacement from FutoFab. I used the original piece as a pattern for a rough idea of what I would need to cut:
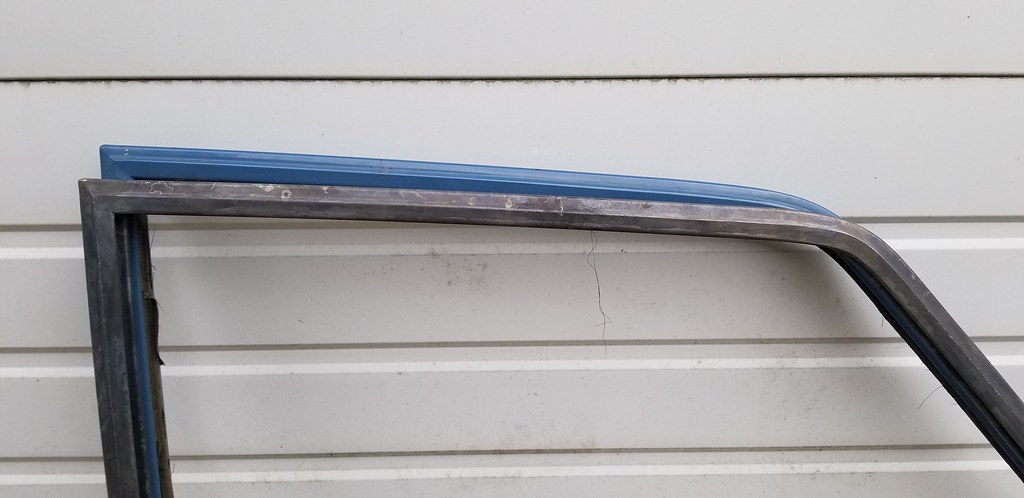
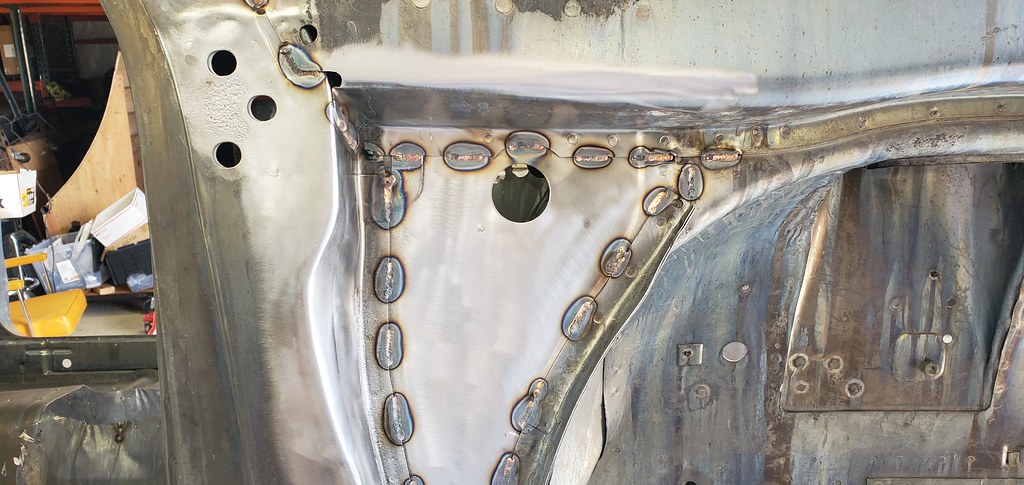
And a test fit looked promising:
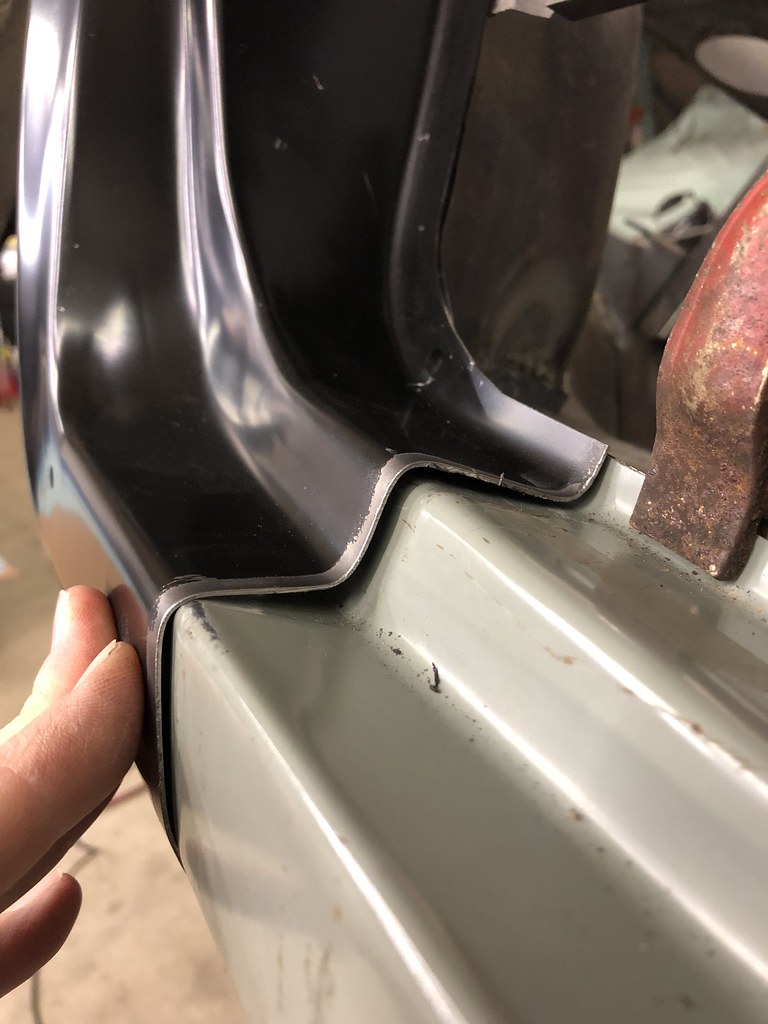
Sadly, the profile on the dogleg where it overlaps the NOS rocker panel is not as clean and sharp as the original panel, but that can be sorted once it is fully fitted (and it's covered by the outer skin of the quarter panel:
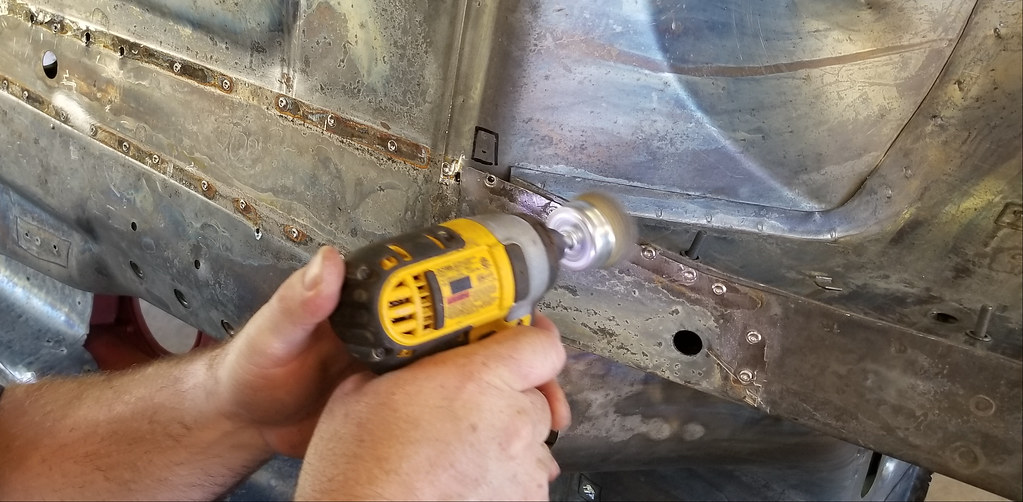
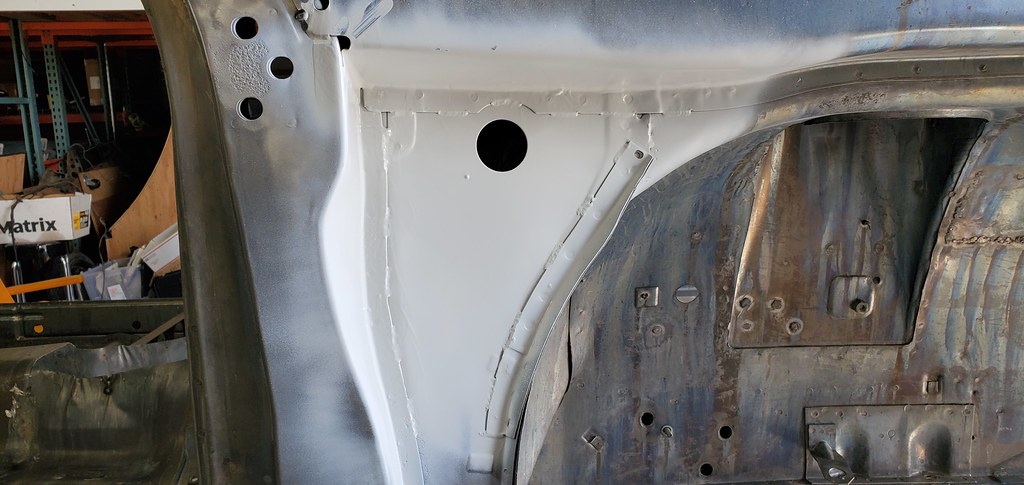
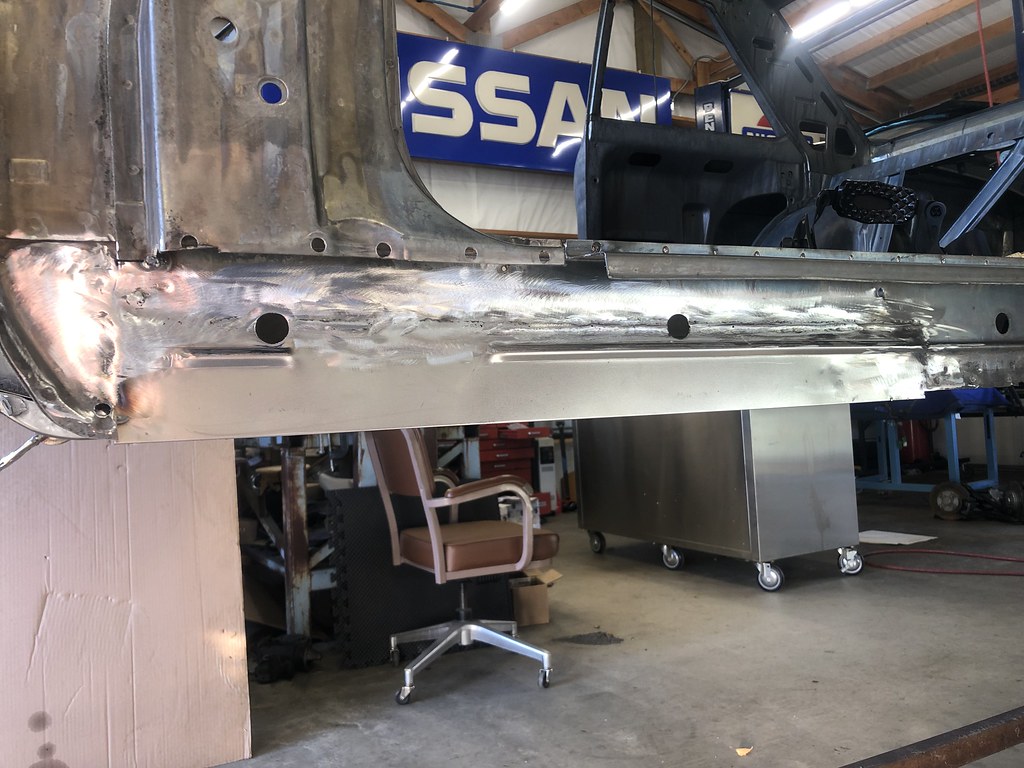
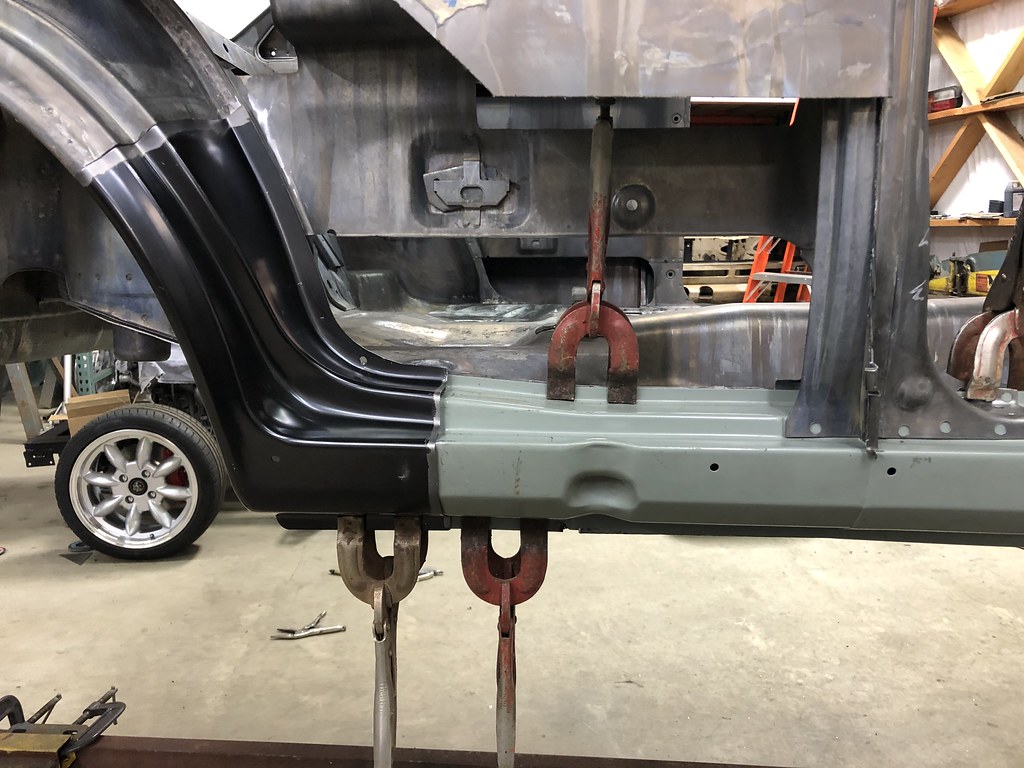
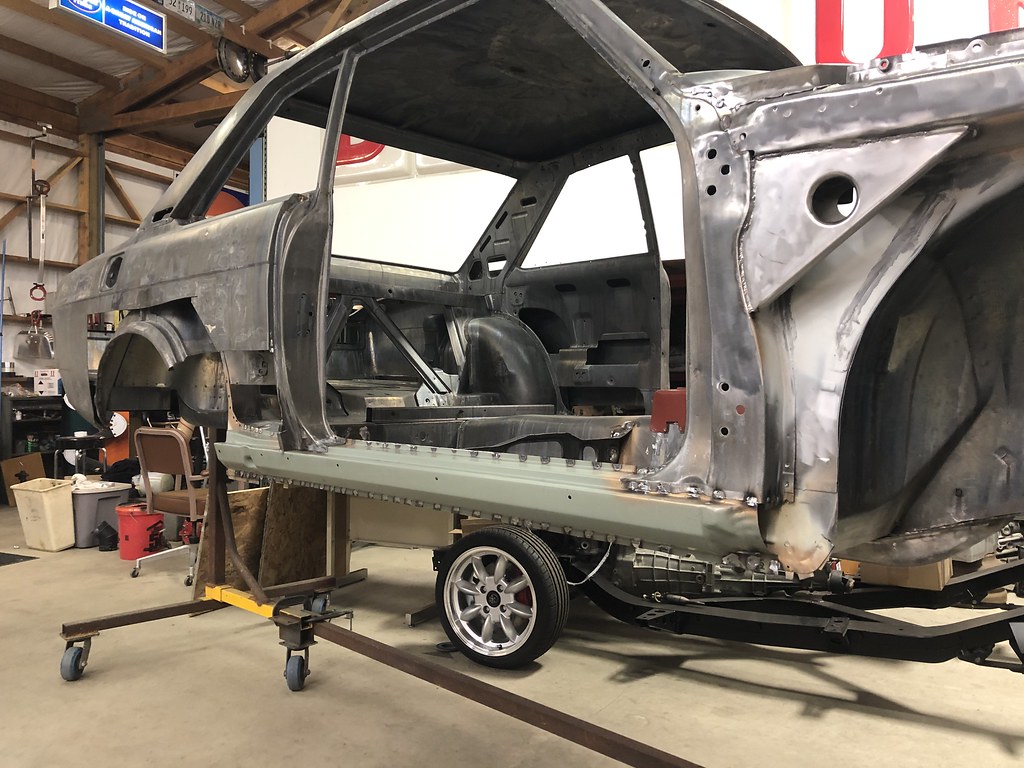
With that completed, the back sides of the rocker panels were painted with sealer primer, and the edges primed with weld thru-primer, and after dozens of test fits, both rockers were finally welded on:
More soon,
Michael