72 2 Door 510 Restoration-25 years in the making

Re: 72 2 Door 510 Restoration-25 years in the making
Absolutely! I can't believe the difference it makes!
Re: 72 2 Door 510 Restoration-25 years in the making
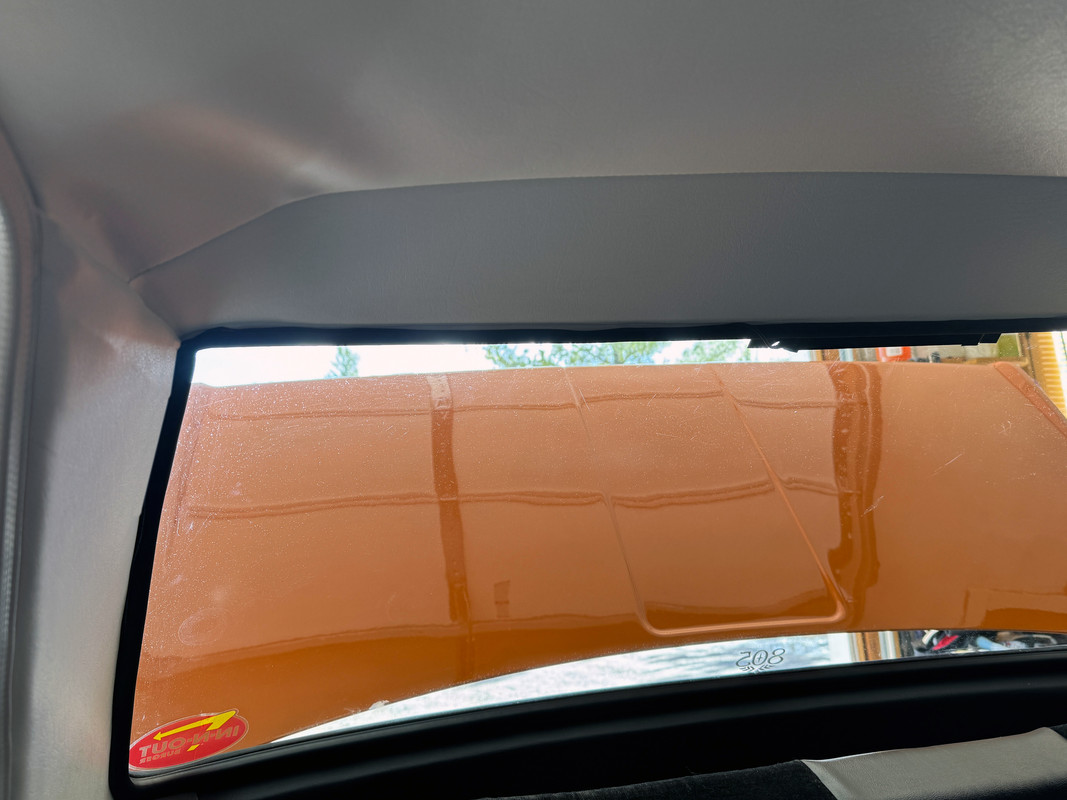
The weather is starting to get halfway decent so I've been chipping away at some things on the car. Over the last couple of days, I fixed my horn that has never worked (video link included), I made a 3rd brake light with a modulator so it flashes when I press the brake pedal, I made a rearview camera system, and designed a mount so I wouldn't have to drill a hole in my car and finally, I installed new tubing for my 80's era air shocks & they actually work! Briefly. LOL!!
Horn fix video: https://www.youtube.com/watch?v=fw8joVL ... UxMCBob3Ju
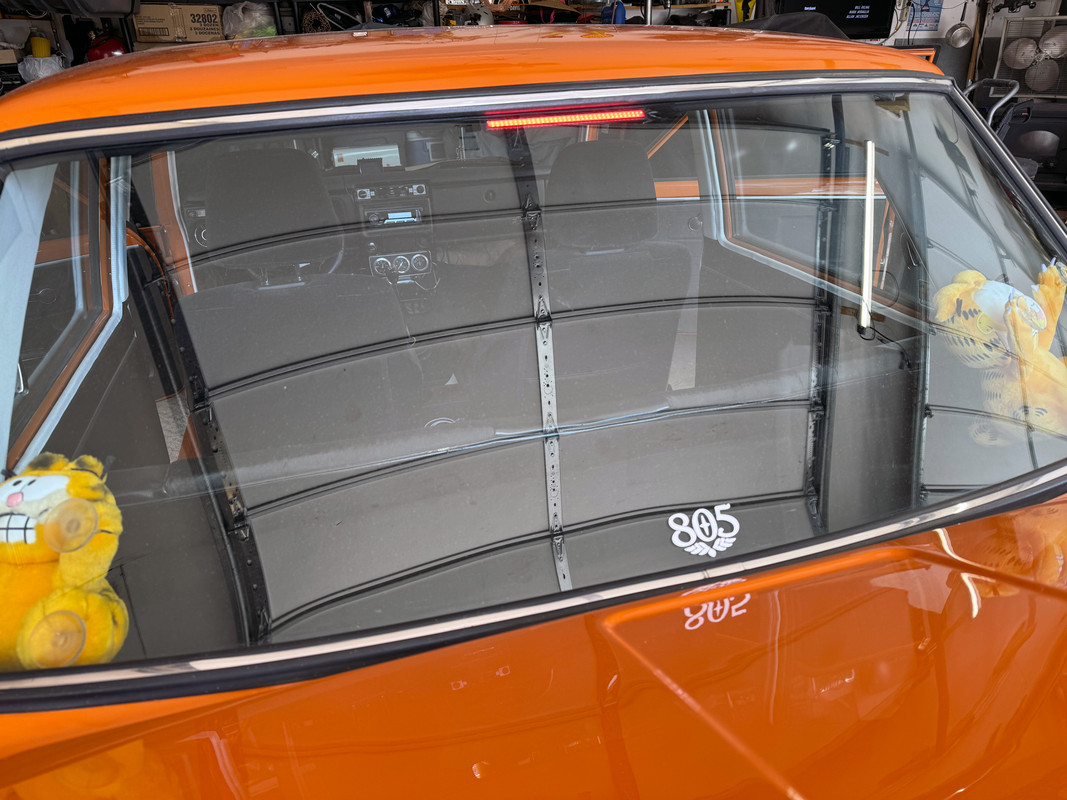
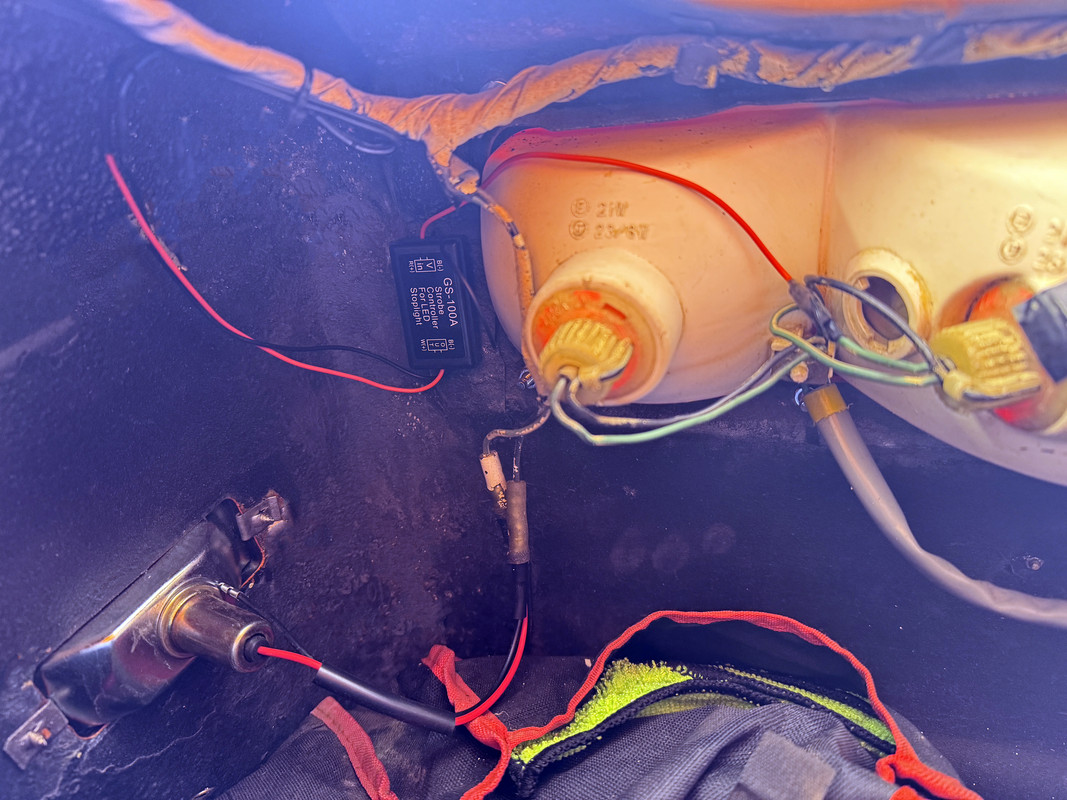
3rd brake light:
I used a COB LED. I ran 22ga wires just in the edge of the rear window gasket. I stuck the light to the glass using clear 2 sided tape.
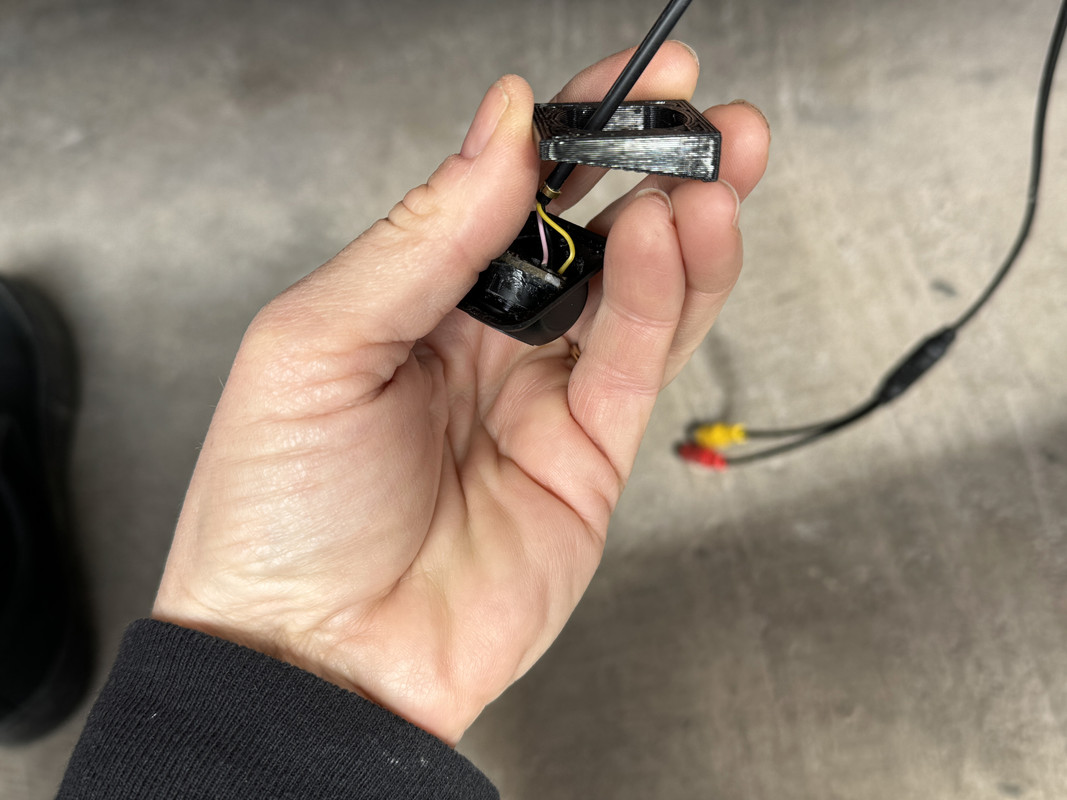
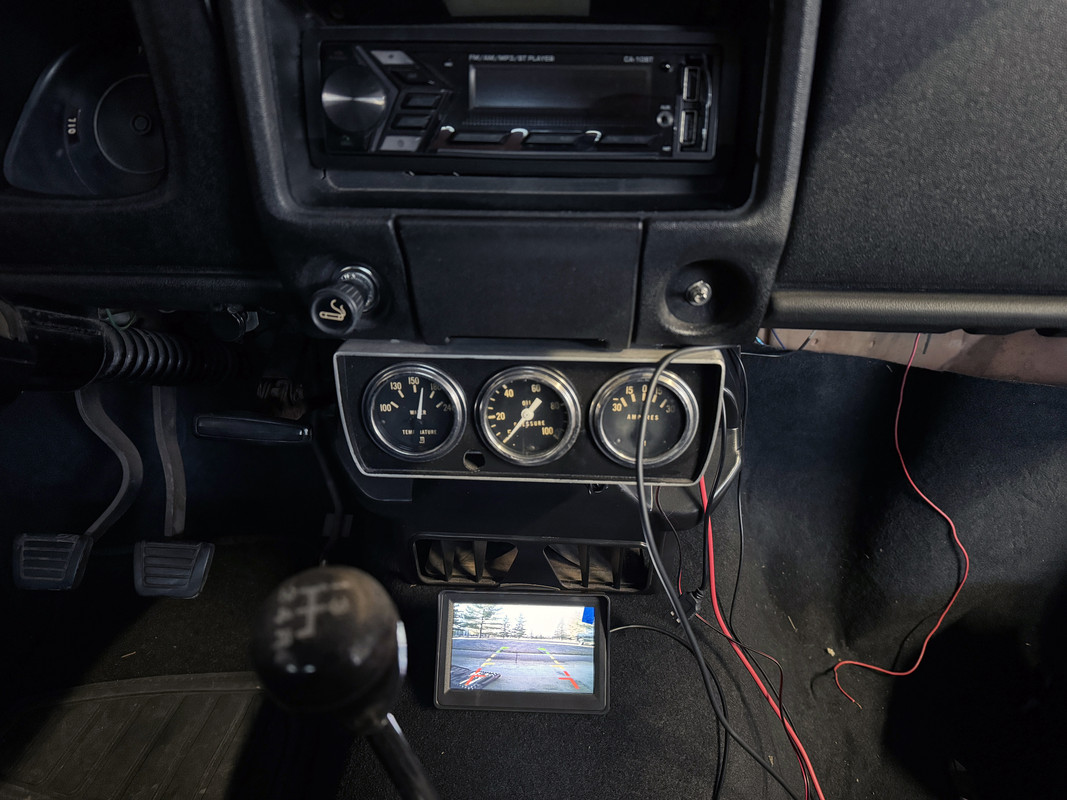
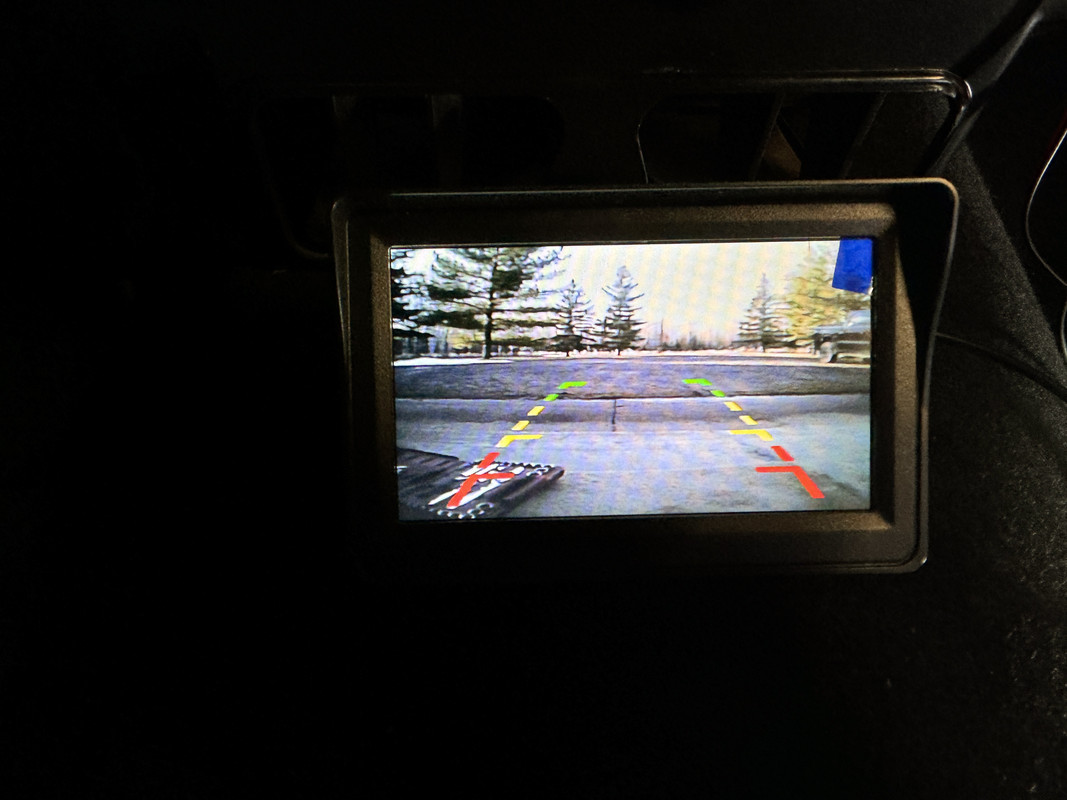
Rear camera:
I bought a basic camera & a screen from Ali Express for $11. I wired it to be switch-operated instead of rear lamp triggered (mainly because my reverse lamps are always on when the car is on and I haven't figured out why; I have no bulbs in them right now). I wasn't interested in drilling a hole in my car so I designed & printed a mount for the camera that allowed me to run the wires through the hole in the bumper and then under the car into the trunk. For a mere $11 I think it's pretty fancy! lol! I'm not quite finished cleaning up the wiring & I haven't mounted the screen yet but you get the idea.

Horn fix video: https://www.youtube.com/watch?v=fw8joVL ... UxMCBob3Ju
3rd brake light:
I used a COB LED. I ran 22ga wires just in the edge of the rear window gasket. I stuck the light to the glass using clear 2 sided tape.
Rear camera:
I bought a basic camera & a screen from Ali Express for $11. I wired it to be switch-operated instead of rear lamp triggered (mainly because my reverse lamps are always on when the car is on and I haven't figured out why; I have no bulbs in them right now). I wasn't interested in drilling a hole in my car so I designed & printed a mount for the camera that allowed me to run the wires through the hole in the bumper and then under the car into the trunk. For a mere $11 I think it's pretty fancy! lol! I'm not quite finished cleaning up the wiring & I haven't mounted the screen yet but you get the idea.
Last edited by Rush on 23 Apr 2024 10:10, edited 1 time in total.
Re: 72 2 Door 510 Restoration-25 years in the making
Thanks for the educational horn video, i would for sure messed up that nut inside there. Planned for thirty years to open some horns, now i know how to and how they works. I onced makes them horn scream by replace the relay and put bigger wires direct from the alternator.
Re: 72 2 Door 510 Restoration-25 years in the making
You're welcome! I thought it was a pretty interesting contraption! I bet if you take them apart now, you'll make them work. It doesn't seem like a whole lot can go wrong with them but corrosion is their number 1 enemy, I think.
-
bertvorgon

- Supporter
- Posts: 12032
- Joined: 04 Aug 2003 20:45
- Location: White Rock, B.C. Canada
Re: 72 2 Door 510 Restoration-25 years in the making
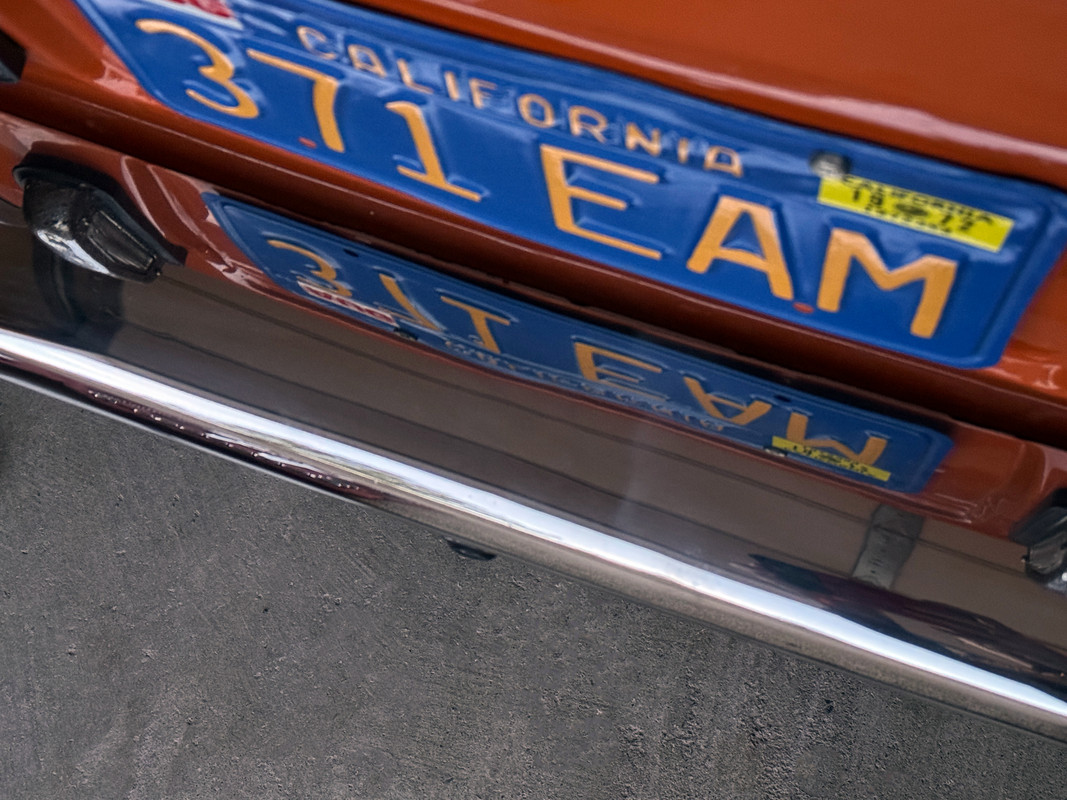
Whoa...hold the phone, rewind the camera.....
What's with the licence plate screws....on such a beautiful build and we have sub-standard mounting screws.....
I used some nice socket head stainless with washers, looks really good.
That camera is too cool! I worry when backing into curbed parking spots that I might hit my exhaust pipe.
What's with the licence plate screws....on such a beautiful build and we have sub-standard mounting screws.....
I used some nice socket head stainless with washers, looks really good.
That camera is too cool! I worry when backing into curbed parking spots that I might hit my exhaust pipe.
- Attachments
-
- licence plate screws.JPG (41 KiB) Viewed 205 times
"Racing makes heroin addiction look like a vague wish for something salty" - Peter Egan
Keith Law
1973 2 Door Slalom/hill climb/road race / canyon carver /Giant Killer 510
1971 Vintage 13' BOLER trailer
Keith Law
1973 2 Door Slalom/hill climb/road race / canyon carver /Giant Killer 510
1971 Vintage 13' BOLER trailer
Re: 72 2 Door 510 Restoration-25 years in the making
Lol! You're right, they ARE ugly!  Alright, alright, I'll go get some nice ones.
 Alright, alright, I'll go get some nice ones.
Re: 72 2 Door 510 Restoration-25 years in the making
I finally got new KYB AGX adjustable shocks to replace my clapped out 80's air shocks. The ride difference is huge!
Old

New
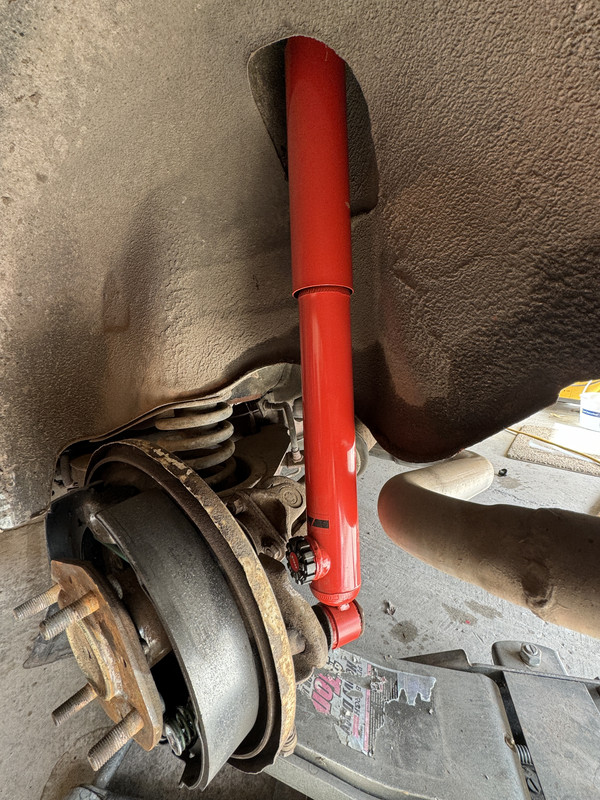
The adjuster is facing outward bwcause otherwise it would hit my exhaust. I needed to clearance that bracket a bit but not a big deal.
Yesterday, I took my car in for an alignment. It's literally no better than the alignment I did on my own with a caliper and string. About all it did was make the steering feel heavier at low speed and not any more stable at higher speeds. Lesson learned, I guess.
Oh! And I put new bushings in my torsion control rods. Bit by bit!
Old
New
The adjuster is facing outward bwcause otherwise it would hit my exhaust. I needed to clearance that bracket a bit but not a big deal.
Yesterday, I took my car in for an alignment. It's literally no better than the alignment I did on my own with a caliper and string. About all it did was make the steering feel heavier at low speed and not any more stable at higher speeds. Lesson learned, I guess.
Oh! And I put new bushings in my torsion control rods. Bit by bit!
Re: 72 2 Door 510 Restoration-25 years in the making
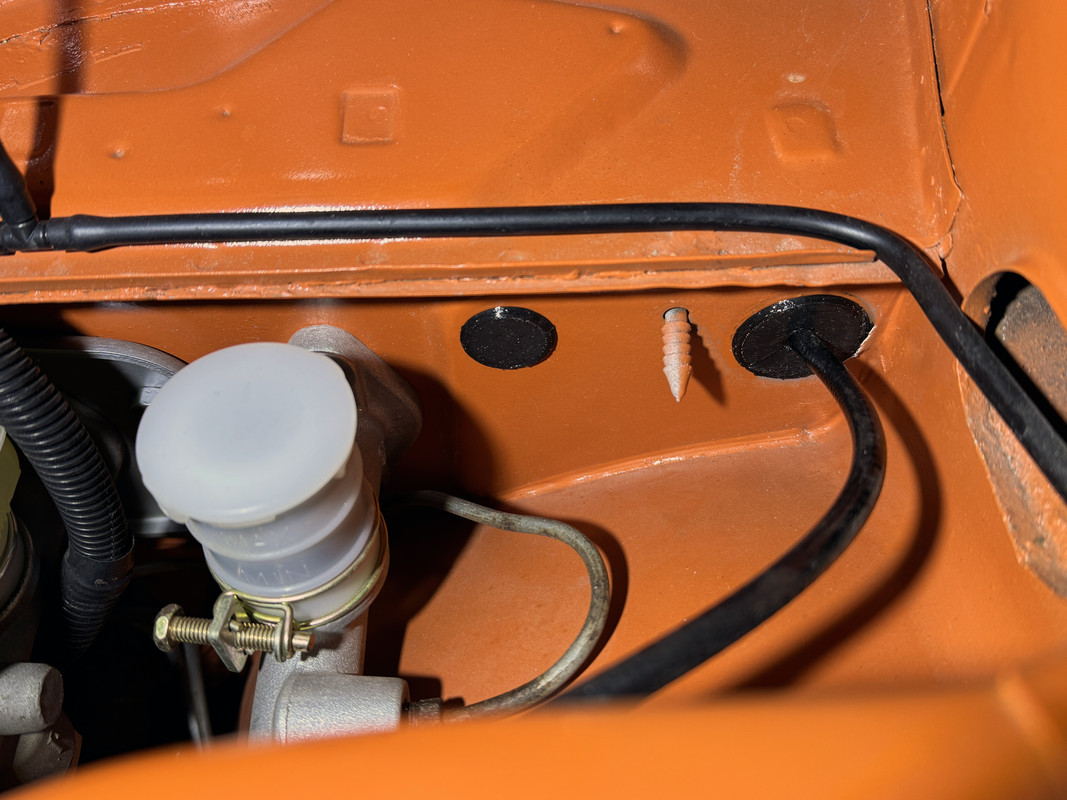
Today, while I'm trying to figure out my high beam LED headlight issue I decided to measure the holes in my firewall and 3D print some plugs for them. Sure, I could probably just order them but what fun is ordering $.89 rubber plugs when I can print them myself with a $300 printer and $40 filament?
These are printed in TPU (flexible) filament & the design is parametric so they're super easy to size in Fusion 360 for whatever hole you need to cover. The guy who designed them did a very nice job. Here's the link to the file if you're a print dork like me: https://www.thingiverse.com/thing:6266485
These are printed in TPU (flexible) filament & the design is parametric so they're super easy to size in Fusion 360 for whatever hole you need to cover. The guy who designed them did a very nice job. Here's the link to the file if you're a print dork like me: https://www.thingiverse.com/thing:6266485