Thank you, Heinrich!
Thanks so much, Byron. I really appreciate that. I always kinda wonder if many people read my thread so I'm very happy when someone chimes in to say they have. I hope to inspire another person who might feel overwhelmed with a massive project to tackle it. We CAN do this. The Realm is an absolutely invaluable resource and an incredible archive for people like me who do everything themselves. There is such a wealth of information here. It can be a little tough to find it because of the forum software but it IS here somewhere, almost guaranteed! (and I like the fact that there are no douchebags

)
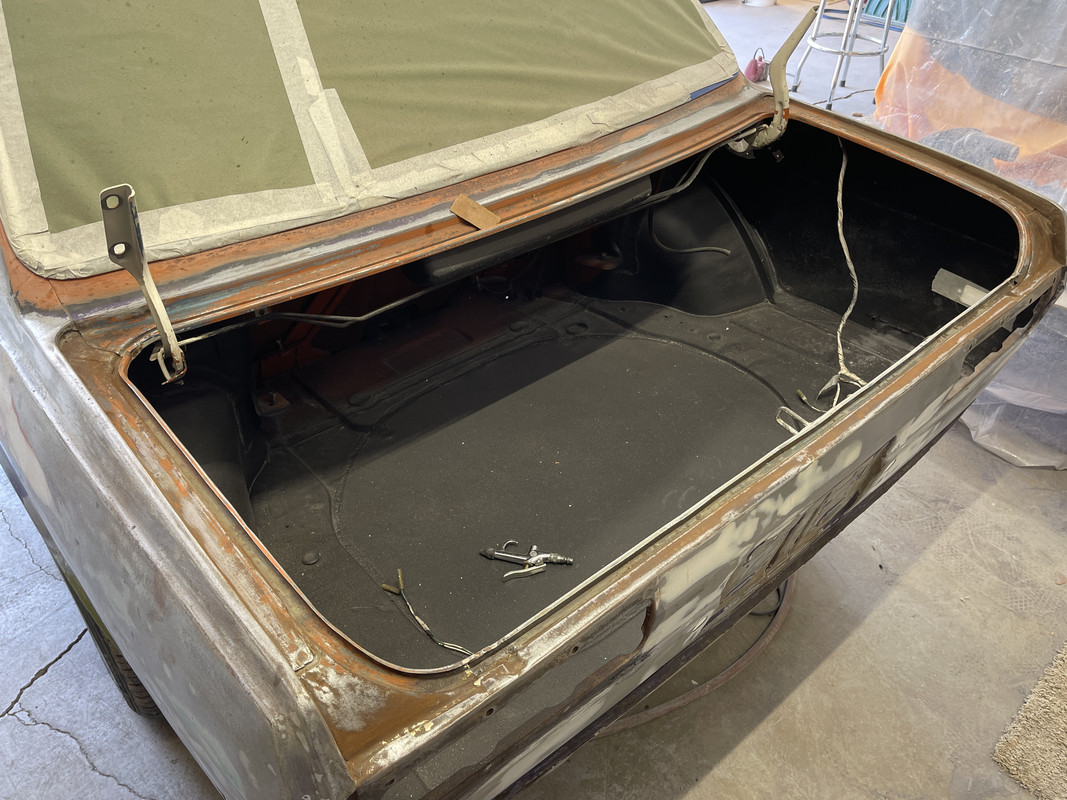
About the lower quarter, it came from
KF Vintage. The panels are very nice, IMO. The only thing I didn't love about the panel was that the primer isn't the weld-through type. Not a huge deal but if there HAD to be a negative, that'd be it. If their stuff had been available when I made all my other panels, I definitely would have bought them instead of hand-forming everything. My panels came out nice but the savings in effort & time would have been immense!
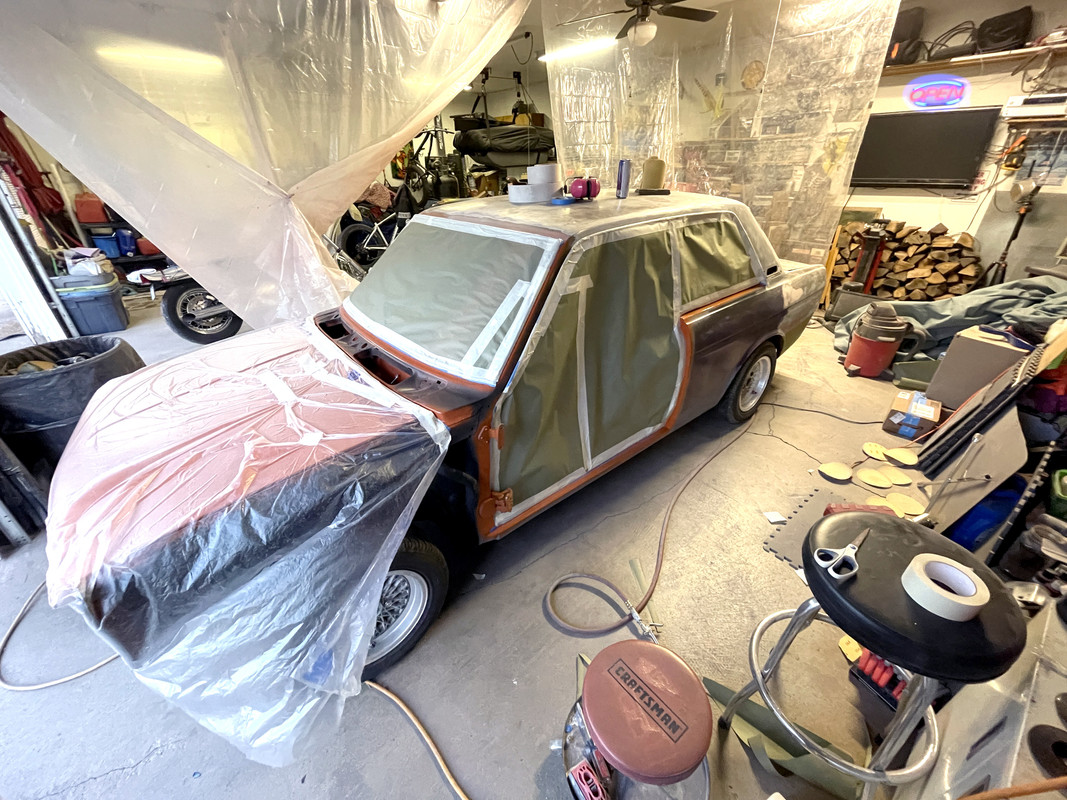
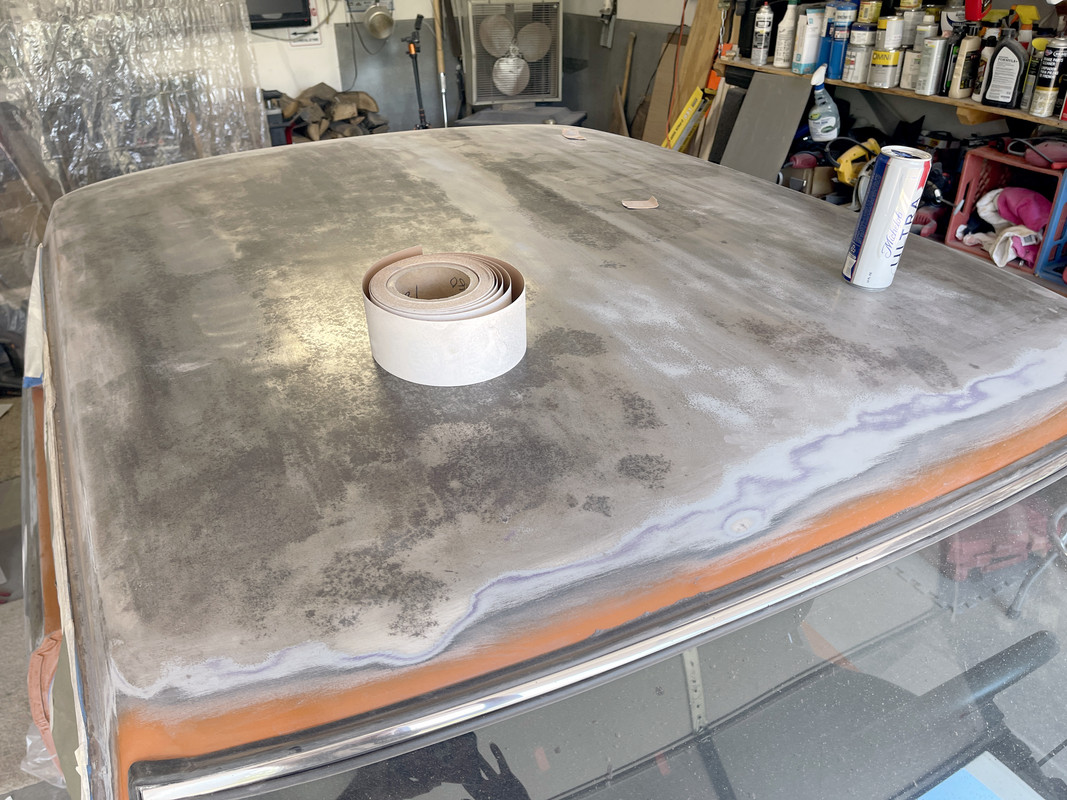
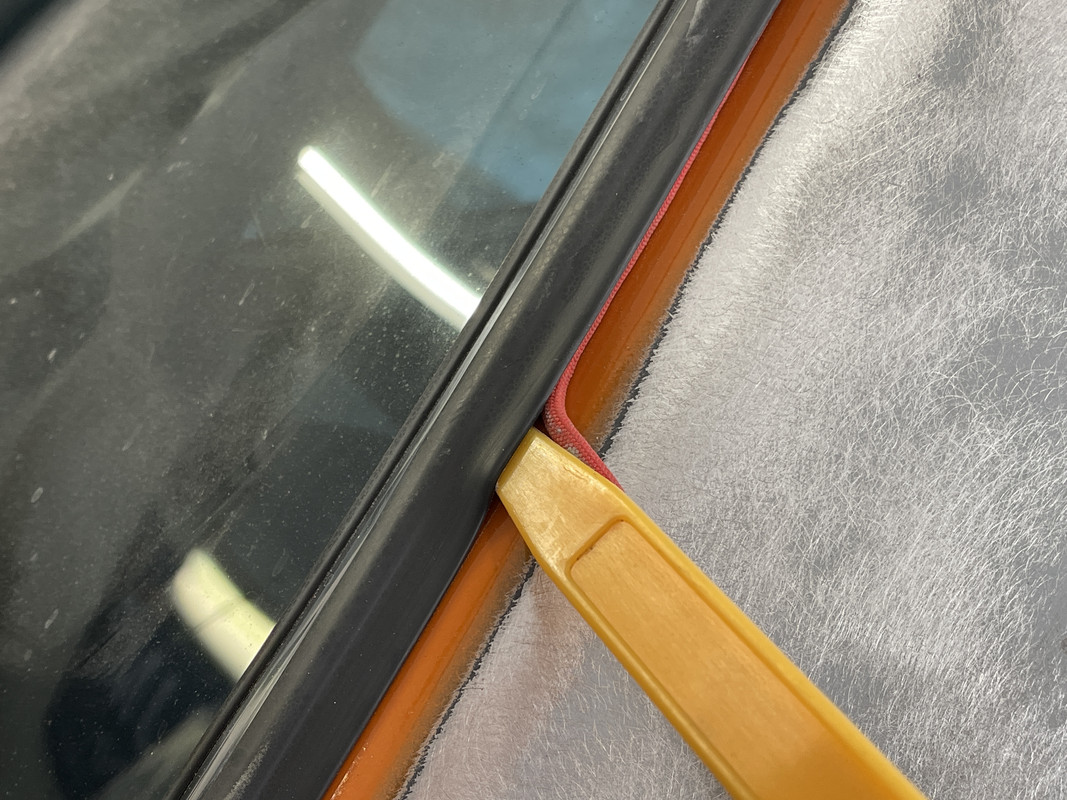
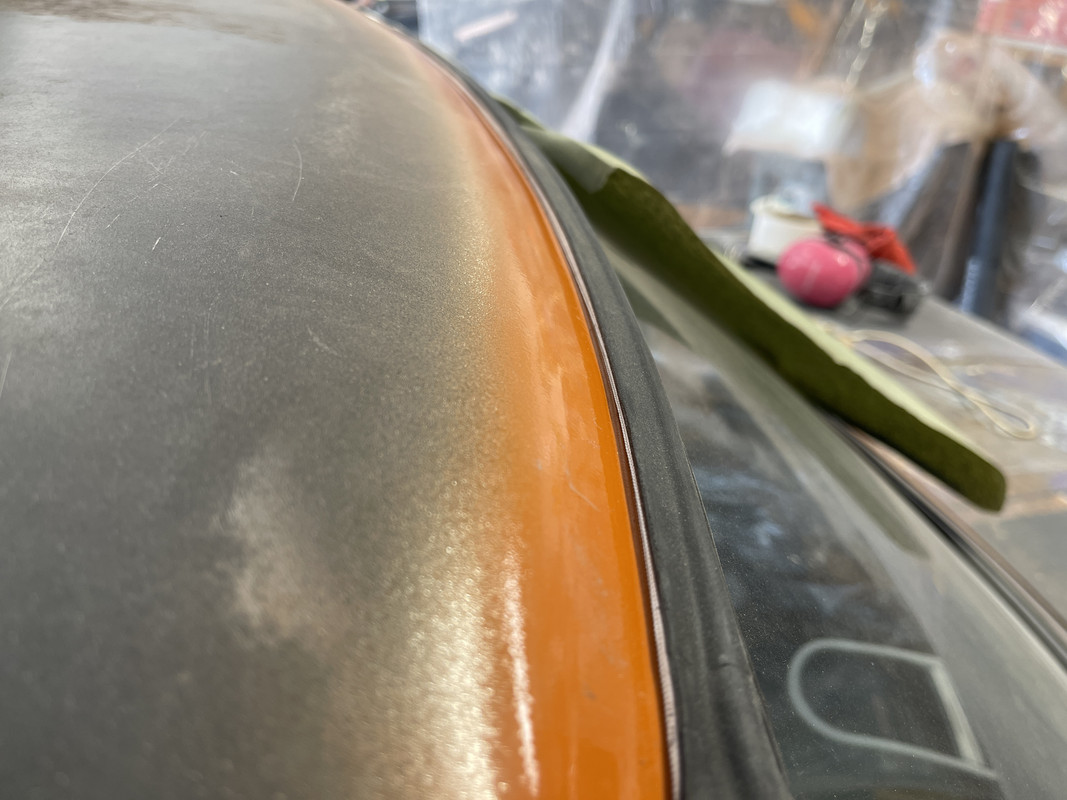
And I might as well update while I'm at it! Yesterday, I sanded the roof, which had some surface rust. Nothing horrible, thank goodness! I also "prepped my window seals for the paint blend since I had to jamb the window areas a few months ago so I could get the glass in. I never like a hard edge when it comes to clear (like where the new paint/clear would meet the seals). I feel it creates a "flake point" so what I did was create a gap between the seal and the body using 550 paracord. I tucked it in there just far enough to give the seal a little lift while not blocking the paint at the very edge. That creates a kind of feather edge so the paint & clear can just sort of drift in there & snuggle down creating an edge that will be protected under the seal.
I don't know if this is common practice or not since I'm not a professional body woman & I have never seen it mentioned anywhere, but it does work.


 It was 83°, I couldn’t say no!
 )
)