We got the garnet media and the desiccant pellets from Manus Abrasive Systems (http://www.manusabrasive.com/) not far from where we live.
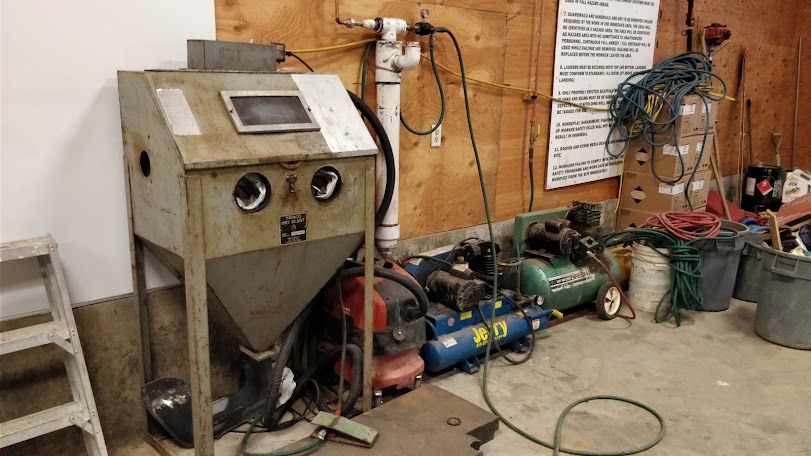
Before blasting.
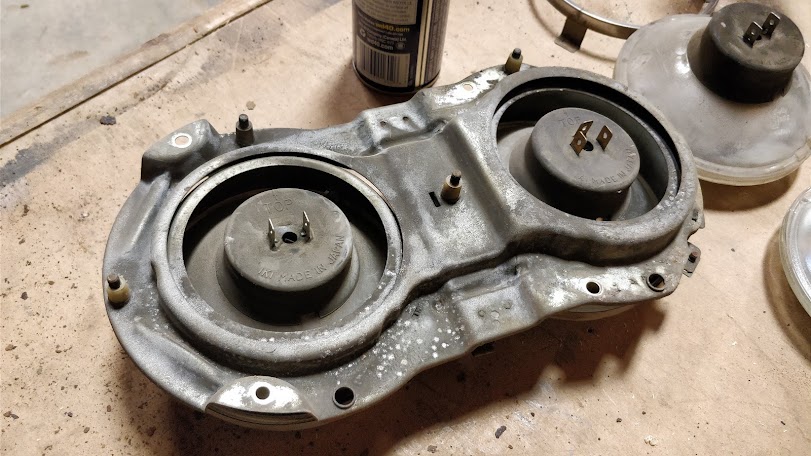
After blasting.


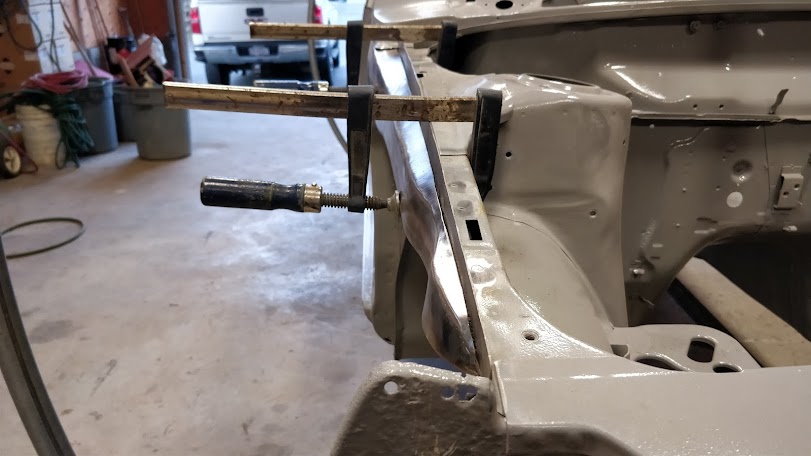


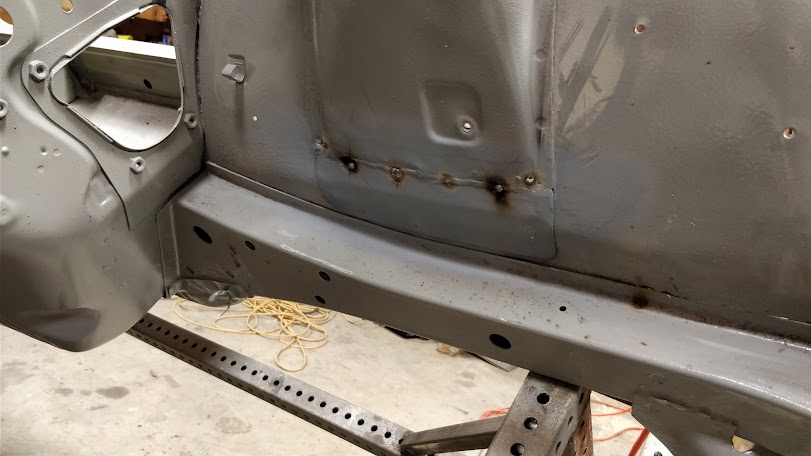
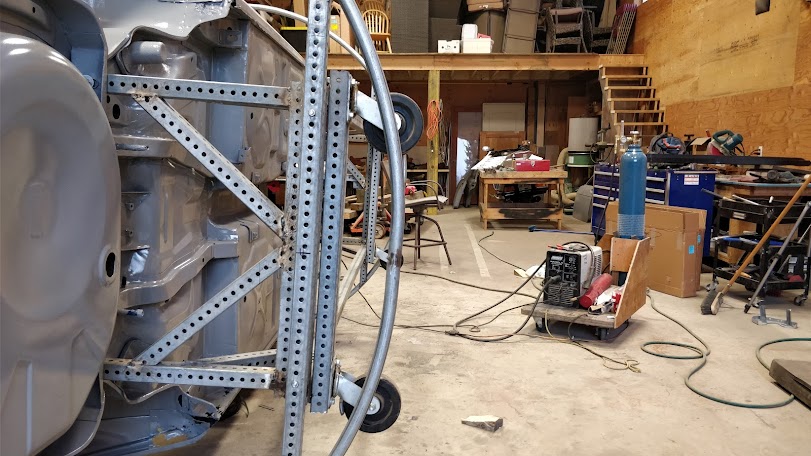
Byron510 wrote:Nice job on the lower inner fender well patch below the bumper mounts. This is a really common repair in this area as it just seems to be a place where water collects in that box section and it's really quite thin material from the factory - where the "frame rails" are significantly thicker gauge of steel. Nice save on the bumper mount captive nuts. The thread size is either M10X1.25 or M10x1.5 on these, should you feel the desire to run a tap through them and clean up the crusty threads.
The rust on the lower section of the strut tower is less common, but you did drag home a salt belt car so I guess anything goes!
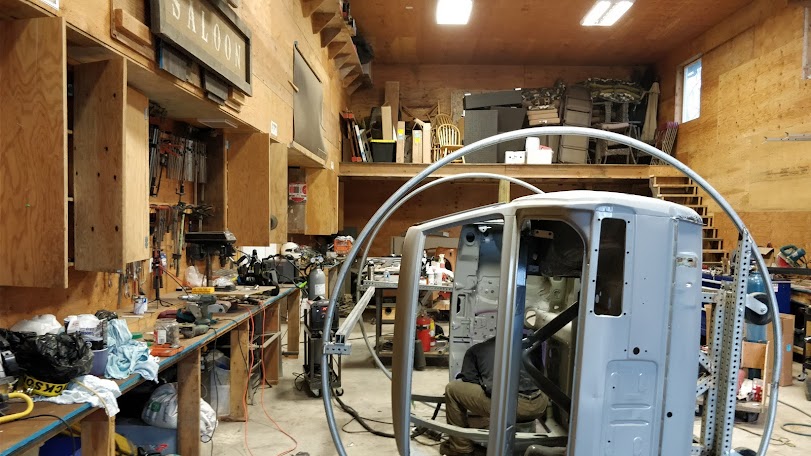
Man, you guys are getting there fast. Great job. That jig to roll the car around on is awesome. You always have the ability to weld upright. That is such a bonus!
How well is the jig weighted/balanced - for ease of rolling over? Did you get the center of gravity pretty close or spot on? You are in a unique position to tell us exactly where that center of gravity is on a stock 510 shell. For instance if you do have it centered perfectly in the hoop, could you share with us the height of the floor pan off the ground (when level) and the exact diameter of the hoops themselves?
Keep the photos coming, the project is moving along great.
Byron