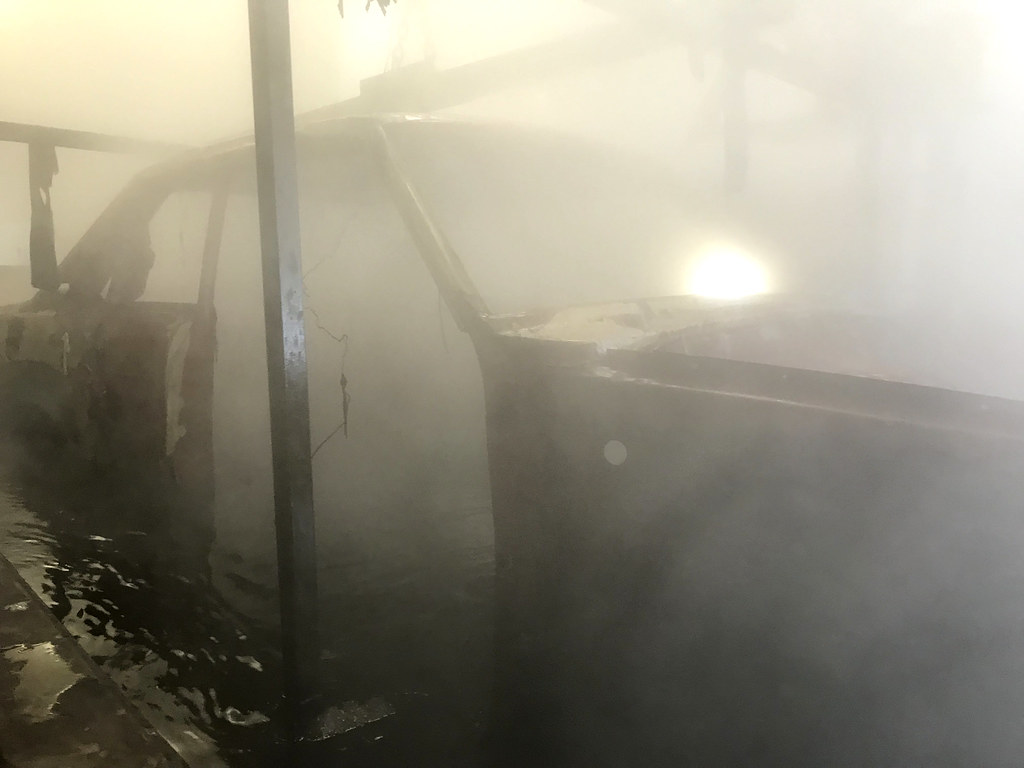
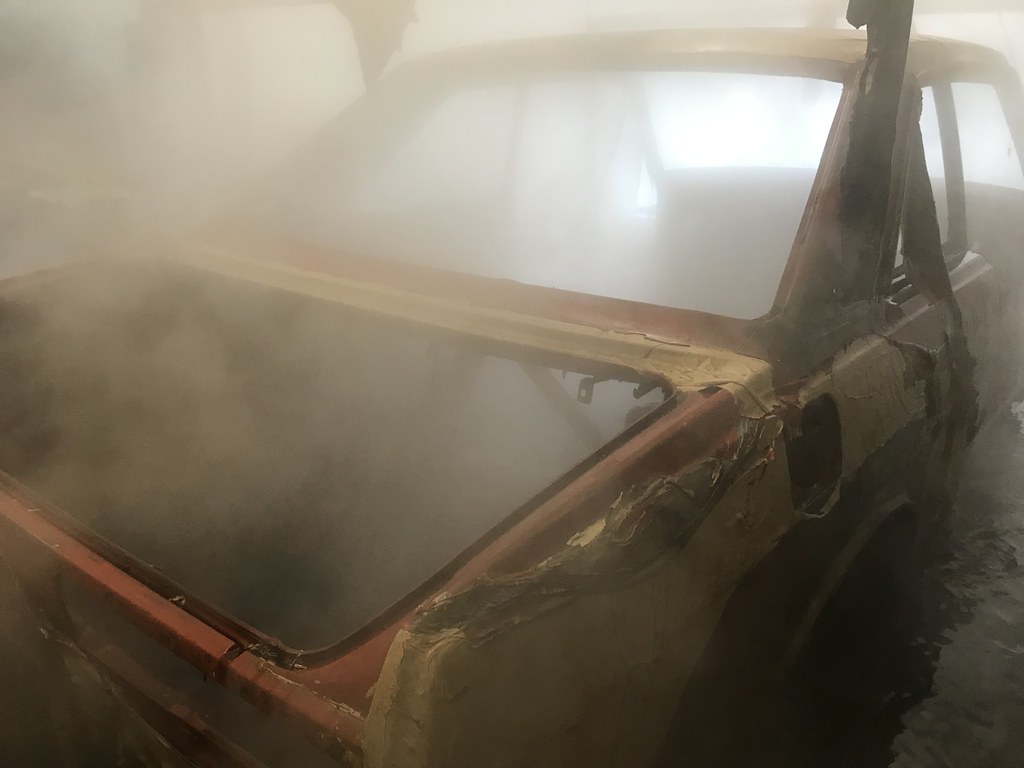
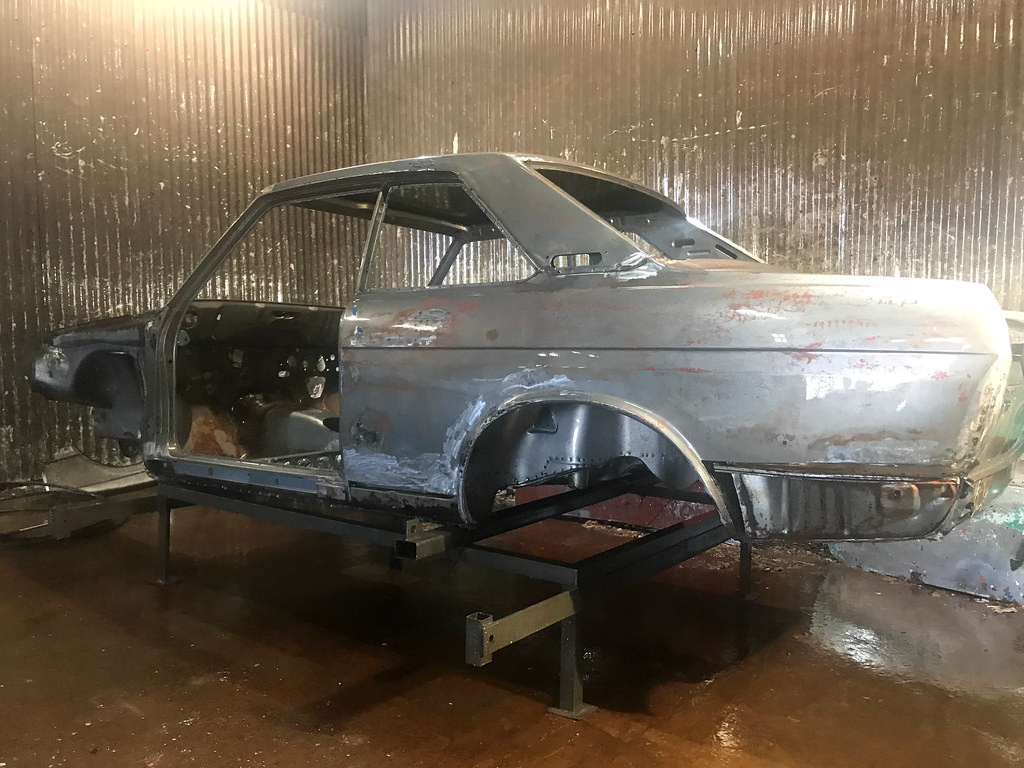
So a few last details before heading off to the stripper...
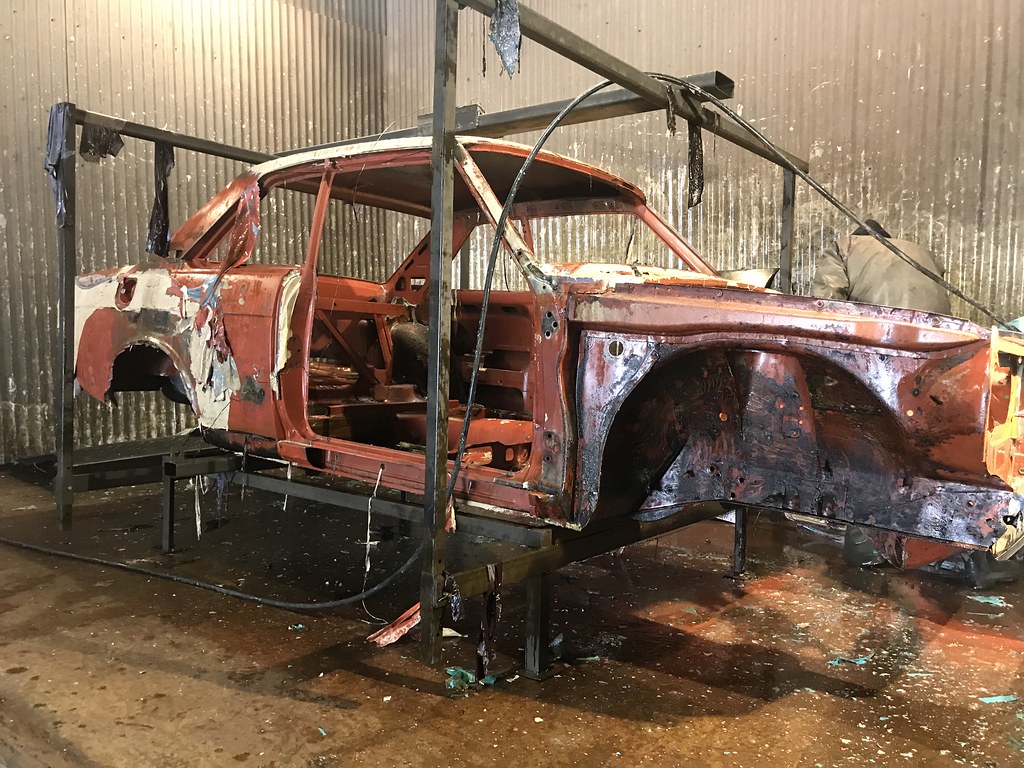
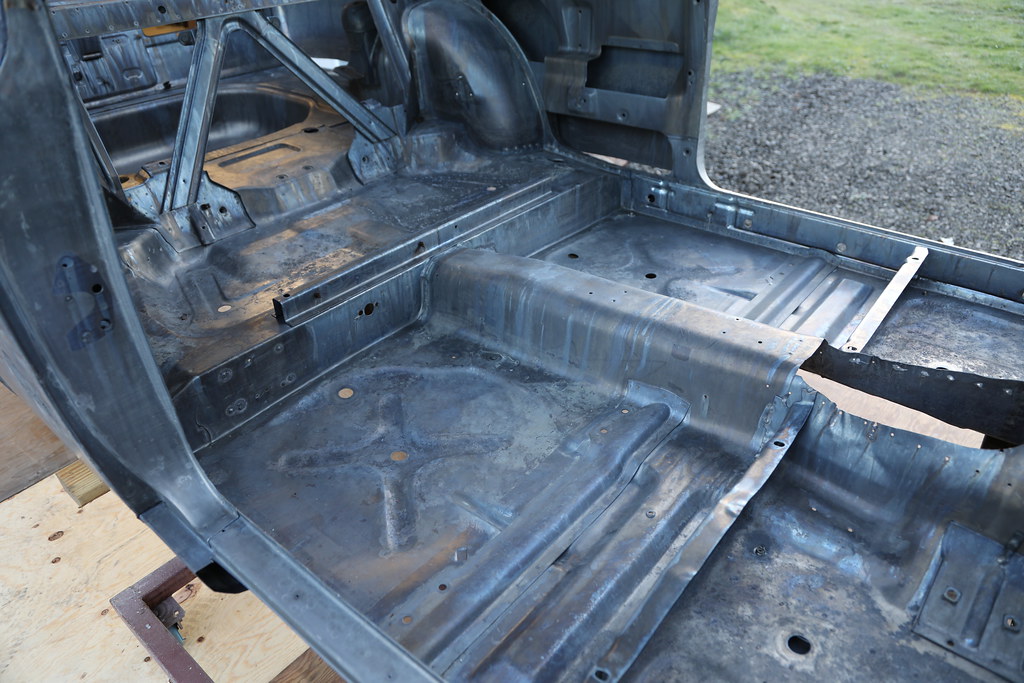
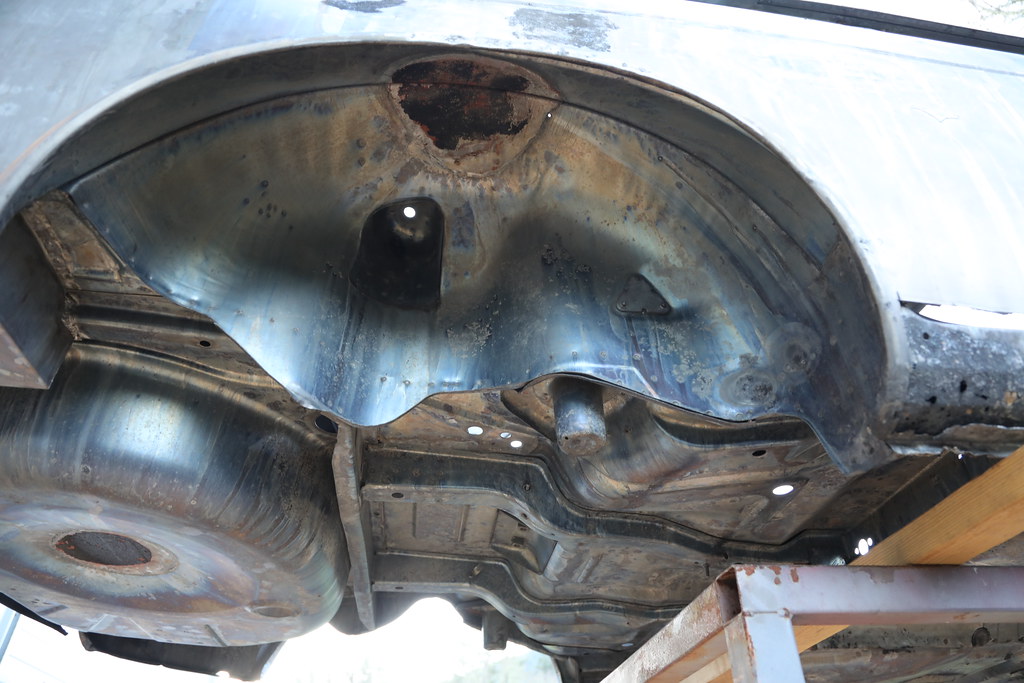
Lead-- there is lead finishing the seam in the corner of the windshield and the rear C pillar that needs to be removed-- this is now 50 years old, and is often cracked on many 510s, so I will be replacing this when the car goes in for body work. So, out came the torch and wire brush:

And the rear seam cleaned out:

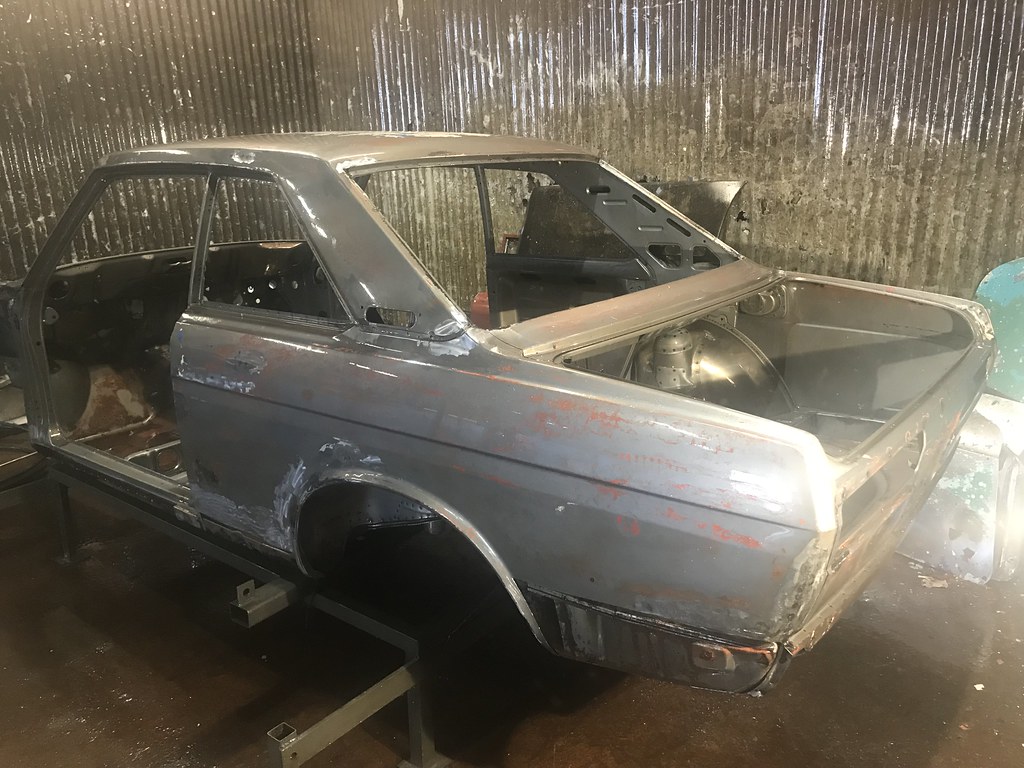
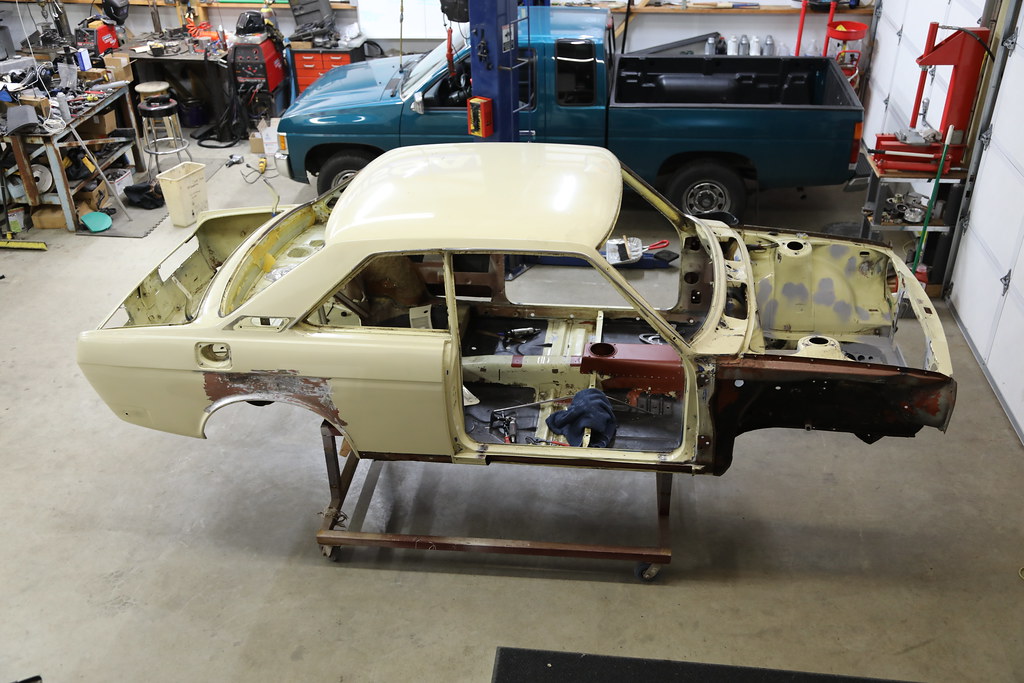
I also removed the drip rail trim (which as always is a giant pain in the ass), but I'm glad I did as there were some trouble areas in a few spots:

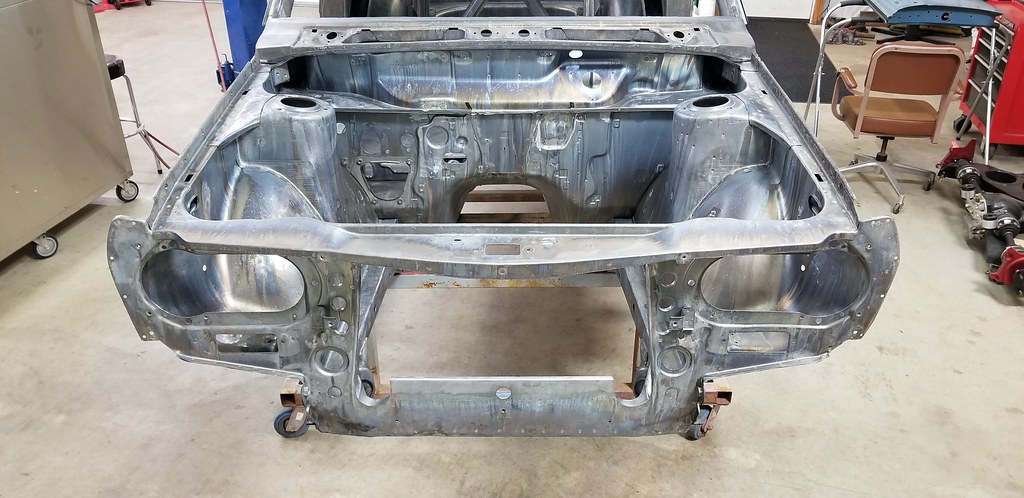
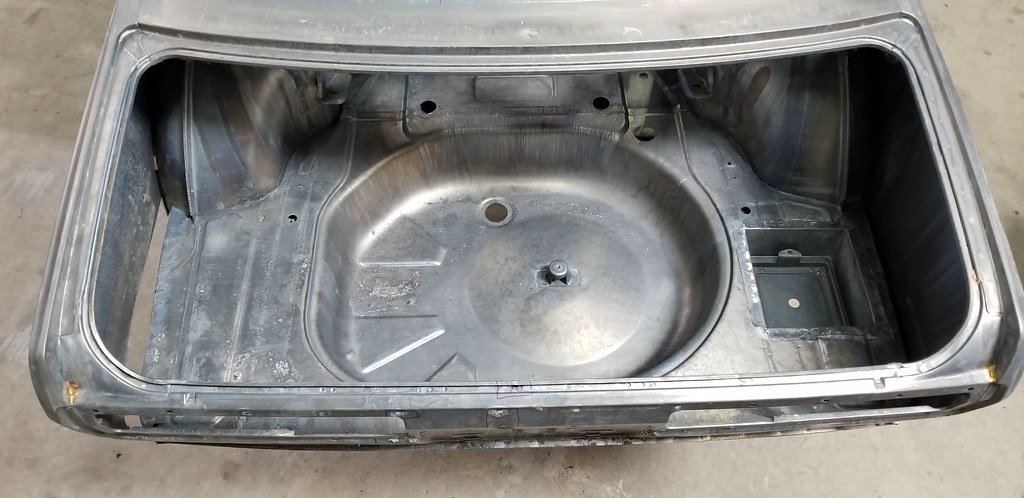
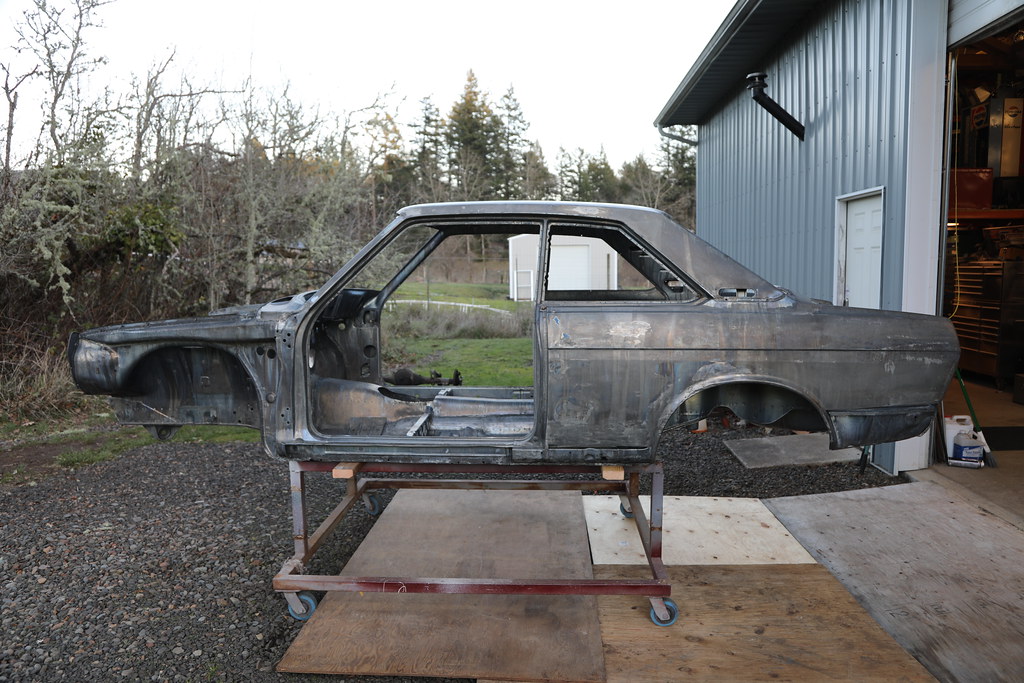
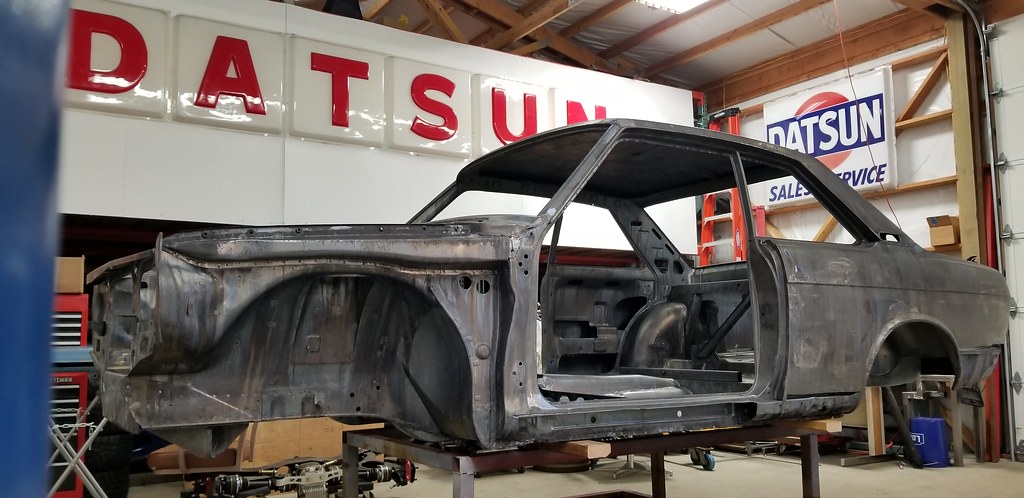
And that's it-- the car is a bare shell (the trunk hinges were removed after these shots):
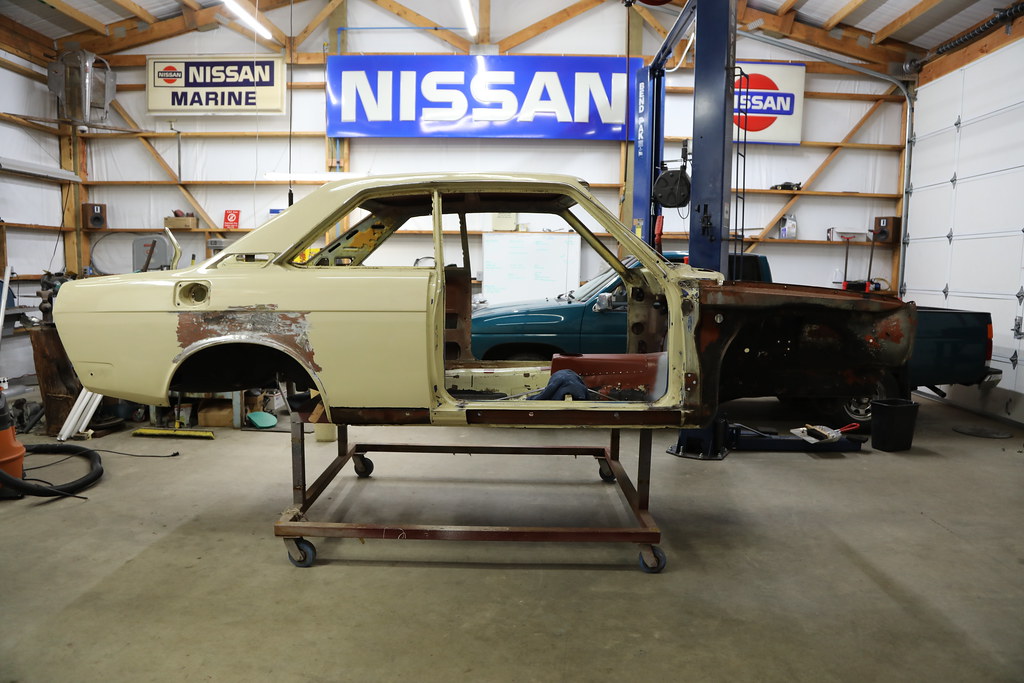
If the weather holds (ie. no snow), we will take it down to the stripper's tomorrow... more soon!
Michael