For this mod, you need to use the BMW Depo Euro headlights from eBay!!
I also suggest bench testing them or testing them in the car before you seal them up just to be sure they are level. I have been able to do so on the bench just by using a level table as the entire Depo housing is level when laid on a flat surface. You only need to be concerned with the left to right tilt. Everything else is adjustable with the factory mechanisms (up/down, L/R)
I got my TSX projectors, HID ballasts, bulbs etc from Matt at Theretrofitsource and I got the Depo Euro lights from Ebay. I have only done this with Depo smileys so I don't know if regular Depo's, Hella's etc are the same. But the Euro style ellipsoids are the same for the E30, E32 & E34.
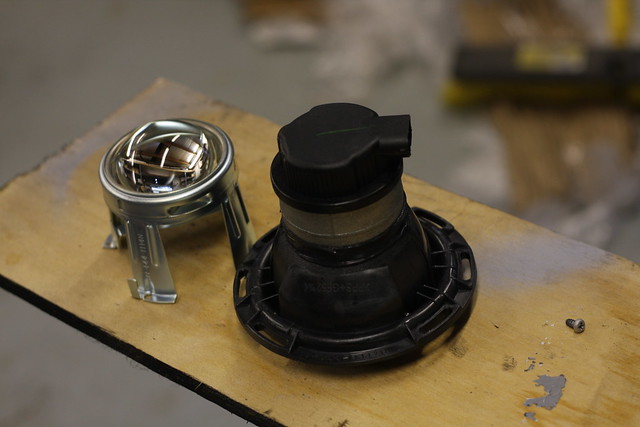
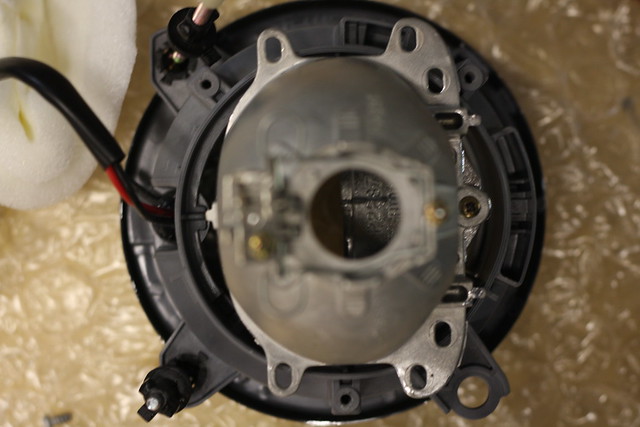
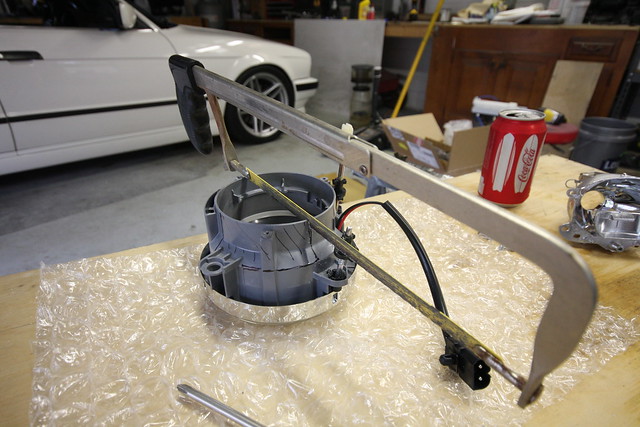
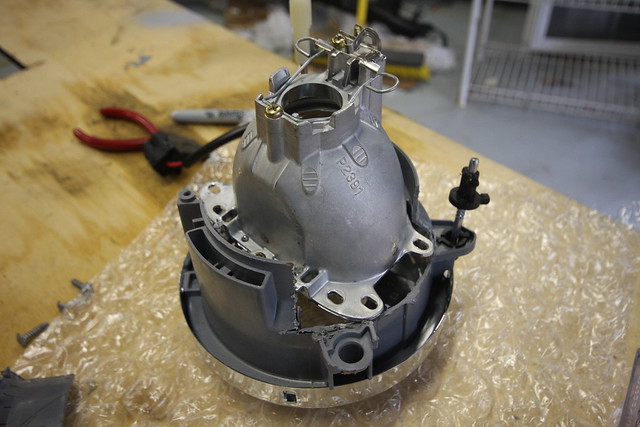
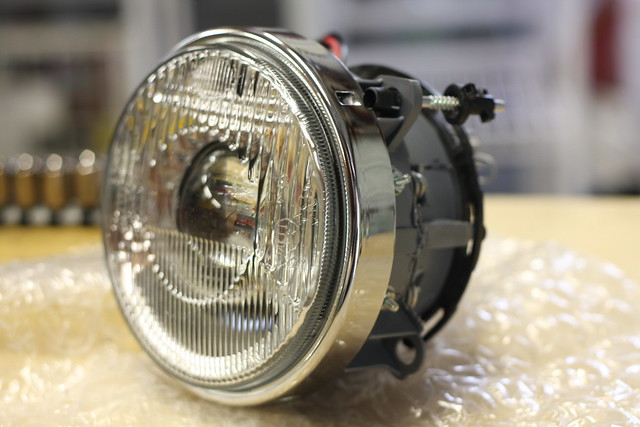
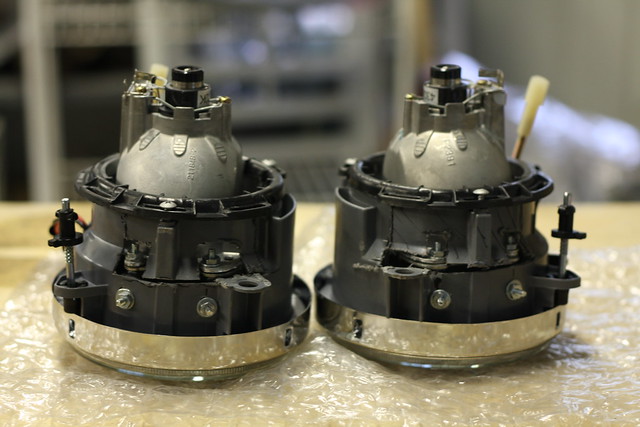
Starting with the stock housing.
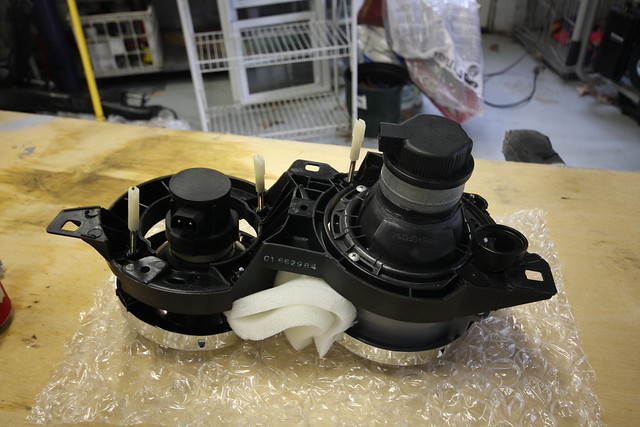
You first twist the two plastic clips on each low beam assembly 90 degrees so they pull through.

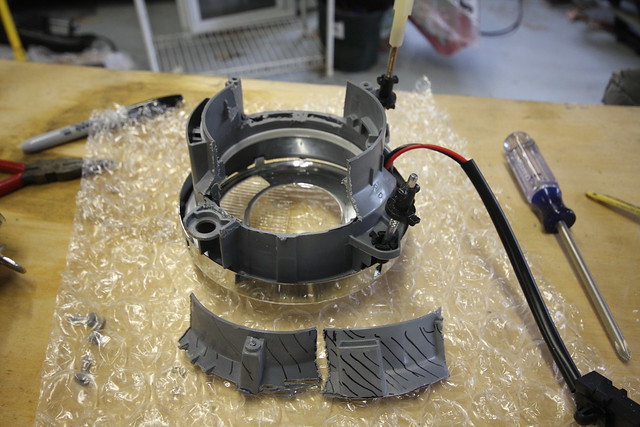
Then remove the 3 screws that hold the inner housing from the outer.
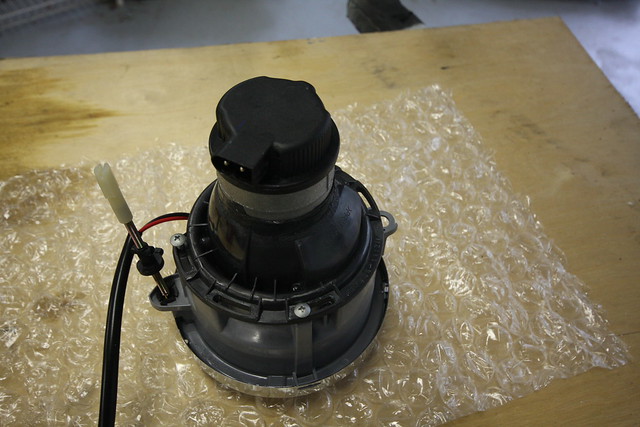
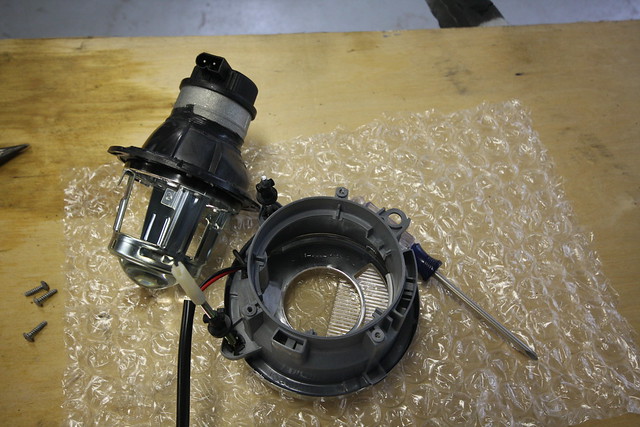
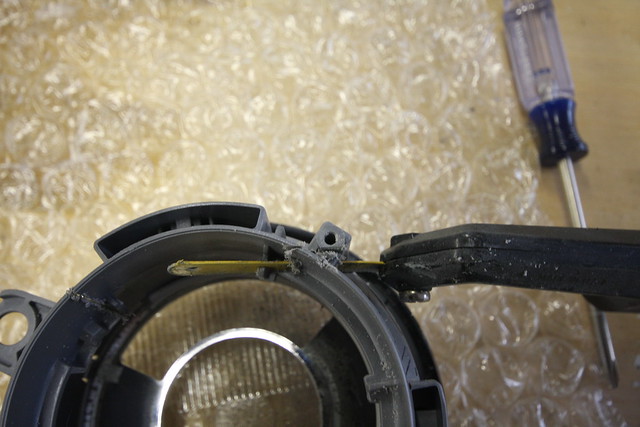
Once you do that you want to take the inner housing apart with 4 screws. You can throw the front half away. You want to use the rear half for a retainer ring. Clamp it in a vice and cut on the front and back of the mounting ring with a hacksaw as shown. Then take some snips and cut out the inner bits so it fits over the TSX projector housing.
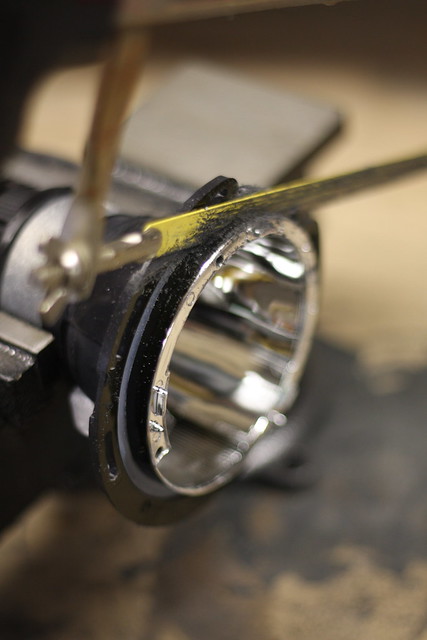

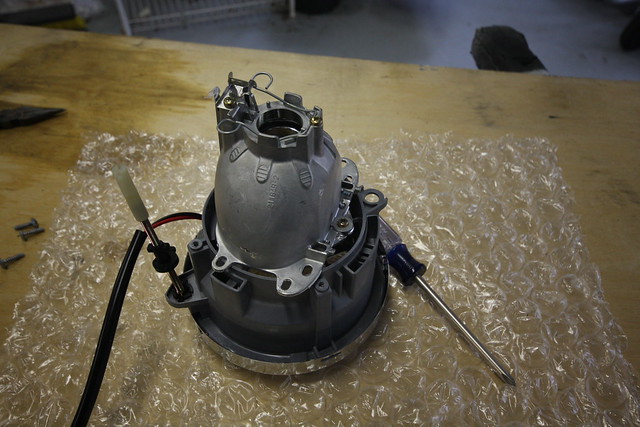
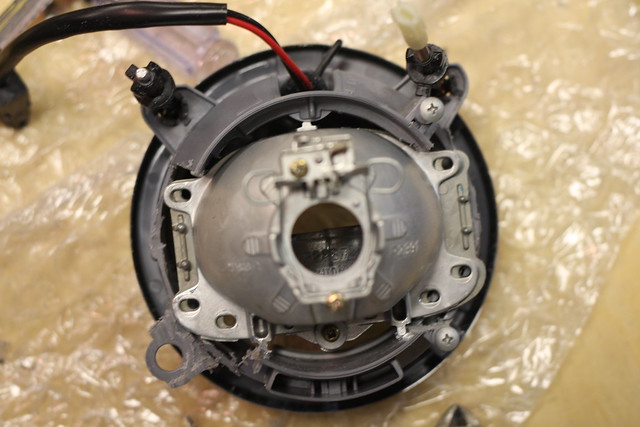
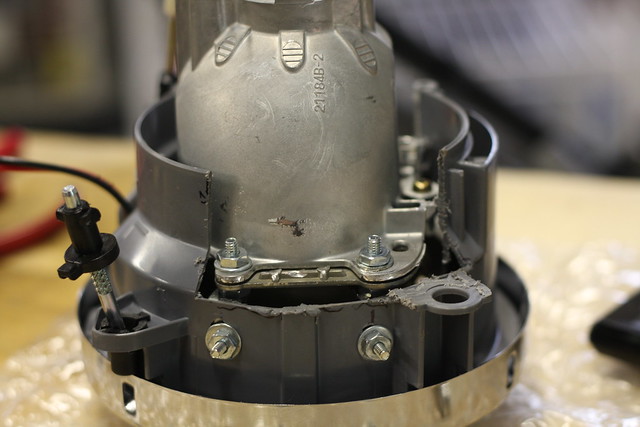
Next move the outer housing. Place the TSX projector housing over the stock Depo housing as shown and try and line up these tabs (top and bottom of housing but L/R in the photos as it's taken sideways). This will give you a good base for being level and you can make fine adjustments later. Note on the bottom (R in the photo) it's best to offset it just a little to the left as that hole is not quite in the center. You will notice when you get into it.
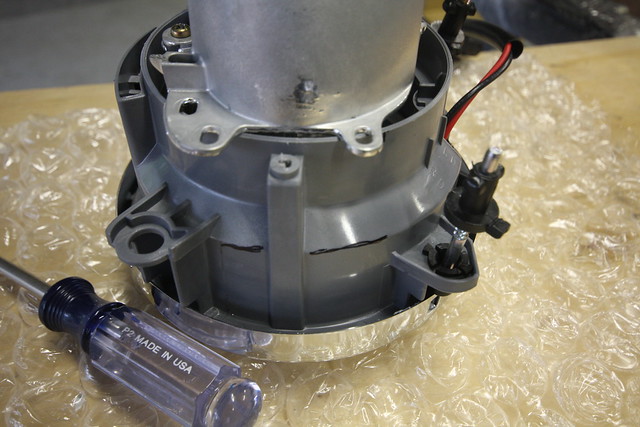
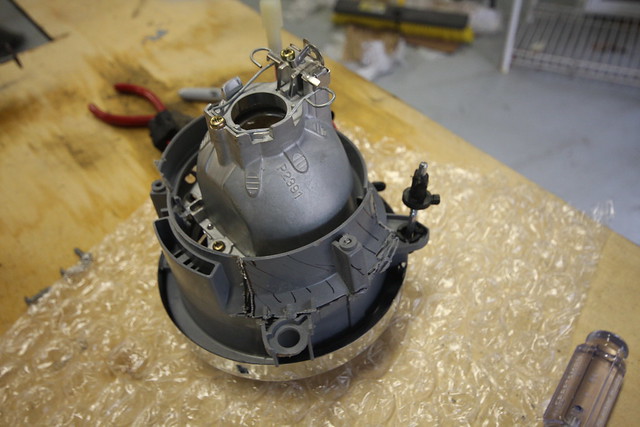
Next mark where the TSX projector housing lines up. I marked 1/8"-1/4" over from each side just to make sure. Better to remove too much than too little. I also marked the lower part of the bevel shown as that just so happens to be the exact depth for the TSX projector to sit right

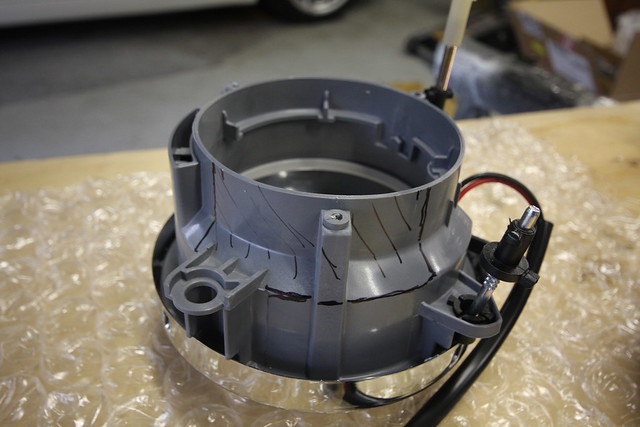
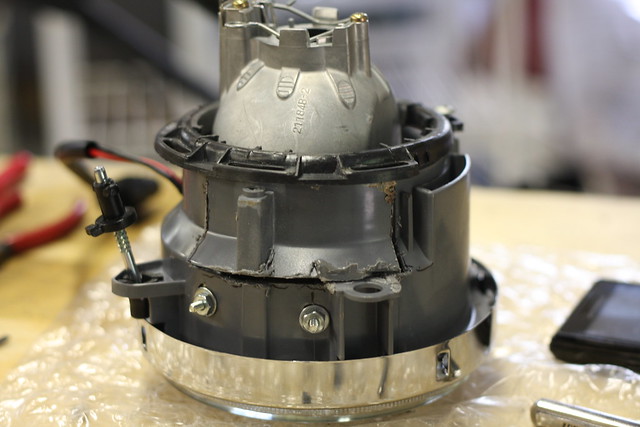
Using a hacksaw, I cut the vertical cuts. You need to be careful when cutting this one part as you need to keep the screw mount. I used a different hacksaw and carefully cut at an angle. I then cut the horizontal cuts with a dremel. I had to cut inside as well b/c one side is dual walled for each housing. Keep these pieces as you will use them to seal the housing back up with fiberglass patches.
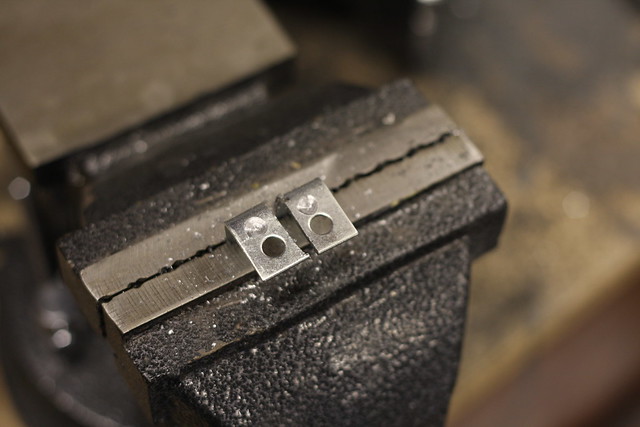
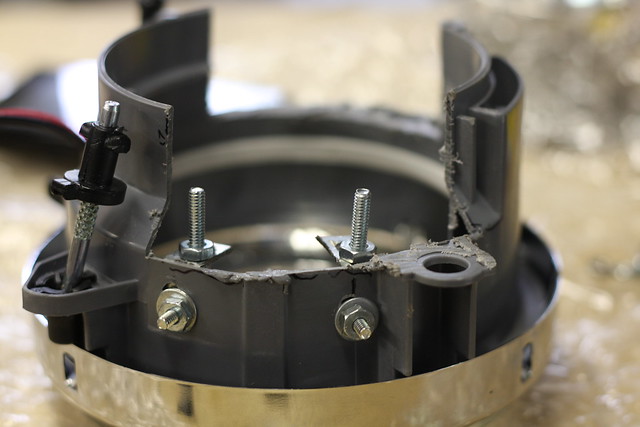
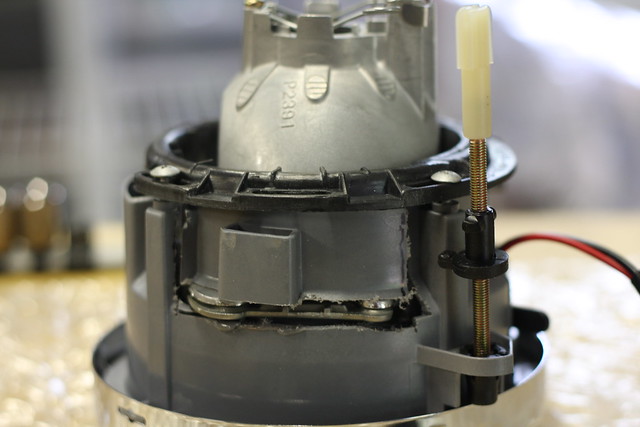
Next I started working on the L brackets. I first drilled a second hole in each L bracket only on one plane. Then I used a dremel to cut out the space b/t them so it ended up being slotted. For the other plane of the L bracket, you can leave one hole and then slot the hole in the plastic housing for adjustment.

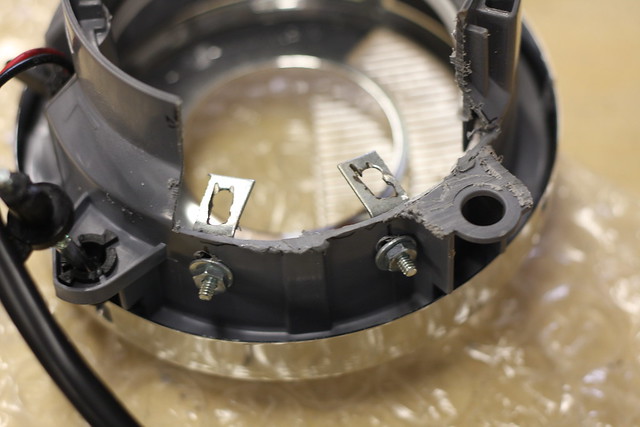
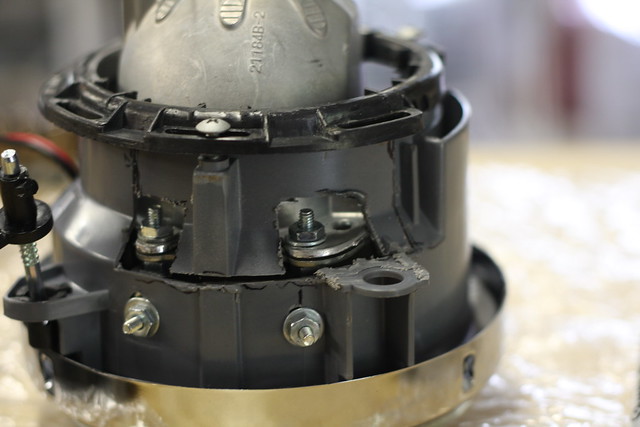
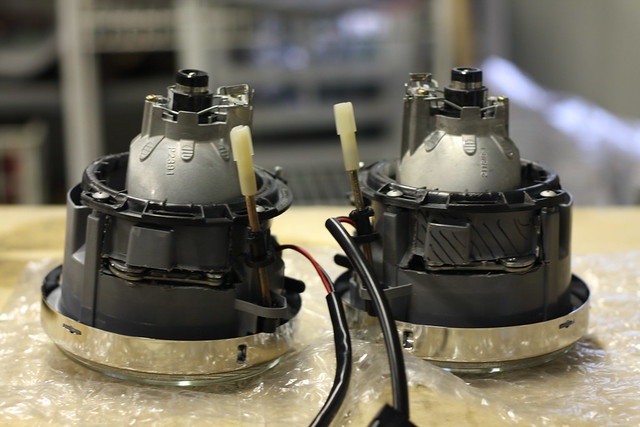
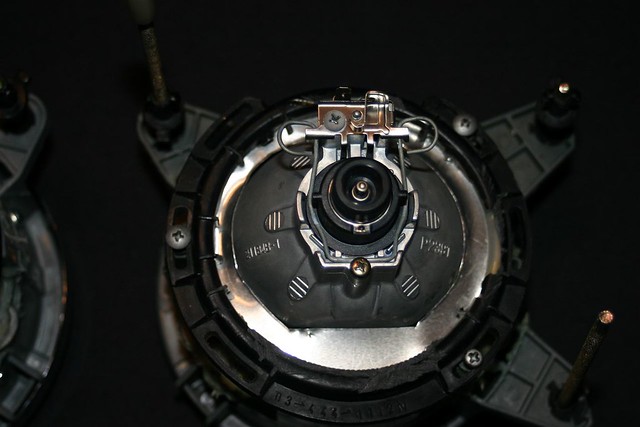
Next I use #8-32 x 3/4" screws with nuts and run them straight up to mount the TSX projectors. I put a nut on top of the L bracket and tighten it down so the TSX projector can be mounted without securing the bottom. It's best to mount that vertical screw as close to the plastic housing (the inside) as possible for ideal fit. You only have to do one side for each housing as everything already fits pretty snug.
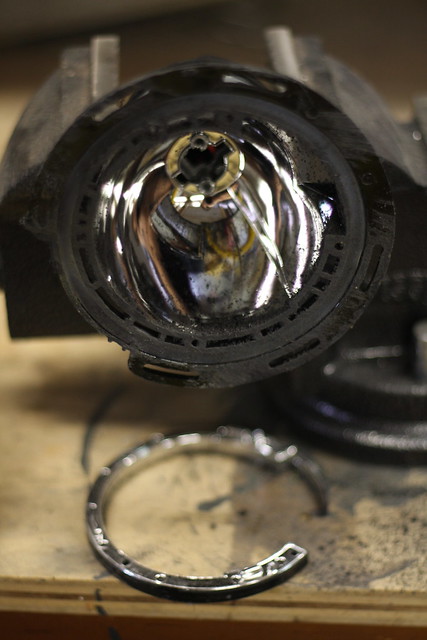
Next I placed the plastic pieces back in place and trim around the new screws so they will line up again. This also allows you to put the black retainer ring back on to make sure it all lines up.

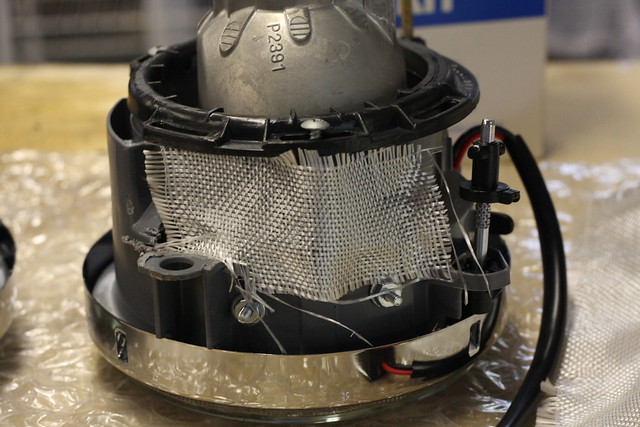
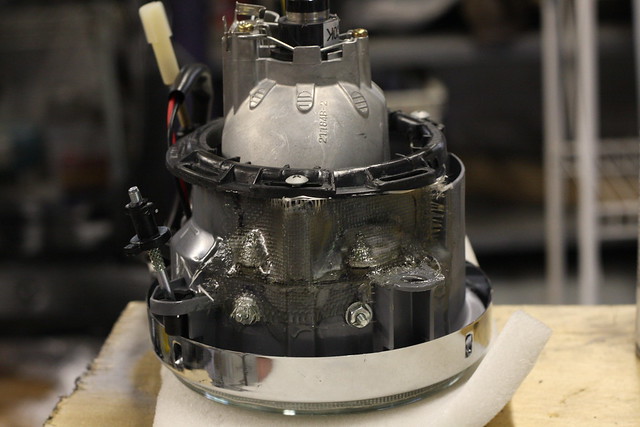
Next I seal the plastic pieces I removed. I am using fiberglass this time (messy) but last time I just used epoxy. I think next time I would cut smaller strips and just cover the cuts only... It doesn't really matter as you never see the sides of the housing when it's all installed.
Finally you need to make the dust cover for the back. I used roof flashing and just kept trimming and trimming until it fit. I then cut it just a little larger than the diameter of the housing and used the retainer ring to keep it in place.
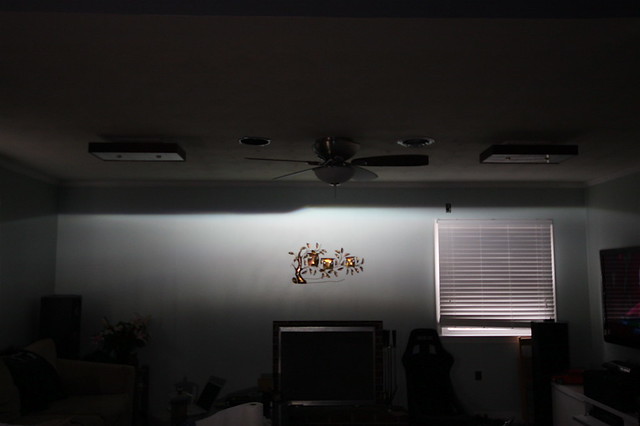
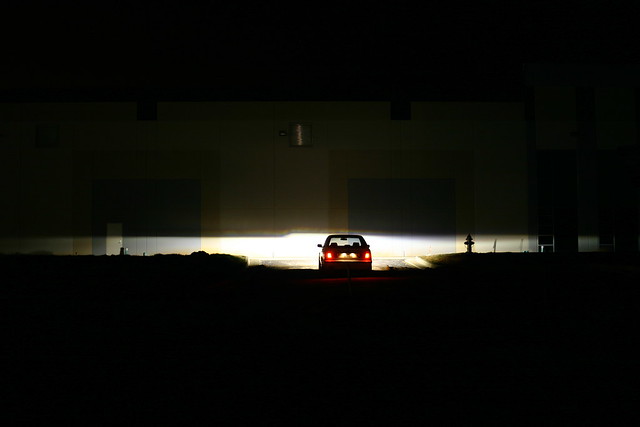
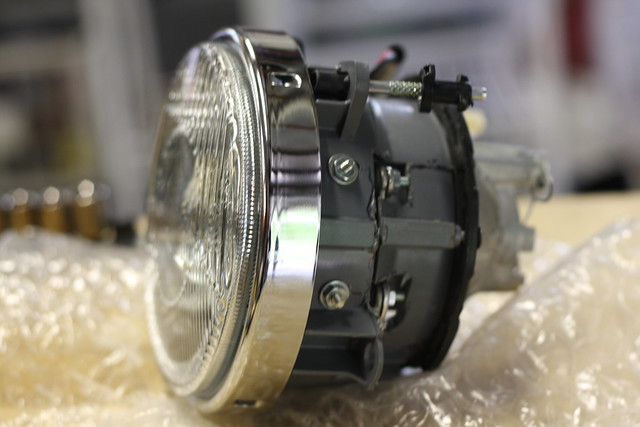
And finally, the end result.